

Here’s how to prepare for an ice storm when the trees come down, the roads close, and the power company can’t reach you for days.
The first sound is the one you remember. A crack out in the dark like a rifle shot, then the long tearing noise of a limb letting go, then the thump. Then another one. Somewhere around the third, the lights go out and stay out.
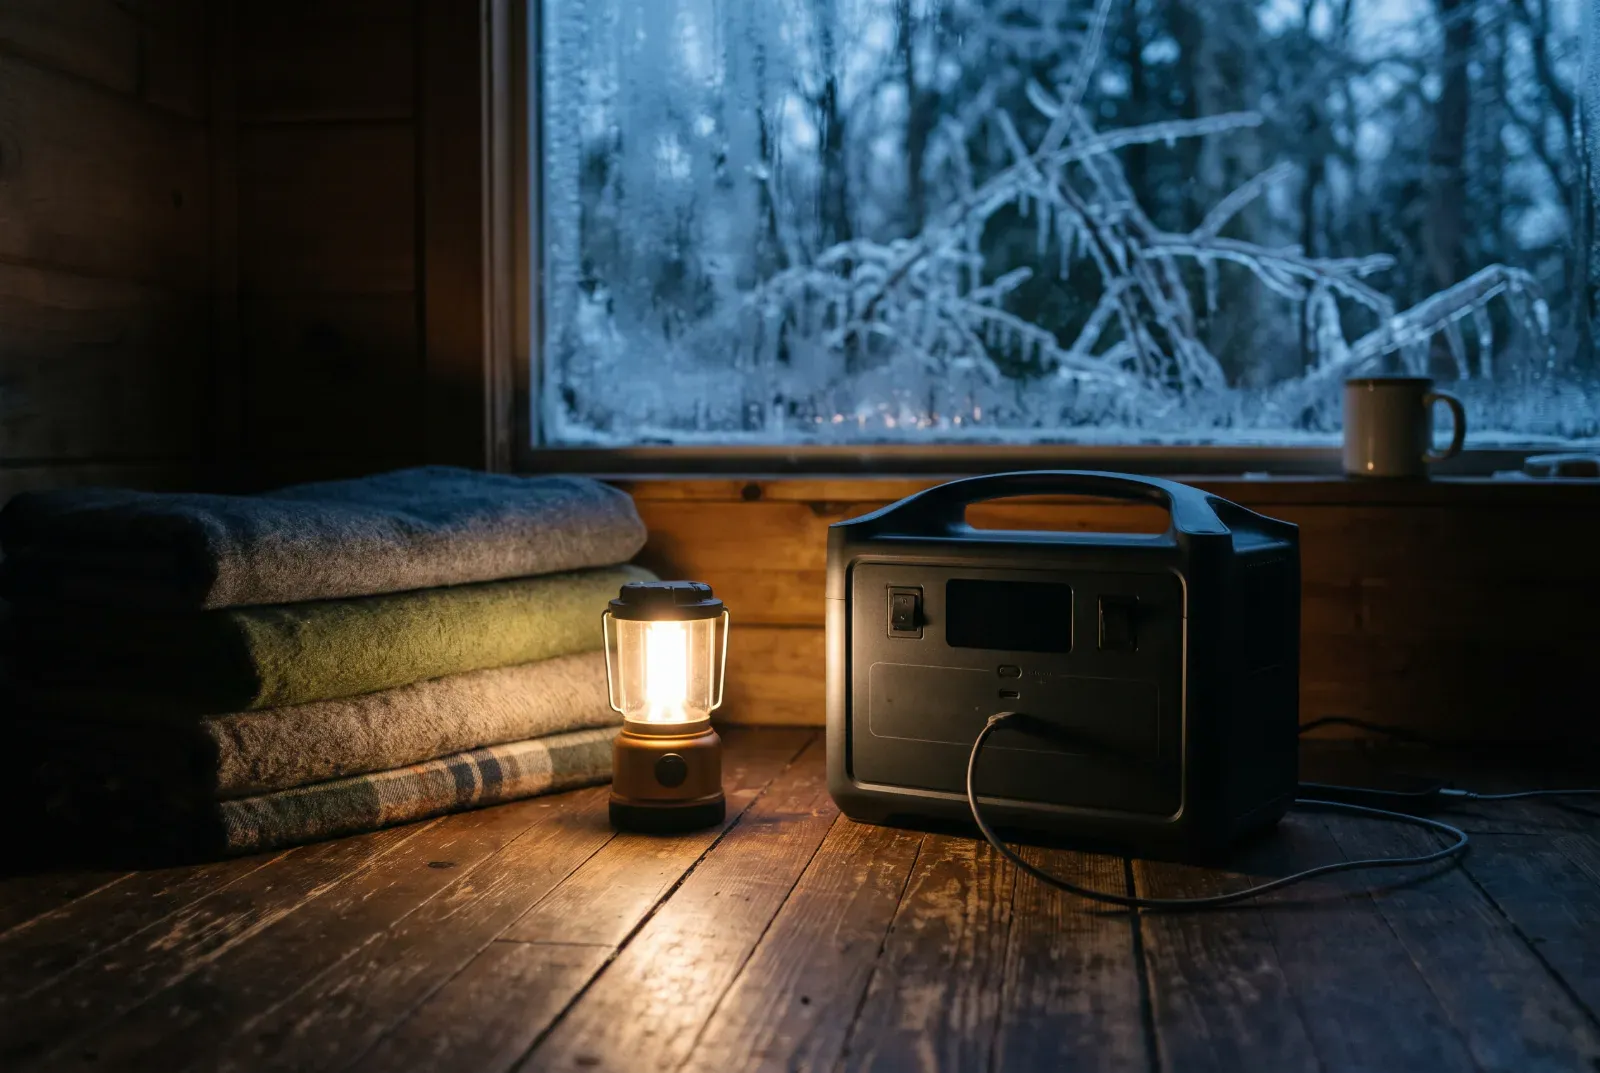
That was our ice storm. Limbs and whole trees down across the property, roads you couldn’t drive, no power. We spent it in one room with the wood stove going, everybody in layers, the dogs piled in with us, and the EcoFlow DELTA 2 carrying the small stuff.
Nobody got hurt and nothing in the house broke. Not because we’re special, but because the boring work was done before the first drop froze.
Most winters, the forecast says “ice” and nothing much happens. This guide is for the one that doesn’t fizzle. The short version: an ice storm isn’t a cold problem, it’s a stuck-at-home problem. Prepare for being stranded with no power, and the cold mostly takes care of itself.
What Is an Ice Storm, Really?
An ice storm is freezing rain: rain that falls through a cold layer of air and freezes the moment it touches anything below 32°F. Roads, trees, power lines and your truck’s windshield all get coated in clear, heavy ice.
The National Weather Service issues an Ice Storm Warning when freezing rain is expected to cause significant, possibly damaging ice. In most places the line is a quarter inch of accumulation.
That number matters more than anything else in the forecast. A quarter inch sounds like nothing. It isn’t.
Reasons You Need to Know How to Prepare for an Ice Storm
Snow is a nuisance you can shovel. Ice is a structural load you can’t do anything about once it’s on the trees.
- Branches get heavy fast. Ice can make tree branches up to 30 times heavier, so limbs fall onto lines, roads and roofs.
- Power lines take hundreds of pounds per span. Utilities commonly estimate about 500 extra pounds per span at half an inch.
- Repairs are slow. Crews can’t fix lines until downed trees are cleared, and the roads they need are the same roads that are closed.
- You can’t go get anything. Whatever you didn’t buy before the ice is whatever you’re living without.
That last point is the whole game. Every step below is about doing your shopping, staging and decision-making while you still can.
Step-by-Step Instructions to Prepare for an Ice Storm
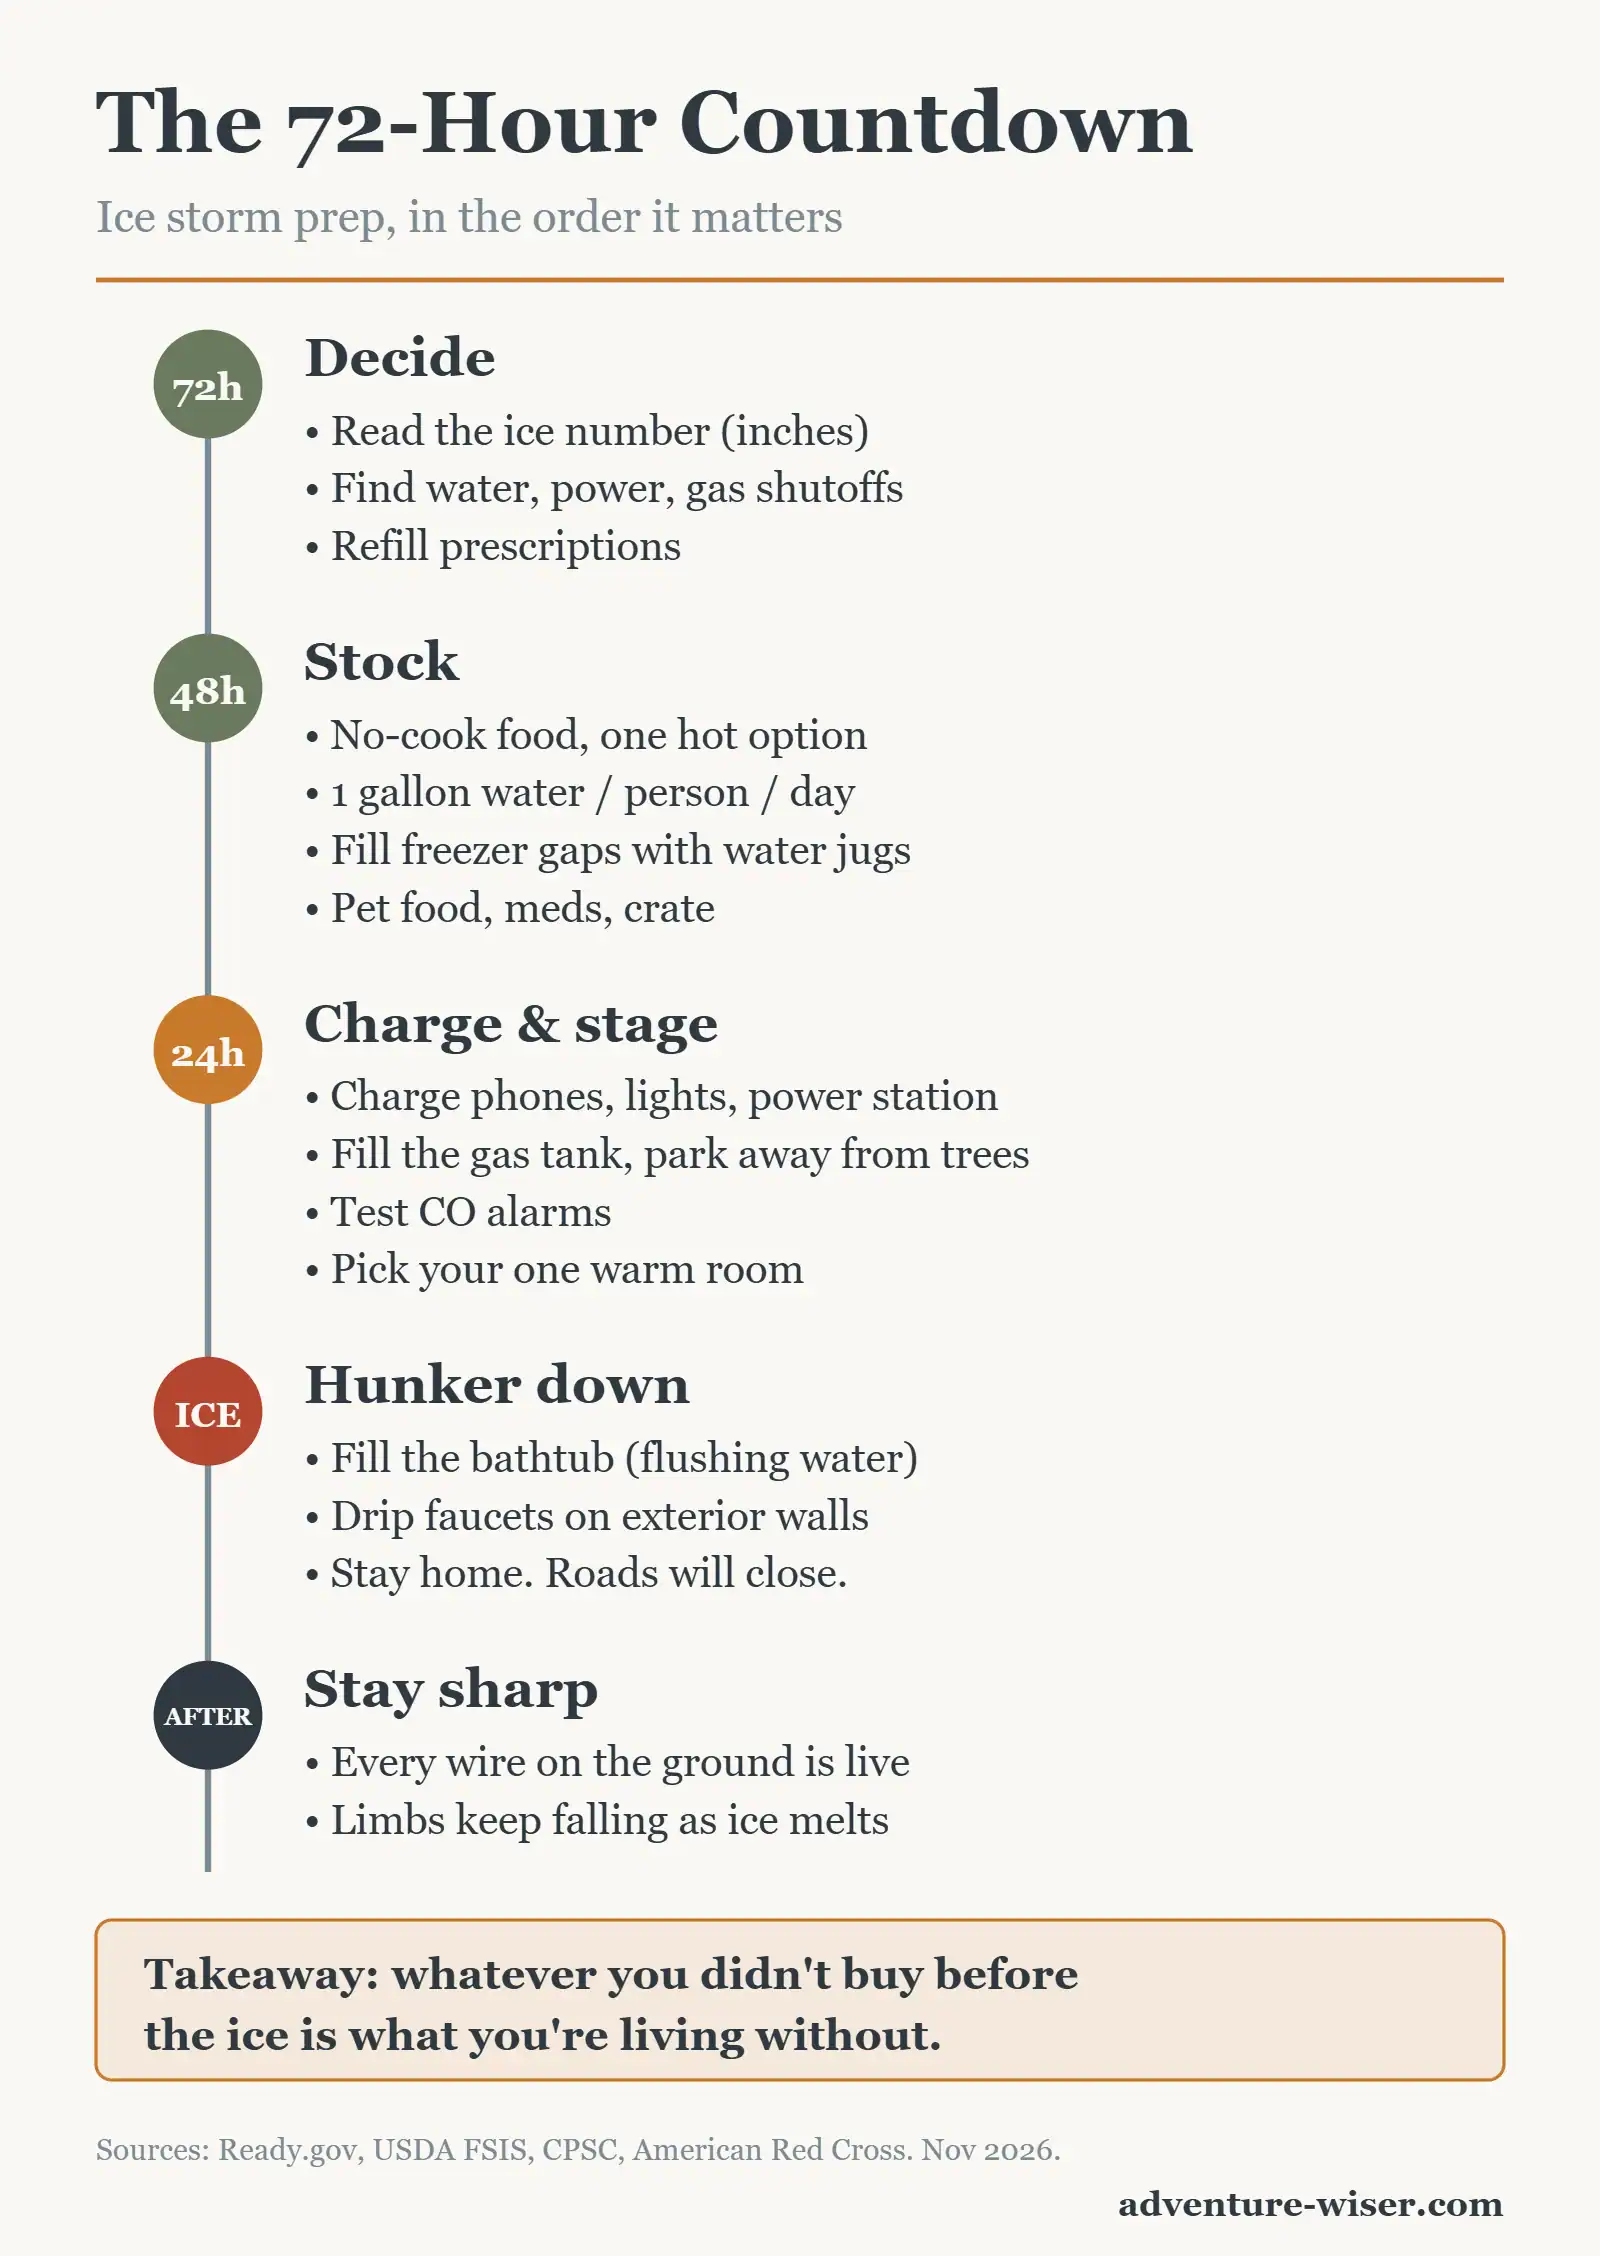
This is the order I’d work in, starting about 72 hours out. The first step decides how hard you go on the rest.
- Read the ice number, not the headline
- Isolate first: find your shutoffs
- Pick your one warm room
- Stage water like the pipes will freeze
- Shop for the outage, not the storm
- Plan your power honestly
- Cover the dogs and the meds
- Plan to be stuck, then stay put
Here’s each one, in plain terms.
Step 1: Read the Ice Number, Not the Headline
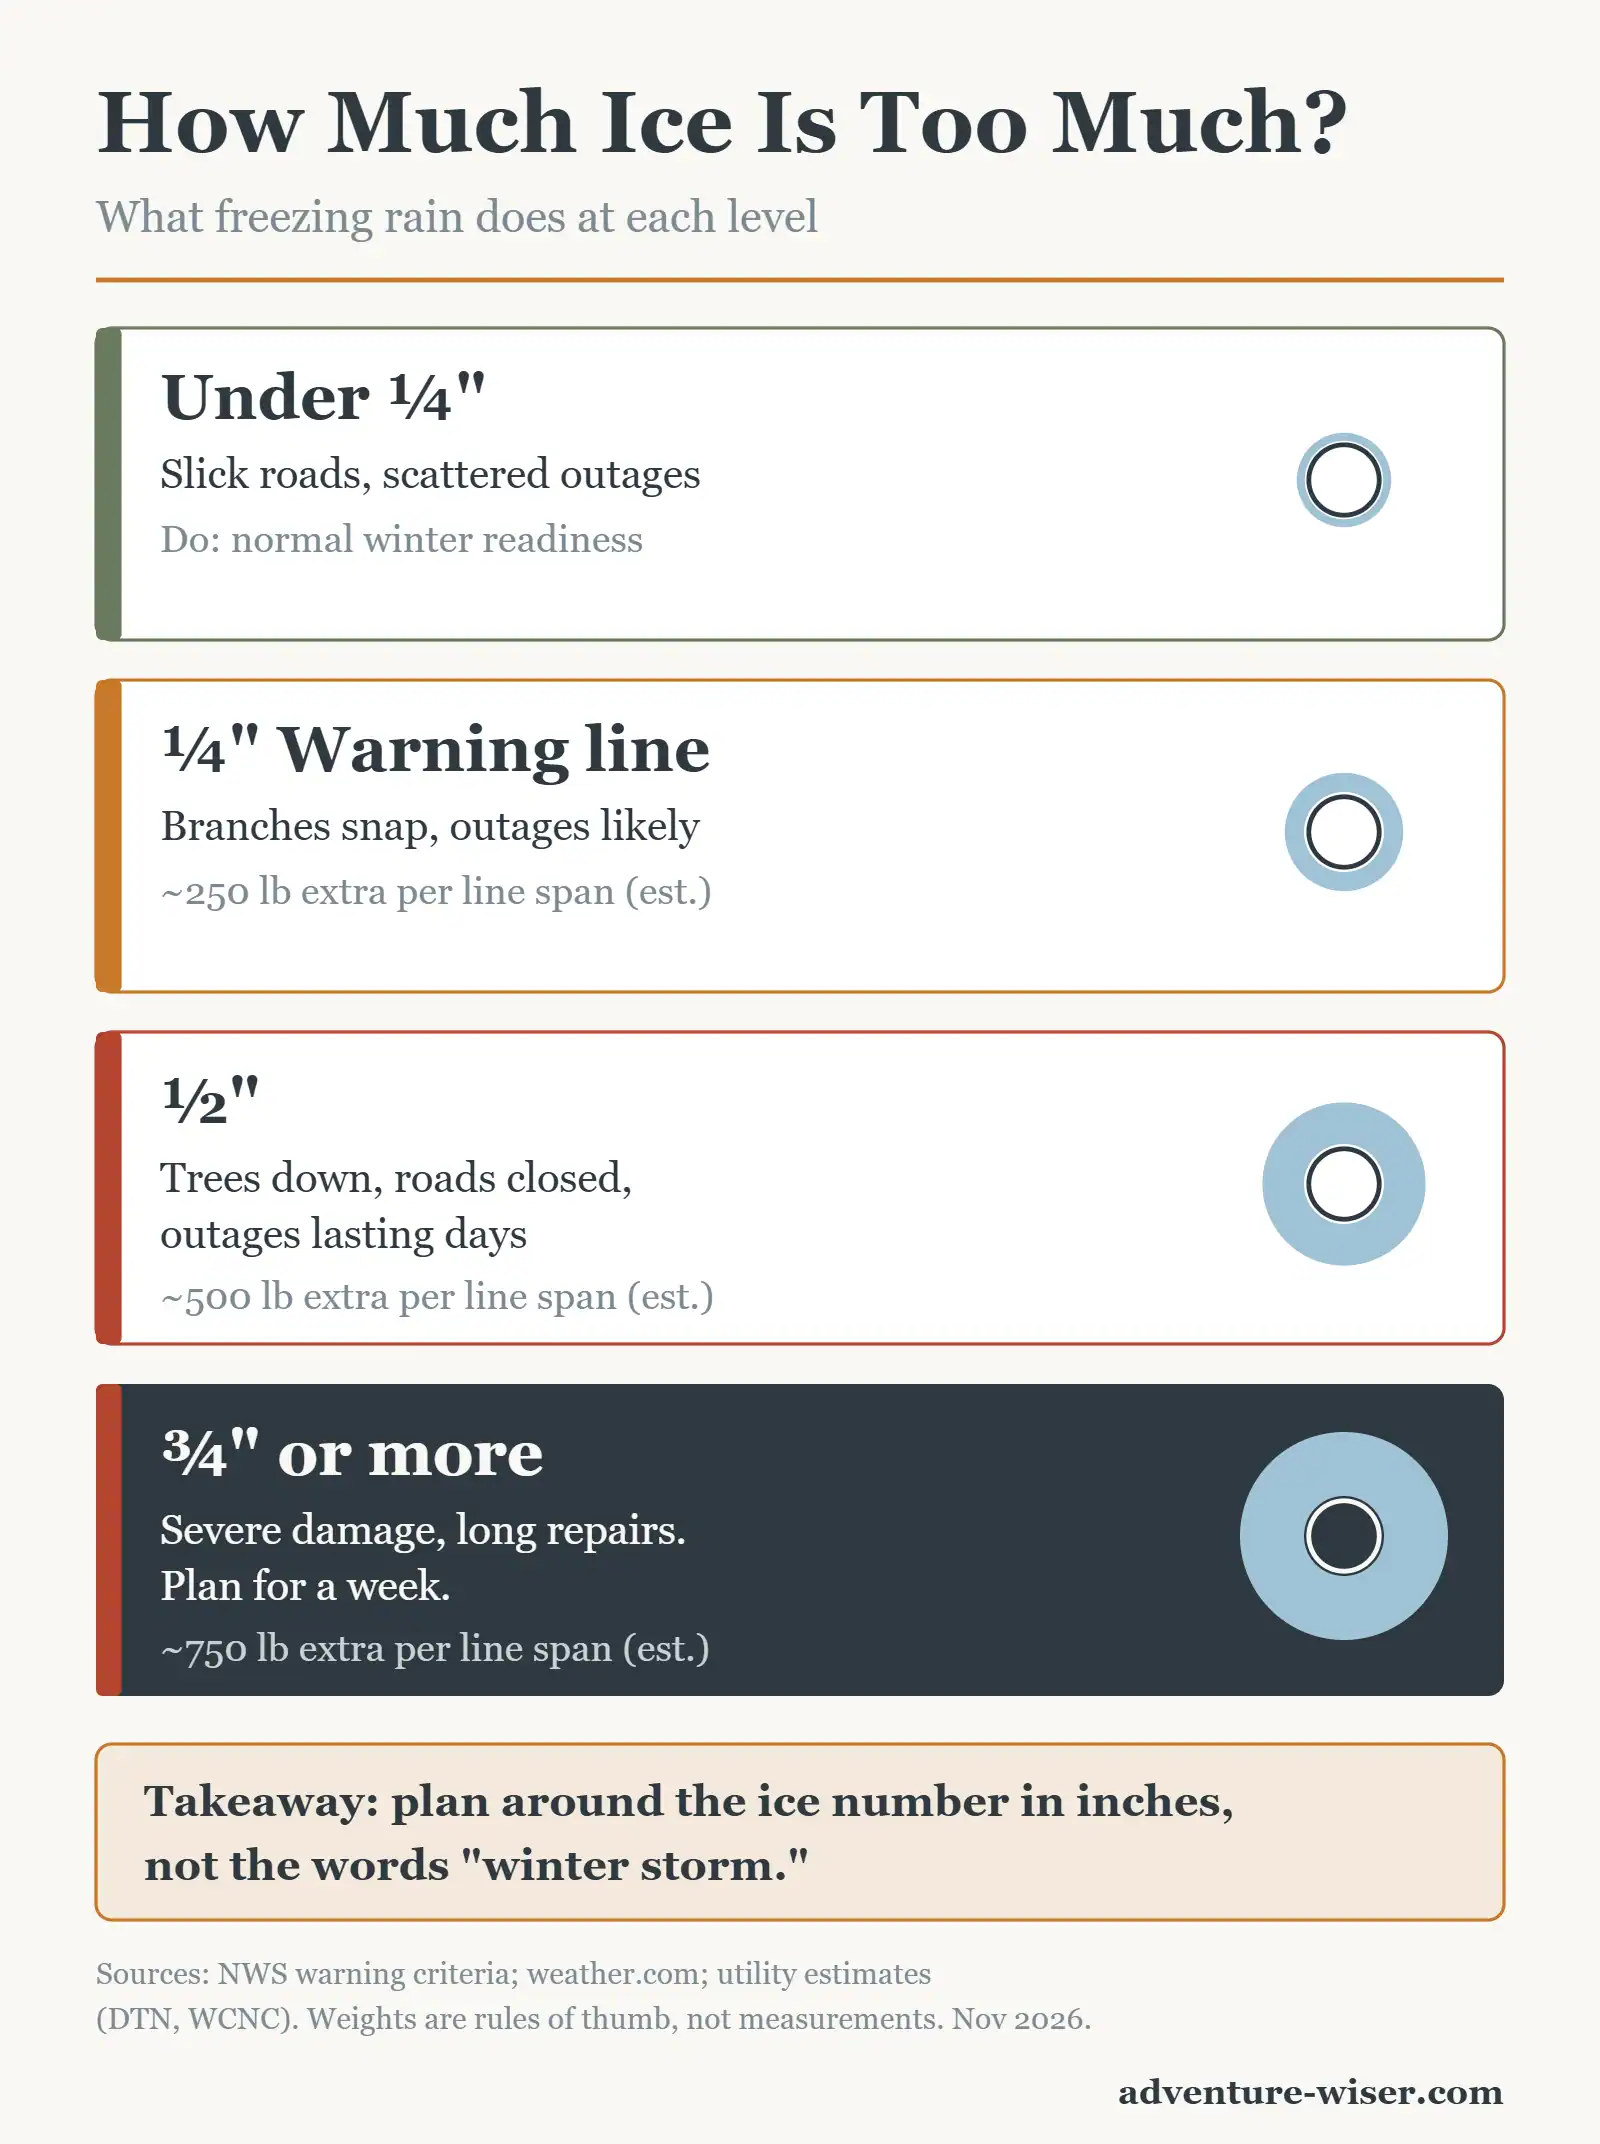
Ignore “WINTER STORM” in red letters. Find the forecast ice accumulation, in inches. Your local NWS office page lists it.
Roughly:
| Forecast ice | What to expect | What to do |
|---|---|---|
| Under ¼” | Slick roads, scattered outages | Normal winter readiness |
| ¼” to ½” | Branches breaking, outages likely | Do every step below |
| ½” or more | Widespread damage, outages lasting days | Every step, plus plan for a week |
Those bands match what forecasters describe for ice damage: damage starts between a quarter and half inch, and above half an inch, roads become impassable and repairs take a while.
This step saves you money. A trace of ice doesn’t justify a panic run to the store. A half inch does.
Step 2: Isolate First — Find Your Shutoffs
The Navy taught me one damage-control habit that I use at home: isolate first. Before you fight the problem, make sure it can’t spread.
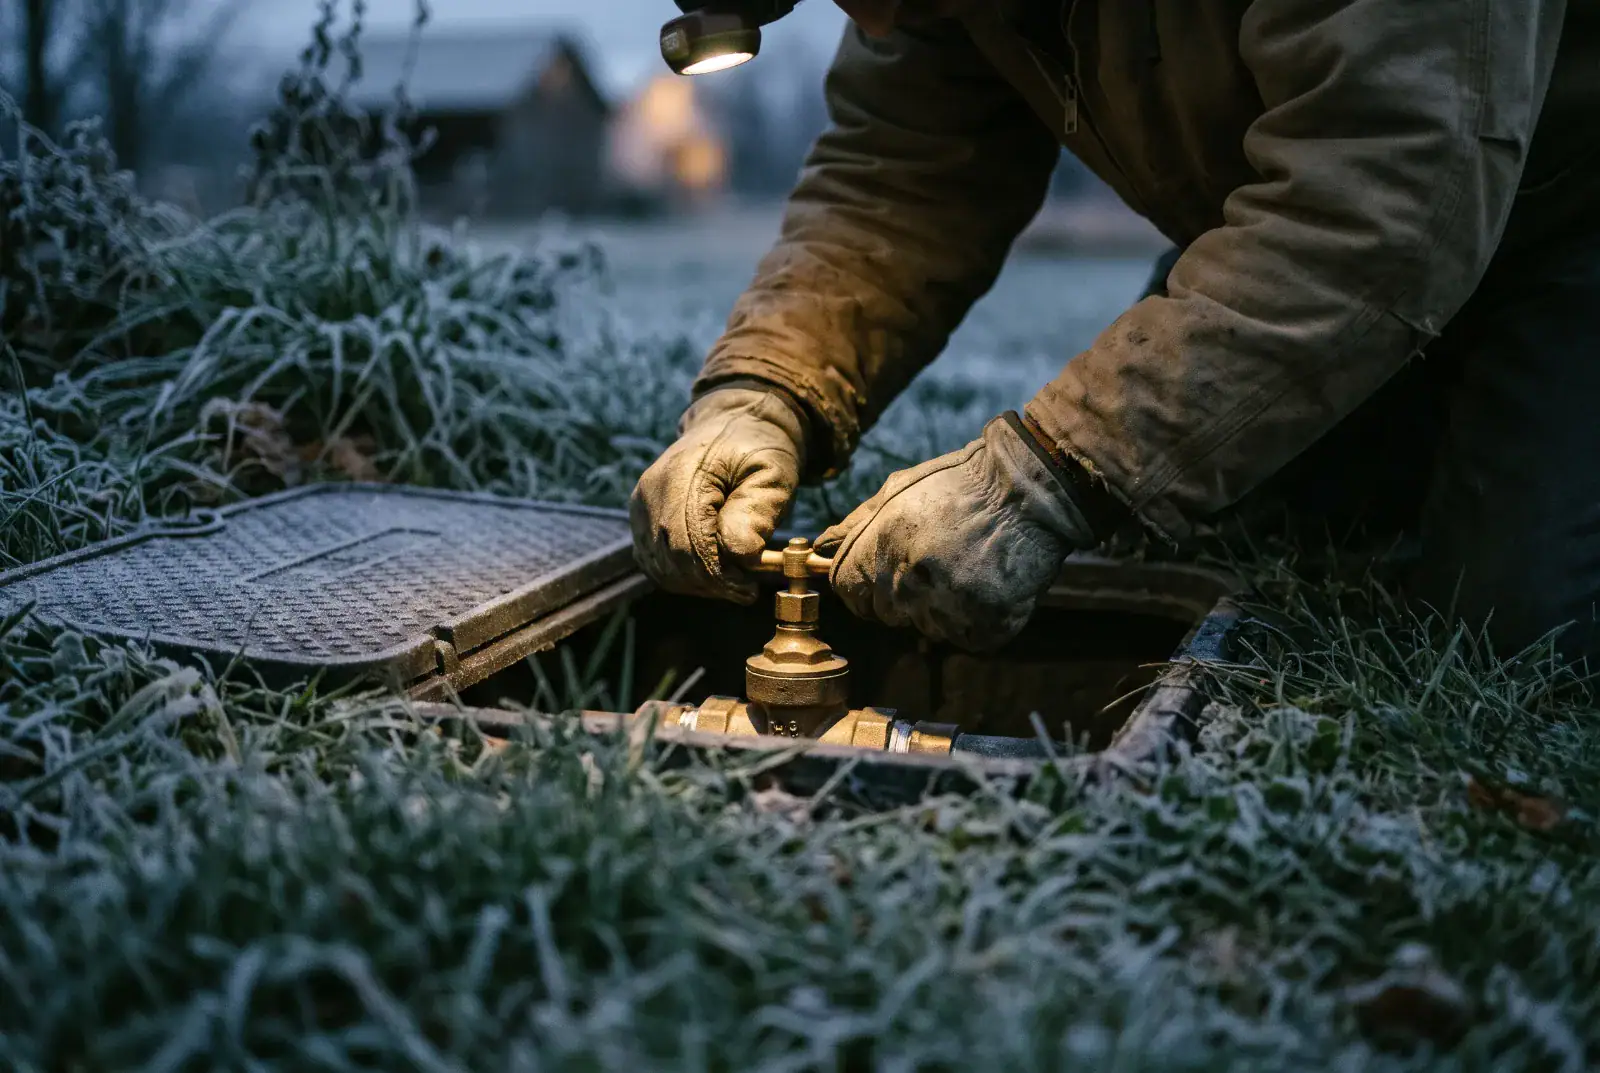
At home, that means knowing exactly where to shut off the water main, the electric main and the gas or propane. Our water shutoff is at the meter by the road. Our propane shuts off at the tank. I’ve flipped the main breaker and closed the propane at the tank during an outage, and doing it in daylight beats hunting for it with a headlamp.
Its also a good idea to check on your water main from time to time. My main is below ground as most are. But, most of the year a colony of fire ants reside in and around it. Its literally a pain to get those buttholes off the main. So check your setup and make sure its free and clean of pests.
If a pipe bursts or a line comes down on the house, you want that done in under two minutes. Walk through it now with how to shut off your utilities before the storm. Put a wrench where you’ll find it in the dark.
Step 3: Pick Your One Warm Room
You don’t heat a house without power. You heat a room.
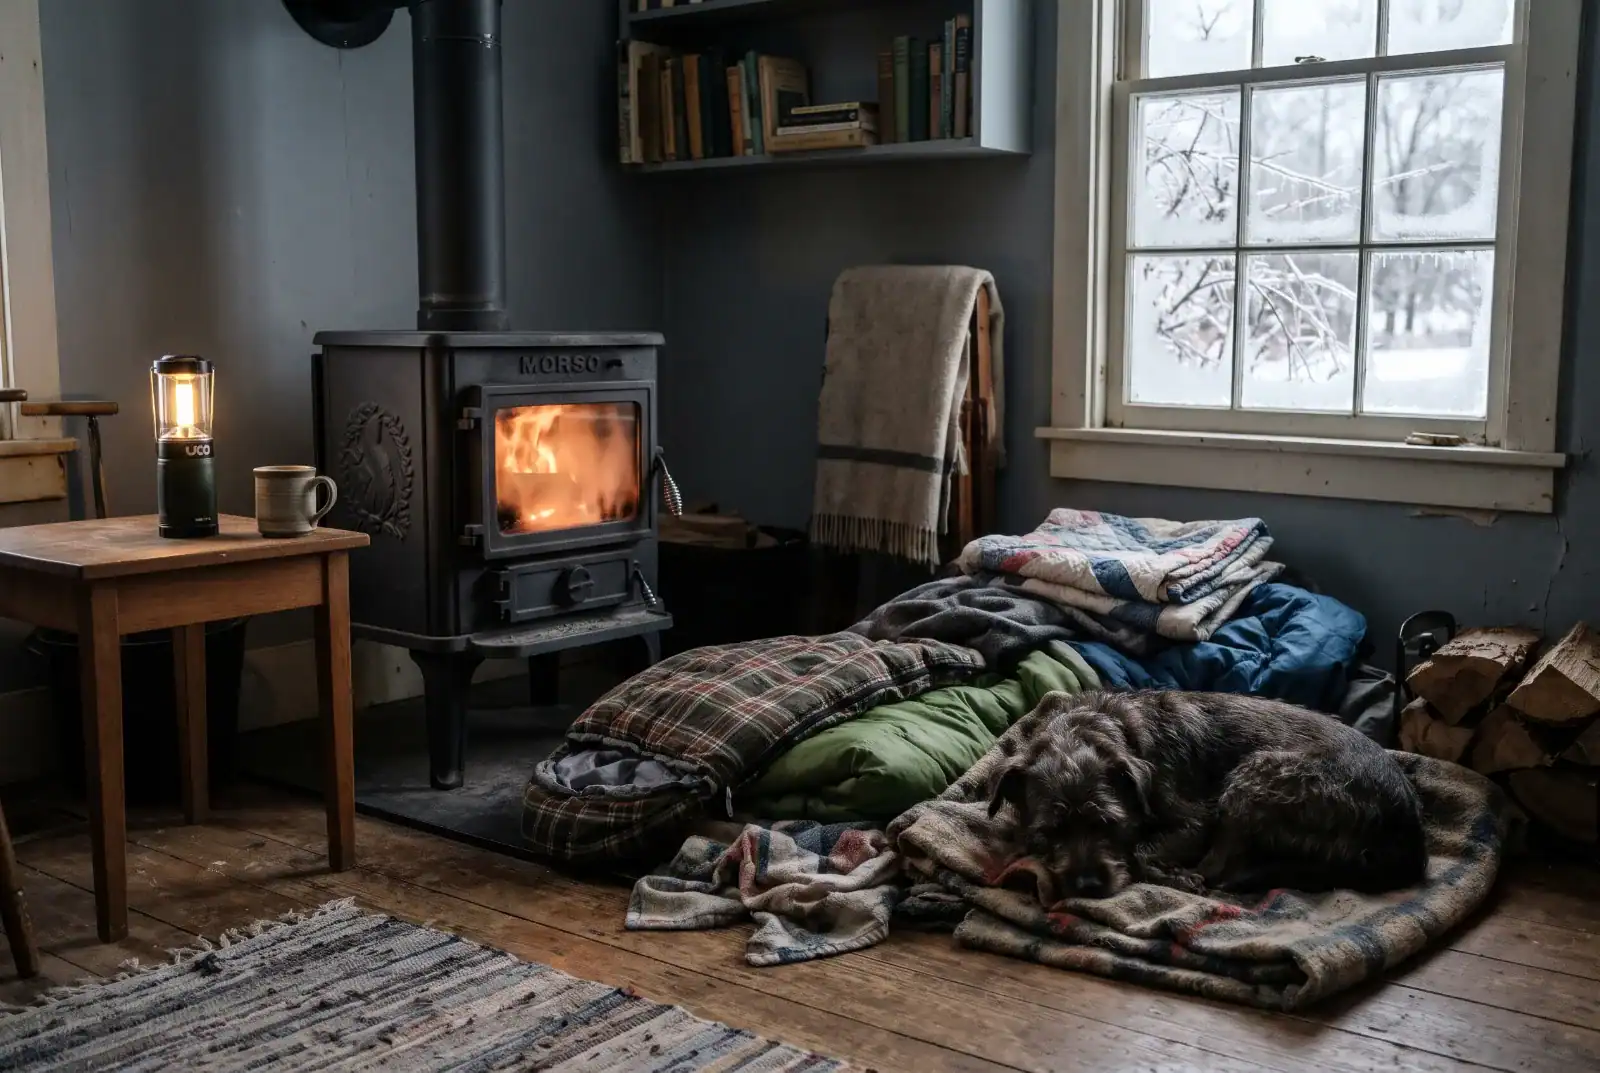
Pick the one with your heat source. For us, that’s the wood stove. If you don’t have one, pick the smallest interior room with the fewest windows. Close the doors to everything else. Hang blankets over doorways. Everyone sleeps in that room, layered, with sleeping bags if you have them.
It sounds miserable. Mostly it was fine, and the dogs approved.
If your plan involves a propane or kerosene heater indoors, read the manual and put a carbon monoxide alarm in that room. There’s more on heating options in our guide to surviving a winter power outage.
Step 4: Stage Water Like the Pipes Will Freeze
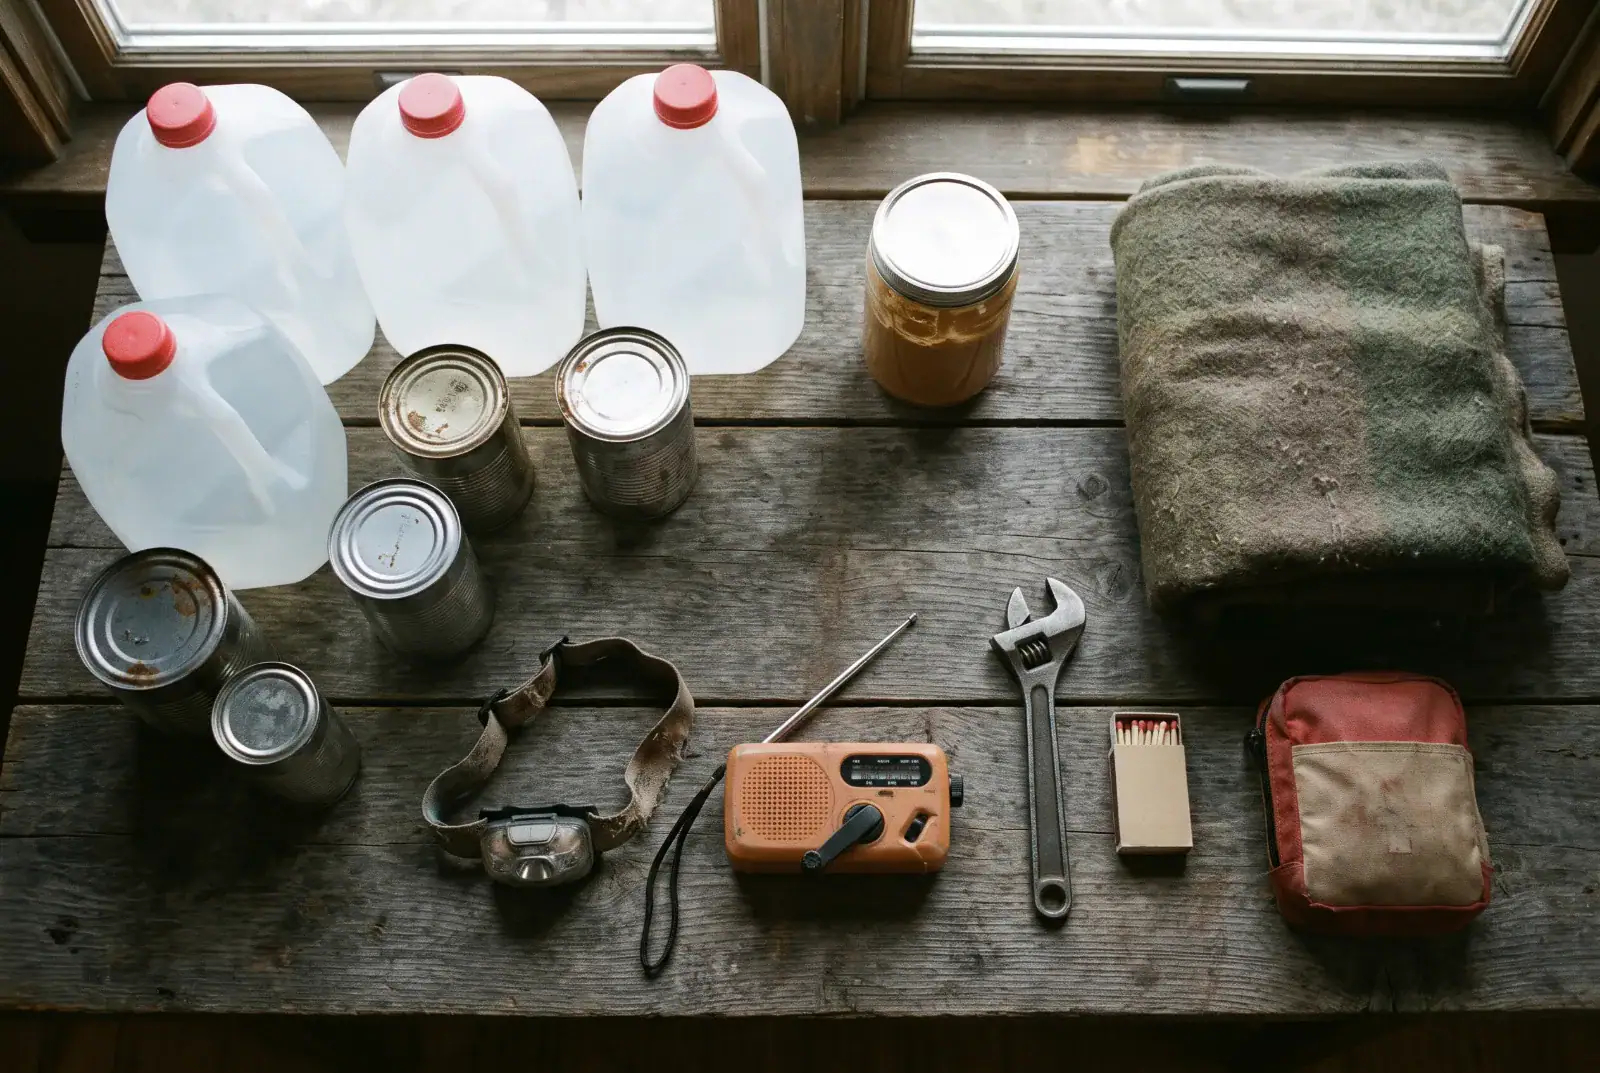
Ready.gov’s baseline is one gallon of water per person per day, for drinking and basic sanitation. During our ice storm, our drinking water came from stored jugs and cases. We keep store-bought water plus refilled containers, so this step was already done.
Before the ice:
- Store drinking water. One gallon per person per day, for at least three days. A week is better if the forecast is half an inch or more.
- Fill the bathtub. That water is for flushing and washing, not drinking.
- Protect your pipes. The American Red Cross recommends opening sink cabinets so warm air reaches the plumbing, and letting faucets on exterior walls drip.
- Know your backup for the toilet. If the water does stop, here’s how to handle sanitation without running water.
Step 5: Shop for the Outage, Not the Storm
Bread and milk are what people buy. Neither one helps much when the fridge is off.
Here’s my real lesson. During a separate multi-day outage at our place, we ate mostly no-cook food and cooked on the grill outside. The food was never the issue. The fridge and freezer were the real problem, and I wished we’d had more easy meals that didn’t need either one.
So buy for that:
- No-cook meals. Peanut butter, crackers, canned fish and chicken, fruit cups, granola, jerky, and anything you’ll actually eat cold.
- One hot option. Freeze-dried meals that only need hot water. We’ve eaten Ready Hour, and it works when the grill and a kettle are all you’ve got.
- A fridge and freezer plan. Per the USDA, a closed fridge keeps food safe for about 4 hours. A full freezer holds about 48 hours, a half-full one about 24.
Two days before the storm, fill empty freezer space with jugs of water. They keep it colder longer, and they’re drinking water later. Put an appliance thermometer in each so you’re not guessing. Keep a cooler ready for the fridge stuff you want to save.
Once the power’s out, the weather can help. USDA’s emergency guidance suggests setting buckets or empty milk jugs of water outside to freeze, then using that homemade ice in the cooler. Don’t just set the food itself out on the porch. Sun and animals both find it.
Want the full shopping list? It’s an emergency supply list sorted by level.
Step 6: Plan Your Power Honestly
Be honest about what you’re trying to run. Phones, a light, a radio and a CPAP are small loads. A well pump, an electric furnace or a full-size fridge are not.
A battery power station is the easy indoor option because it makes no fumes. Ours carried the small loads in the warm room. To size one against what you actually need, use the off-grid power sizing guide.
If you run a gas generator, it goes outside, at least 20 feet from the house, with the exhaust pointed away. Never in the garage, the porch or the carport. The CPSC says nearly 100 people a year die from carbon monoxide caused by portable generators. Test your CO alarms the day before.
Charge everything the night before: phones, power banks, headlamps, the power station. Keep a hand-crank emergency radio for when the phone dies.
Step 7: Cover the Dogs and the Meds
Pets and prescriptions are the two things you can’t improvise on day three.
For our dogs, we keep an extra bag of food on hand, their meds and vet records together, and a crate ready. During the ice storm they stayed in the stove room with us. If you’ve got animals, run through the pet emergency kit before the storm.
Refill your own prescriptions early too. The pharmacy is on the other side of the roads that are about to close.
Step 8: Plan to Be Stuck, Then Stay Put
During our storm, the roads weren’t slow. They were closed, by ice and by trees lying across them.
- Fill the gas tank and park away from trees.
- Stock the car in case you have to move, using the winter car emergency kit.
- Agree on a contact plan. If the cell towers go down, everyone needs to know who checks on whom. Here’s a family communication plan that works without signal.
Then don’t drive unless you have to. Stay away from any downed line, and assume every wire on the ground is live.
Key Considerations for Successfully Preparing for an Ice Storm
The danger outlasts the storm. When the sun comes out, ice-loaded limbs keep dropping. Walk under trees like they’re aiming at you.
Most of your prep work is done in a normal week. We sit at about two weeks of self-sufficiency in a normal week, which is why the ice storm was an inconvenience and not a scramble. If you want to see where you stand, here’s the 5 levels of preparedness.
Calm is a supply too. Kids and dogs take their cues from you. A household that has done steps 1 through 8 doesn’t need anyone to be a hero.
Taking It to the Next Level: How to Ride Out a Week Without Power
Three days gets you through most ice storms. A week gets you through the bad ones. The jump is mostly water (a week’s worth), a heat source that doesn’t need the grid, and enough power to keep phones, lights and medical devices running. None of it is exotic. It’s the same list, just longer.
Alternatives to Riding It Out at Home
Sometimes the right prep is leaving. If someone in the house depends on powered medical equipment, or you have no heat source without the grid, go somewhere with power before the ice arrives. That isn’t quitting. It’s reading the forecast and choosing the easier version of the next three days.
Frequently Asked Questions
How much ice causes power outages?
Scattered outages usually start around a quarter inch. At half an inch or more, expect widespread outages that can last for days.
How long do ice storm power outages last?
Anywhere from hours to over a week. It depends on how much ice fell and how many trees came down on the lines.
Should I fill my bathtub before an ice storm?
Yes. Use it for flushing and washing if the water stops. Store drinking water separately in clean jugs.
Can I use a generator in my garage during an ice storm?
No. Run it outside, at least 20 feet from the house, with the exhaust pointed away. An open garage door doesn’t make it safe.
What food should I buy before an ice storm?
Food you can eat without cooking or refrigeration, plus one simple hot option that only needs boiling water.
How do I know how to prepare for an ice storm in my area?
Check your local NWS forecast for the expected ice accumulation in inches, then scale up using the table above.
Wrapping Up: My Experience Preparing for an Ice Storm
What actually mattered in our ice storm wasn’t gear. It was the shutoffs, the warm room, the water already sitting in the pantry, and food that didn’t need the fridge. The EcoFlow helped, but the wood stove and the layers did the real work.
That’s how to prepare for an ice storm: assume you’ll be stuck, then make being stuck boring.
So here’s your homework for this weekend. Walk to your water shutoff, your main breaker and your gas or propane valve, and touch each one. Pick your warm room. Then grab the free preparedness checklist and work down the list before the next forecast does it for you.
Gear on Adventure Wiser is labeled for what it is — Tested, Owned, or Researched. Here’s how that works.
