

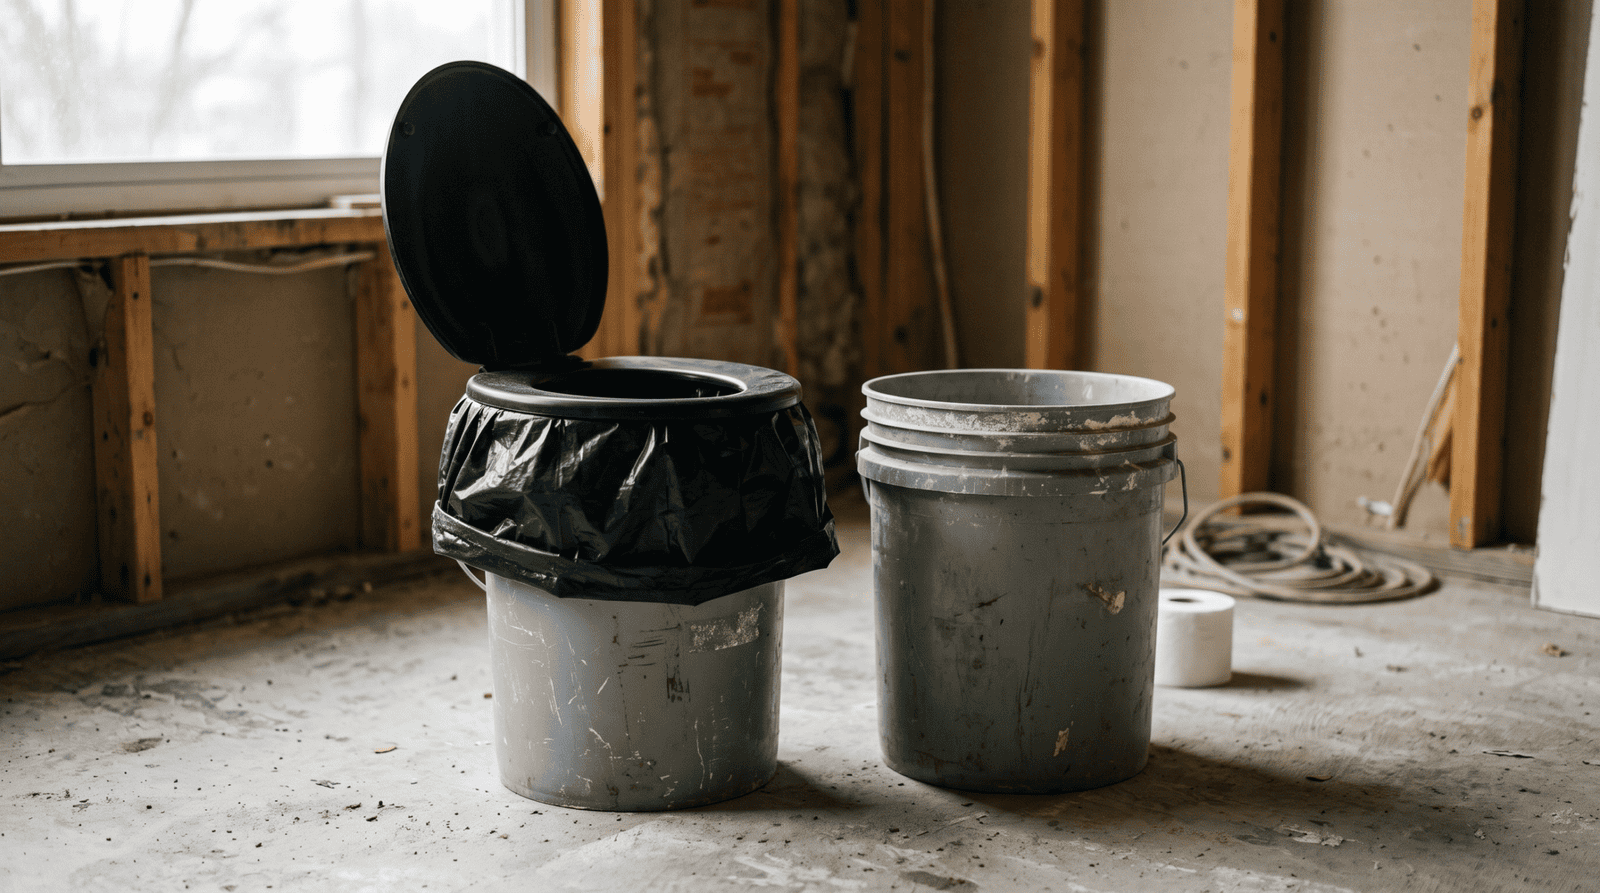

The lights go out and you grab a flashlight. The faucet quits and you crack open the stored water. But when the toilet stops flushing, preparedness gets considerably less glamorous.
Emergency sanitation without running water is the part of preparedness nobody wants to plan for, which is exactly why it’s the part that goes wrong first. Everybody stocks a flashlight. Almost nobody stocks a plan for what happens on day three, when the toilet stops flushing and the bathroom becomes the actual crisis.
Here’s the thing most guides skip: a dead faucet and a dead sewer are two completely different problems, and mixing them up is how people either waste their drinking water or make a bad situation worse. This guide sorts out which one you’re actually facing, and what to do about each.
What Is Emergency Sanitation Without Running Water?
Emergency sanitation without running water covers everything from flushing a toilet manually during a simple water outage to building a standalone bucket toilet when the sewer itself is out of commission. Those are not the same skill, and the guide below treats them as two separate problems because that’s what they are.
Reasons You Need to Know This
A water outage doesn’t automatically mean your toilet is useless — but treating every outage the same way, either by panicking into a bucket system you don’t need or by flushing straight into a backed-up sewer, causes real problems:
- Wasting stored drinking water on flushes you didn’t need to do manually at all
- Sending waste into a septic system that’s already flooded and can’t process it
- Improvising a “solution” — a backyard hole, an open bucket — that’s a bigger health risk than the outage itself
- Getting blindsided by hygiene failures, which is how a water outage turns into a stomach bug outbreak
Get the first question right — water problem or sewer problem — and almost everything downstream gets simpler.
Step-by-Step: Emergency Sanitation Without Running Water
There’s one decision that determines everything else here, so the steps below start with it instead of jumping straight to “here’s how to build a bucket toilet.”
- Figure out what actually failed
- Flush with what you’ve got — if the sewer’s fine
- Build a two-bucket toilet — if it’s not
- Stock the kit before you need it
- Handle the waste safely
Start with the decision, because it changes which of the next steps you actually need.
Step 1: Figure Out What Actually Failed
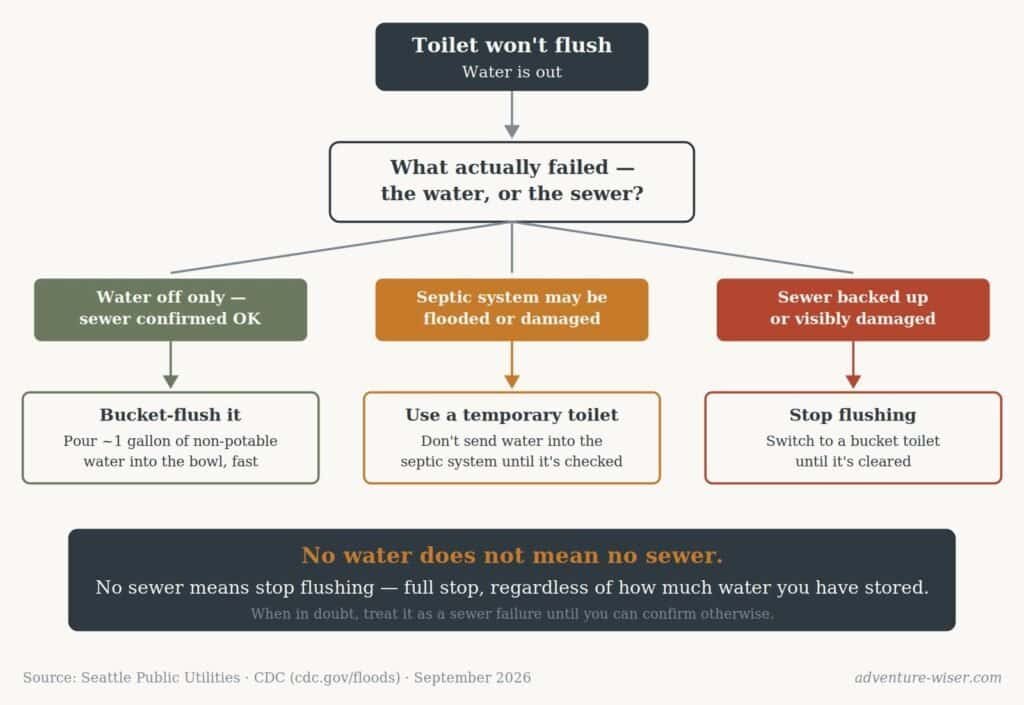
This is the step that gets skipped, and it’s the one that matters most. A water outage — a broken main, a planned utility shutoff, a dry well — usually leaves your sewer line completely intact. The pipes carrying waste away from your house don’t care whether water is coming in through the tap.
A sewer or septic failure is a different animal. Flooding, earthquake damage, a collapsed line, or a saturated septic drainfield means the system that carries waste away isn’t working, regardless of how much water you have on hand.
CDC’s guidance on septic systems during emergencies is blunt about it: during flooding or a similar event, cut back on flushing and using the toilet until you know the drainfield can actually process what you’re sending it. If you’re on municipal sewer, check with your utility or local emergency management before assuming it’s still flowing.
No water does not mean no sewer. No sewer means stop flushing — that’s the one rule worth remembering here.
Step 2: Flush With What You’ve Got (If the Sewer’s Fine)
If the sewer’s confirmed working and you’ve just lost water pressure, you don’t need a bucket toilet. You need about a gallon of water and a working toilet.
Seattle Public Utilities’ guidance for planned water outages lays out the method: pour roughly a gallon of water into the bowl quickly, and it’ll trigger a normal siphon flush on most gravity toilets. That’s it. No plunging, no tricks.
The part people get wrong is the water source. Don’t burn through your stored drinking water flushing toilets. Bathtub fill-ups, rain barrel water, even pool water if that’s what you’ve got — none of that needs to be potable to move waste through a functioning sewer line.
Step 3: Build a Two-Bucket Toilet (If It’s Not)
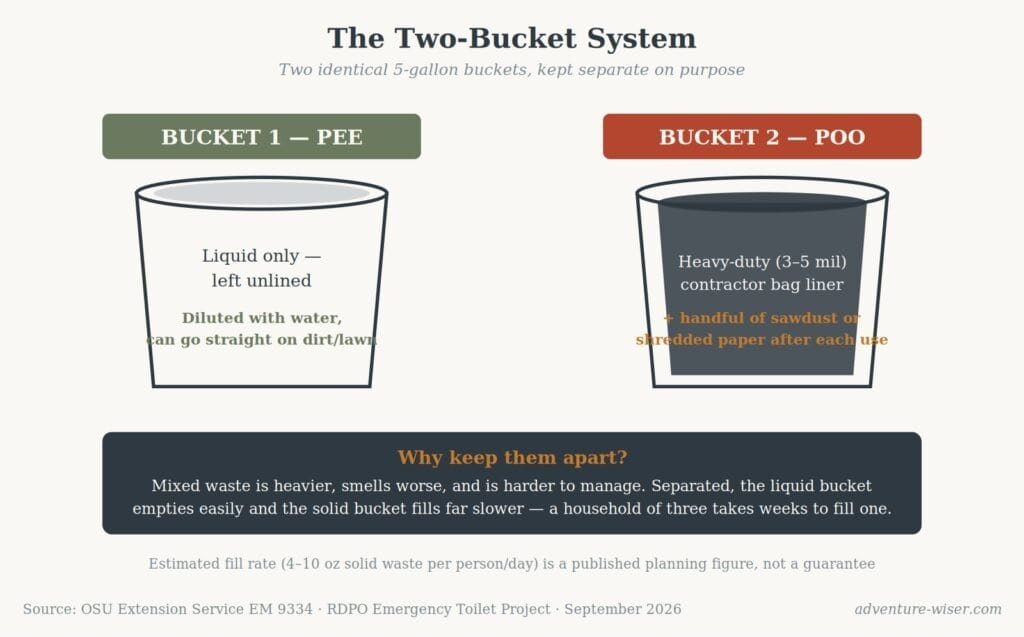
If the sewer’s out, or you can’t confirm it’s working, stop using any drain in the house and switch to a standalone system. The twin-bucket toilet, developed and refined by Oregon State University’s Extension Service building on the Regional Disaster Preparedness Organization’s Emergency Toilet Project, is the version worth building — not the single “bag in a bucket” setup that shows up in most prepper posts.
Two identical five-gallon buckets, kept deliberately separate:
- Bucket 1 — liquid only. Left unlined. Urine is essentially sterile and can be diluted with water and poured onto dirt or a lawn. Keeping it separate also cuts the total volume of waste you have to manage.
- Bucket 2 — solid waste. Lined with a heavy-duty (3–5 mil) contractor bag. After each use, add a handful of sawdust, wood pellets, shredded paper, or even dry leaves — anything carbon-based that cuts odor and keeps flies down.
A snap-on toilet seat/lid made for five-gallon buckets (sold in most camping sections) turns this from “a bucket” into something you can actually sit on. A pool noodle split lengthwise and zip-tied to the rim works if you don’t have one.
Step 4: Stock the Kit Before You Need It
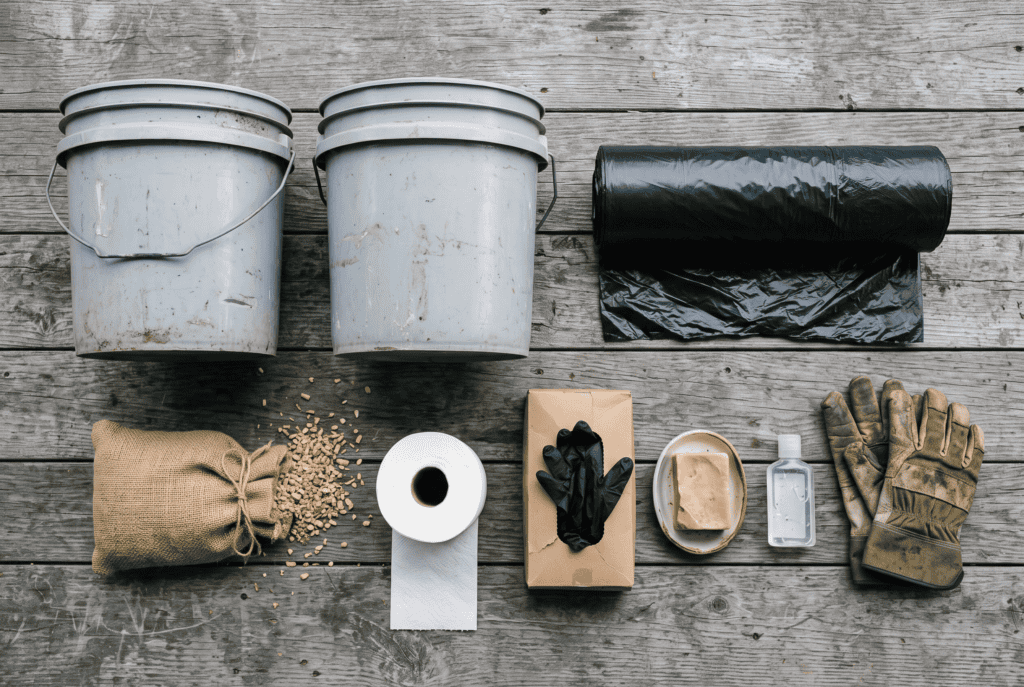
None of this works if you’re improvising it during the emergency. The kit is short and mostly stuff you already own:
- Two 5-gallon buckets
- A snap-on toilet seat/lid
- Heavy-duty (3–5 mil) contractor garbage bags
- Sawdust, wood pellets, or shredded paper for the covering layer
- Toilet paper
- Disposable gloves
- Soap and hand sanitizer (60%+ alcohol)
- Disinfectant and paper towels for cleanup
- Extra water set aside specifically for handwashing
This is where an existing water-storage plan pays off twice — once for drinking, once for hygiene. If you’ve already worked through our emergency food and water storage guide, add this list to what you’re already keeping on hand rather than treating it as a separate stockpile.
Step 5: Handle the Waste Safely
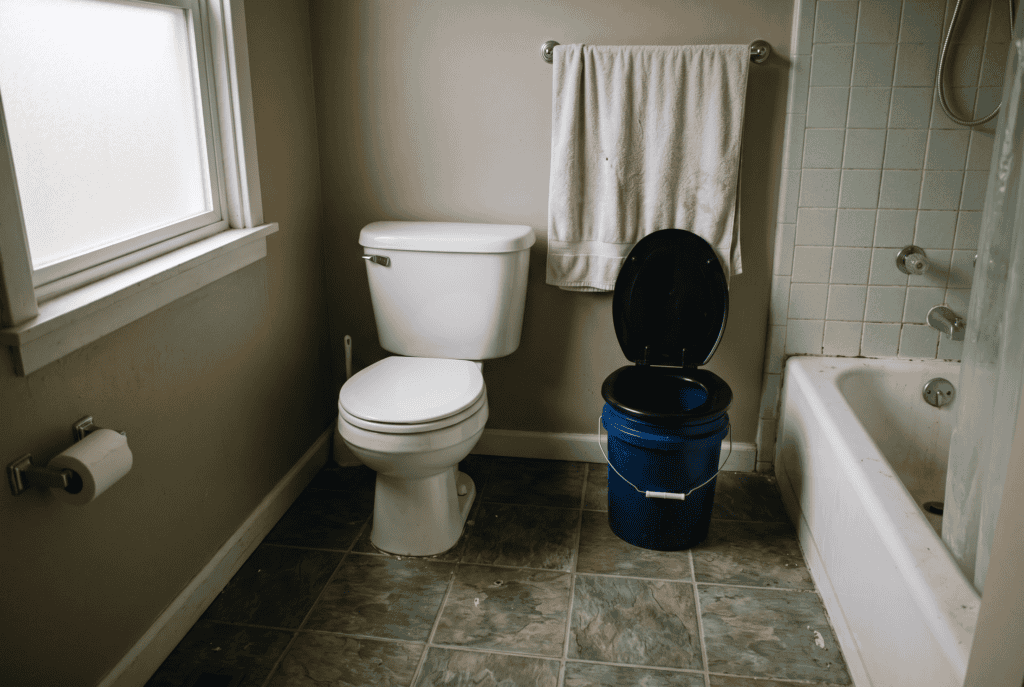
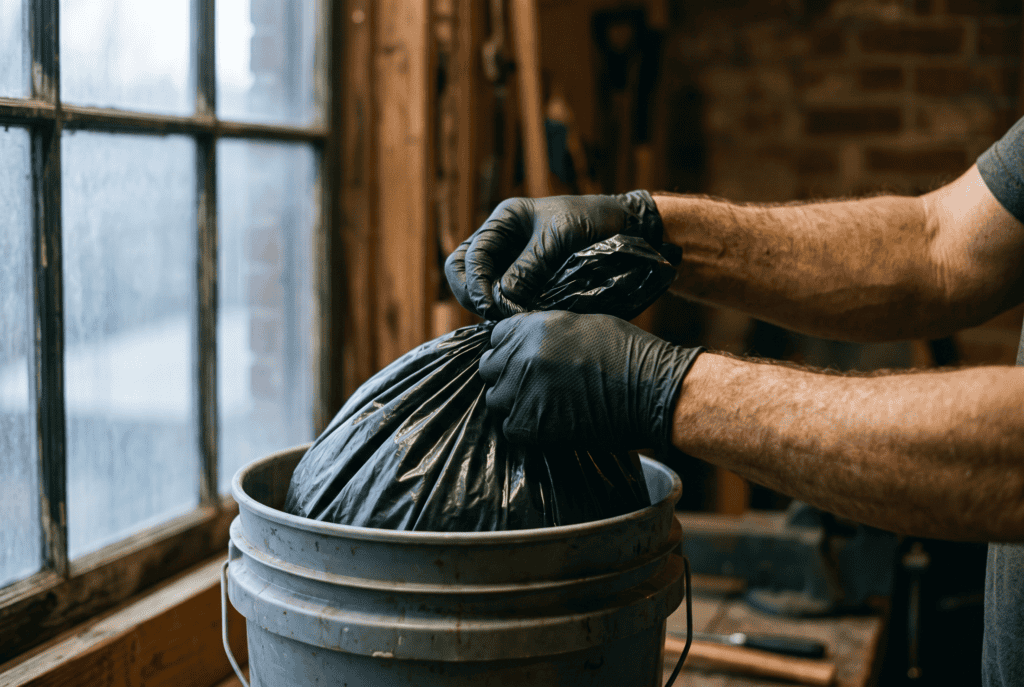
Contain it, seal it, and keep it away from people, pets, food, and any water source — then follow local emergency management instructions for final disposal. That’s the universal rule, and it holds regardless of what a forum post tells you.
What it rules out: digging a pit latrine in the backyard without checking whether that’s legal or safe where you live, burning waste, or dumping a bucket into a storm drain. Improvised disposal creates the exact vermin and contamination risks the two-bucket system is designed to avoid in the first place.
Key Considerations For Handling This Well
Handwashing gets more important during a sanitation emergency, not less — it’s the step that actually prevents the outbreak. CDC’s emergency hygiene guidance is straightforward: soap and safe water first, and when that’s not available, an alcohol-based sanitizer with at least 60% alcohol as the backup — with the caveat that sanitizer doesn’t fully replace washing when hands are visibly dirty.
Redundant water treatment matters here too. If you’re rationing stored water for drinking, don’t let hygiene water compete with it — this is exactly the kind of tradeoff our emergency water purification guide is built to help you plan around, since it covers stretching and treating water from sources you wouldn’t normally drink from.
Taking It Further: Apartment Sanitation
Apartments make this harder in a specific way: you can’t dig anything, storage is tight, and you’re sharing plumbing infrastructure with everyone else in the building — which means you may genuinely not know whether a problem is yours, your building’s, or the city’s. That makes confirming Step 1 even more important, and it makes waste storage — not disposal — the real constraint. A covered container and a plan for where filled bags go until collection resumes matters more here than almost anywhere else. If you’re building out apartment-specific storage generally, see our apartment water storage guide for the space-saving side of this same problem.
Alternatives to the Two-Bucket System
A portable camping toilet with a sealed waste tank is a reasonable alternative if you already own one — it trades the bucket’s simplicity for a container that’s easier to transport and doesn’t need daily bag changes. It costs more and does the same basic job, so it’s worth mentioning rather than recommending outright; if you’re starting from zero, the two-bucket system gets you there for under $30 in parts you likely already have around the house.
Frequently Asked Questions
Can I just keep flushing if the water comes back but I’m not sure about the sewer? No — confirm the sewer’s working before you resume normal flushing. Handling emergency sanitation without running water is really two separate problems, and a returning water supply only answers one of them; it tells you nothing about whether the line carrying waste away is intact.
How long does a two-bucket system actually last a household? Published planning figures put solid waste output at roughly 4–10 ounces per person per day, which means a household of three takes a couple of weeks to fill one bucket under normal use.
Is it safe to pour the urine bucket onto my lawn? Diluted with water, yes — urine is essentially sterile in a healthy person. It’s the solid-waste bucket that needs careful sealing and disposal.
Do I need a special toilet seat for the bucket, or can I just sit on the rim? You can improvise with a padded pool noodle, but a snap-on bucket seat/lid (sold in most camping sections) is inexpensive and makes the whole system far more usable for more than a day or two.
What if I only have regular kitchen trash bags, not contractor bags? Double or triple them if that’s genuinely all you have, but they tear far more easily under weight — it’s worth adding contractor bags to the kit before you need this system, not after.
Does hand sanitizer replace handwashing during an extended outage? No. It’s the right backup when soap and water aren’t available, but CDC guidance is clear that sanitizer is less effective on visibly dirty hands and doesn’t cover every pathogen soap and water does.
Wrapping Up: Emergency Sanitation Without Running Water, Handled Right
Adventure Wiser hasn’t run this system in an actual outage — this is research-backed, built from CDC, Seattle Public Utilities, and Oregon State University Extension guidance rather than firsthand field use, and it’s labeled that way on purpose. See our how we test gear page for what that distinction means on this site.
What we can tell you with confidence: the two supplies that matter most for handling emergency sanitation without running water — contractor bags and a set-aside water reserve for hygiene — cost almost nothing and take five minutes to add to a kit you probably already have. Do that this weekend, before you need to figure it out standing in a bathroom with no water pressure.
Want the short version to keep on hand? Grab our free preparedness checklist — it covers this and the rest of the basics in one page.
Adventure Wiser researches gear and methods the way we’d want them researched for us — real sources, no invented field stories, and a plain label when something hasn’t been run in the field yet.