
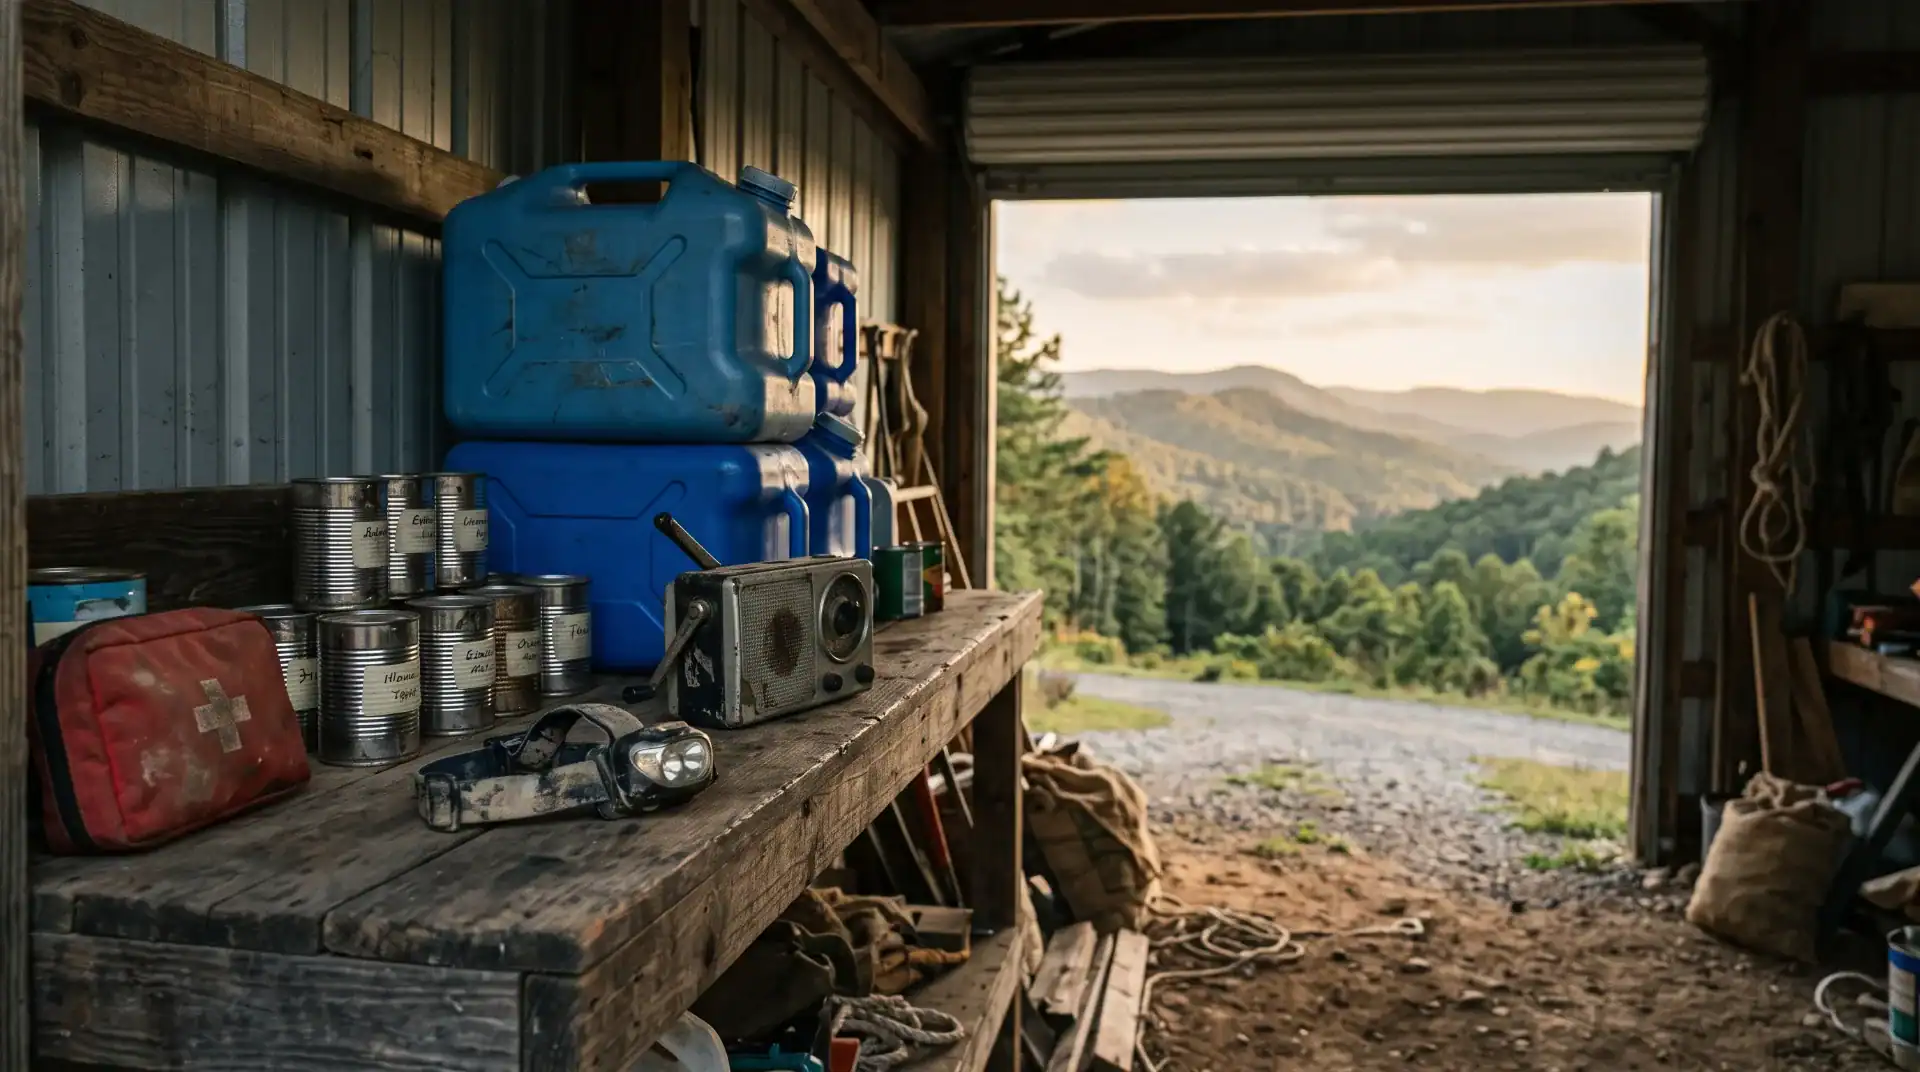

The levels of preparedness run from “I know where my water shutoff is” to “my household can run a month on its own.” Most people only need the middle three, and almost nobody needs to start with the expensive one.
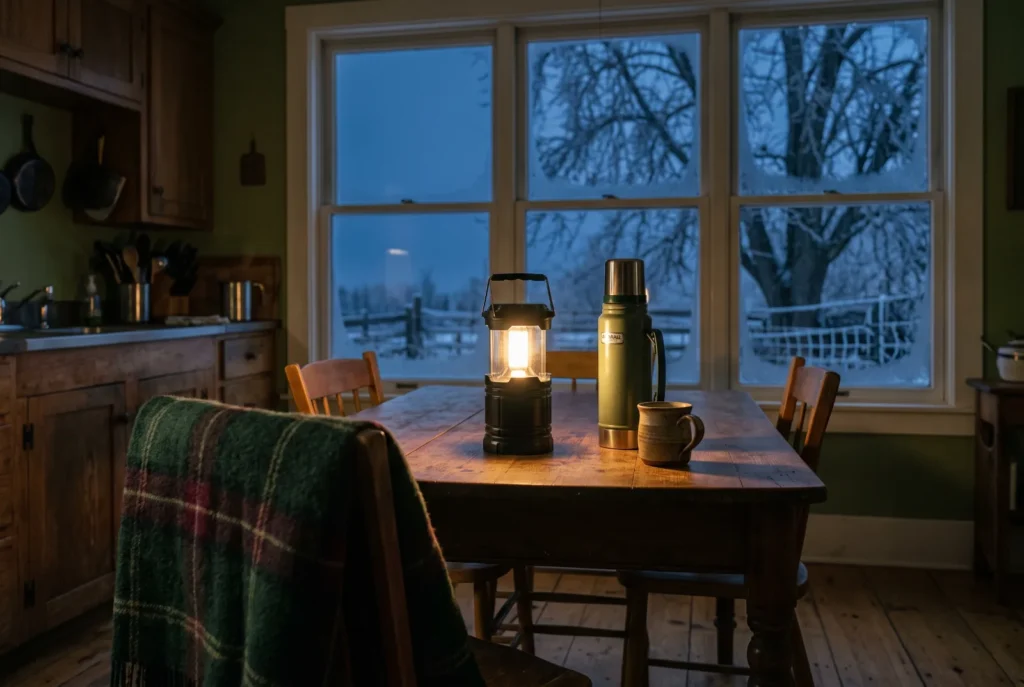
The ice comes in overnight. By morning every pine on the ridge is bowed over, a limb is lying across the line at the end of the road, and the house is quiet in that particular way that means the fridge has stopped. Nobody is panicking. You’re just standing in the kitchen doing math: how many gallons of water are in the house, how long the freezer holds, whether the flashlight in the junk drawer has batteries in it.
That kitchen math is what preparedness actually is. It’s not a bunker. It’s knowing the answers before the morning you need them.
The trouble is that most prepping advice skips the part where you figure out where you’re starting from. It hands you a 47-item checklist and implies you’re behind if you don’t own a freeze dryer. You’re not behind. You’re at a level, and the job is to get to the next one.
What Are the Levels of Preparedness?
The levels of preparedness are a way of sorting household readiness by how long you can run on your own when normal services stop — power, water, groceries, roads. Each level roughly doubles the time you can ride out, and each one builds on the one below it.
This isn’t an official government scale. It’s a practical framework built on two benchmarks that are official. Ready.gov tells households to keep water and supplies for “several days.” The American Red Cross gets more specific: a 3-day supply for evacuation and a 2-week supply for home, at one gallon of water per person per day. Those two numbers anchor Levels 2 and 3. Everything above them is optional, and everything below them is free.
Why Thinking in Levels Beats a Giant Checklist
A checklist tells you what to buy. A level tells you what problem you’ve solved. That difference matters for a few reasons:
- It shows you the next step instead of the whole staircase. You don’t need to plan for a month without groceries if you can’t get through Tuesday night without a flashlight.
- It stops the spending spiral. Gear bought out of order sits in a closet. A solar generator doesn’t help a household that never stored water.
- It’s honest about time. Most real disruptions are measured in hours and days, not months. The boring disasters — outages, boil notices, closed roads — are the ones you’ll actually meet.
- It works for renters, apartments and tight budgets. Level 1 costs nothing. Level 2 fits in a closet.
The levels give you a place to stand. Here’s the whole climb.
The 5 Levels of Preparedness, Step by Step
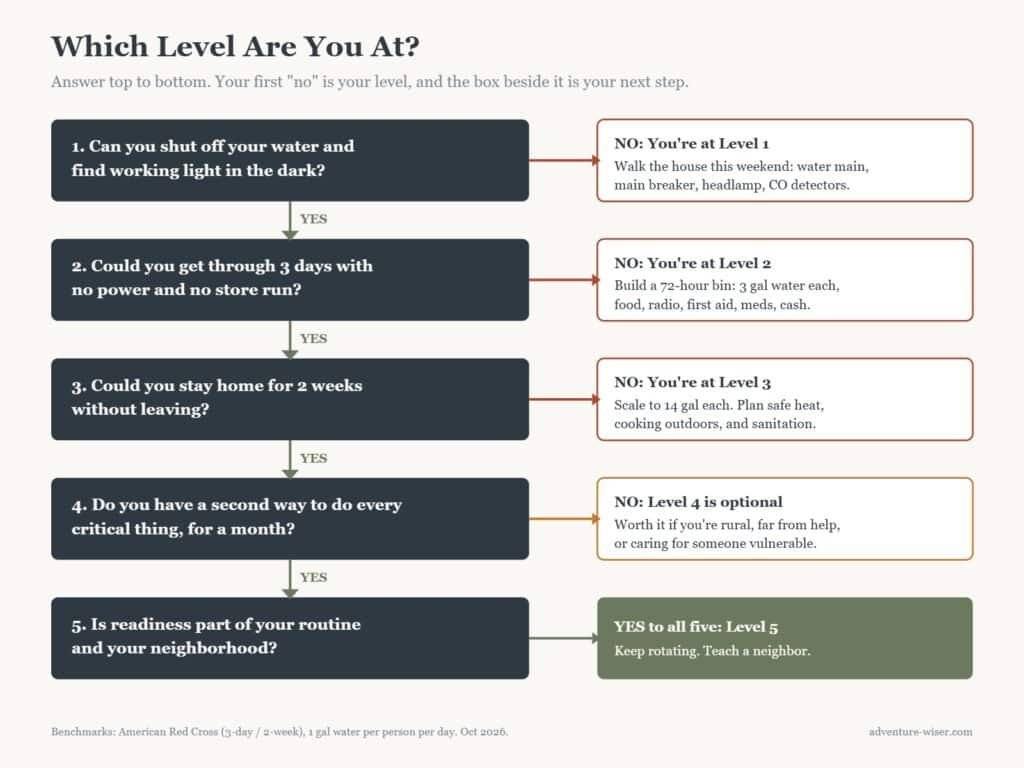
Think of each level as a question your household can answer with a yes:
- Level 1 — Know Your House: Can you shut off the water and kill the power in the dark?
- Level 2 — The First 72 Hours: Can you get through three days with no power and no store run?
- Level 3 — Two Weeks at Home: Can you shelter in place for two weeks without leaving?
- Level 4 — A Month of Depth: Can you handle a month of disruption with backups for your backups?
- Level 5 — Self-Reliance as a Habit: Is readiness built into how your household and your neighbors already live?
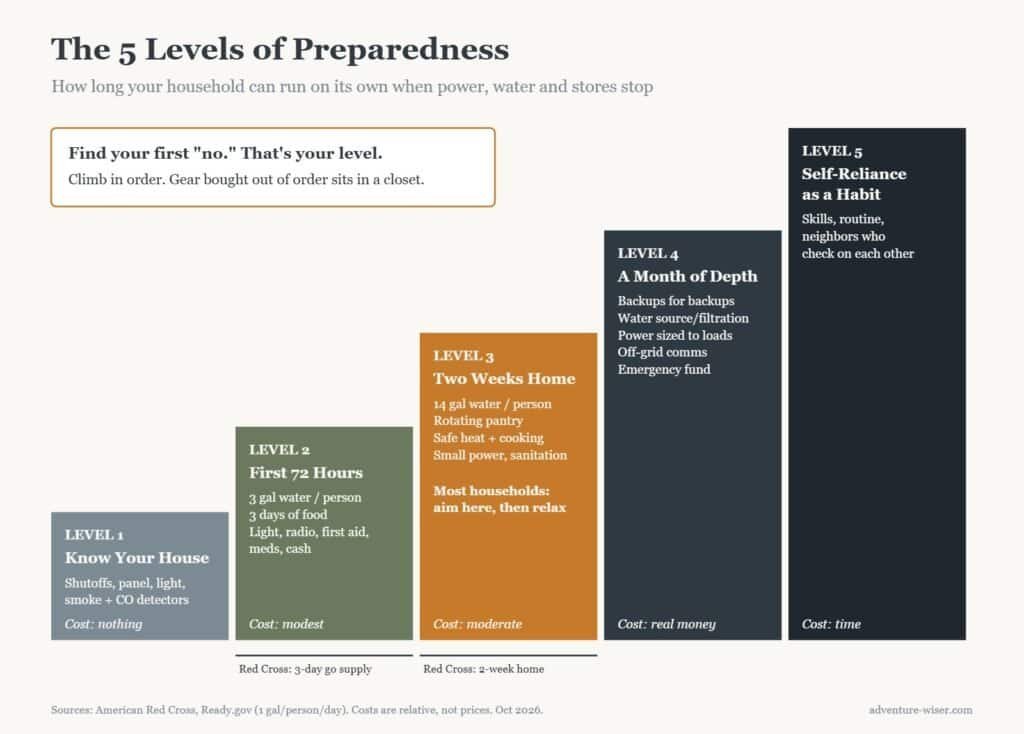
Be honest about the first “no.” That’s your level, and the next section tells you what to do about it.
Level 1 — Know Your House (Cost: Nothing)
This is the level everyone skips and the one I’d tell anybody to start with. Before you store a single can, walk your house and find:
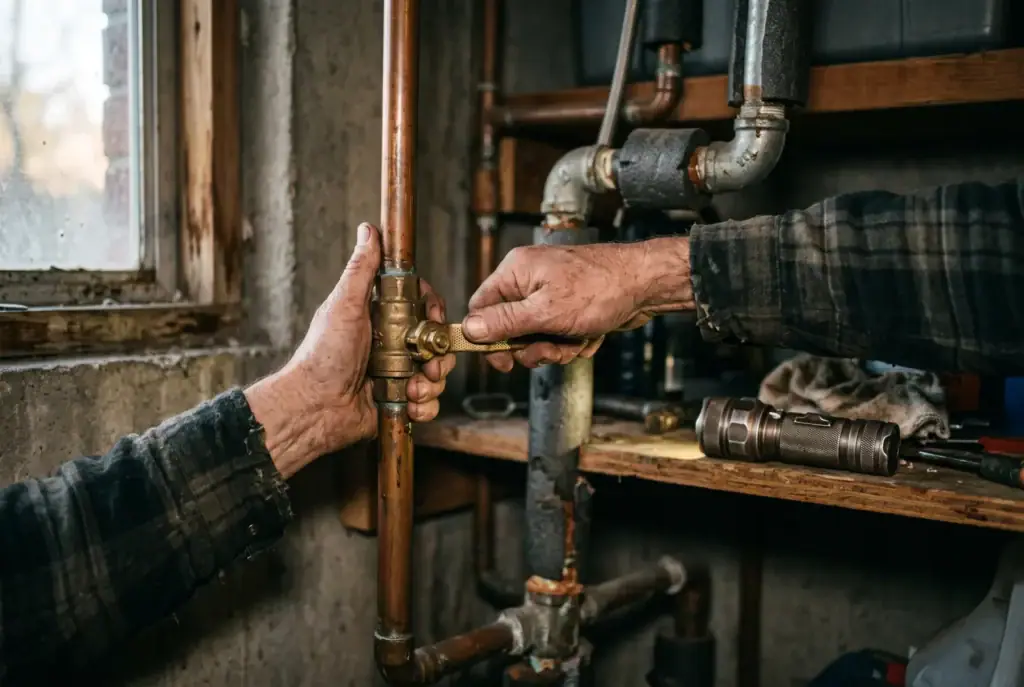
- The water main. Usually where the line enters the house, or at the meter by the road. Turn it off and back on once so you know it moves. A burst pipe in a freeze is the most expensive five minutes of your year if you can’t find this valve.
- The electrical panel. Know which breaker is the main, and label the circuits if nobody ever did.
- The gas meter, if you have one. Know where it is and what tool turns it. But here’s the part most checklists get wrong: you don’t shut off natural gas just because the power is out. Utilities like PSE are clear that you shut it off only if you smell gas or hear it escaping, and once it’s off, the utility turns it back on — not you.
- Light you can find in the dark. One headlamp or flashlight in a fixed spot, with batteries that work.
- Working detectors: smoke alarms on every level, and battery-backed carbon monoxide detectors near every sleeping area.
Add a written contact list — on paper, because a dead phone doesn’t have your contacts in it — and agree on where everyone meets if you’re scattered when it hits. That’s Level 1. An afternoon, no money, and you’re already ahead of where the junk-drawer flashlight left you.
Level 2 — The First 72 Hours (Cost: Modest)
Level 2 is the classic three-day kit, and it lines up with what the Red Cross calls the evacuation supply. The goal is simple: get through three days with no power, no running water and no store.
- Water: one gallon per person per day, so a family of four needs 12 gallons. Add more for pets.
- Food: three days of things you already eat that don’t need a fridge. Canned, shelf-stable, and a manual can opener.
- Light and information: headlamps, spare batteries, and a battery or hand-crank radio that picks up NOAA Weather Radio.
- Medical: a basic first aid kit plus a few days of any prescriptions your household depends on.
- Cash in small bills, because card readers need power too.
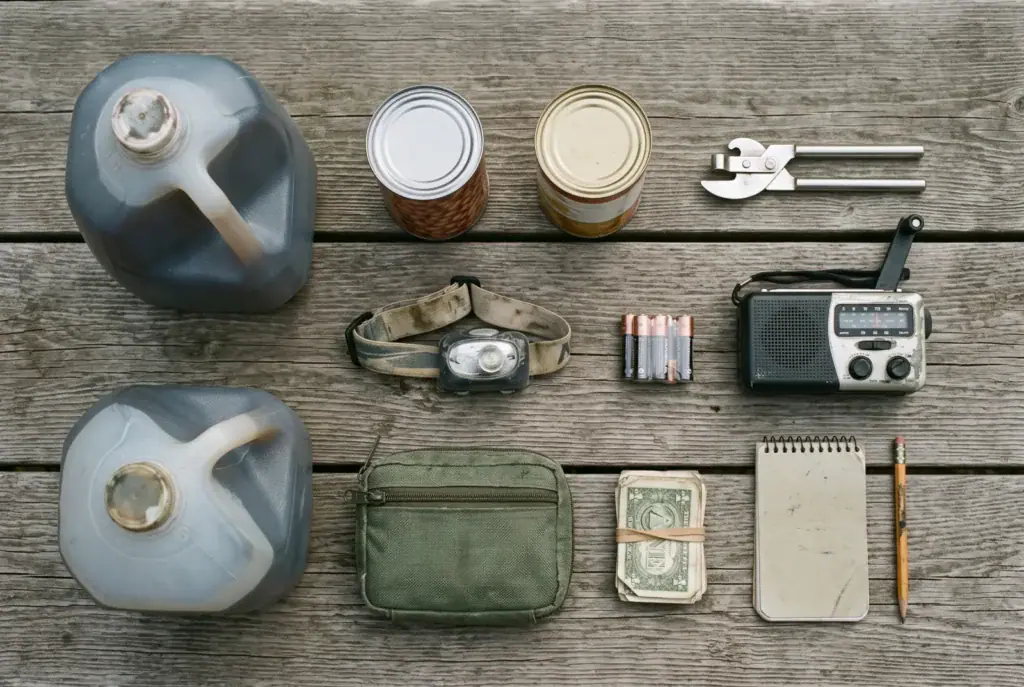
Keep it in one bin you could grab in two minutes. The full breakdown is in the 72-hour checklist, and the food and water storage guide covers how to store it so it’s still good when you need it.
Level 3 — Two Weeks at Home (Cost: Moderate)
This is where my own household sits, and it’s the level most families can aim for and then stop worrying about. Two weeks is the Red Cross home benchmark, and it covers the long tail of ordinary disasters: the ice storm that takes out lines across three counties, the multi-day outage, the week the roads aren’t worth driving.
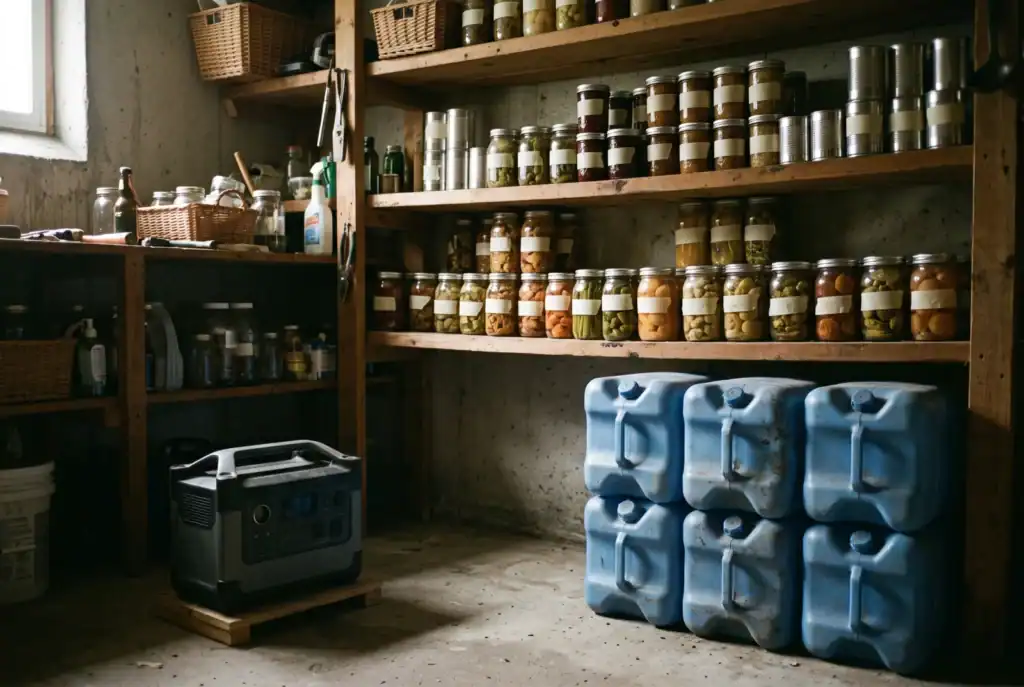
Level 3 is less about more stuff and more about the systems that break first when an outage runs long:
- Water, scaled up: 14 gallons per person, plus a way to treat more. Your water heater holds a tank of usable water if you know how to drain it, and a good water filter turns questionable water into drinkable water.
- Food you rotate: two weeks of pantry food you’d eat anyway, so nothing expires in a forgotten bin.
- A way to cook and a way to stay warm: a camp stove used outdoors, plus a plan for heating one room safely. The winter power outage guide covers that without the carbon monoxide risk.
- Power for the small stuff: a battery power station or a generator for phones, lights, a CPAP, or the freezer. If it’s a fuel generator, the CDC’s rule is non-negotiable: at least 20 feet from doors, windows and vents, and never in the garage.
- Sanitation: the part nobody plans for until the toilet won’t flush. The emergency sanitation guide is the unglamorous fix.
Know your freezer math, too. FoodSafety.gov says a closed fridge keeps food cold about 4 hours, a full freezer about 48 hours, and a half-full one about 24. Keep the doors shut and your freezer full — even with jugs of water — and you buy yourself two days.
Level 4 — A Month of Depth (Cost: Real Money)
Level 4 is for households that are rural, far from help, caring for someone with medical needs, or just done with gambling on the next storm. The difference from Level 3 isn’t quantity alone. It’s redundancy: a second way to do every critical thing.
- A deeper rotating pantry and a renewable water source or serious filtration, not just stored jugs.
- Power sized to your actual loads, not to a marketing number. That’s where a properly sized solar setup earns its keep, and sizing it to real loads is the whole game.
- Communication that doesn’t need towers: a weather radio for news and something like GMRS radios to talk to family across a few miles.
- Money set aside for the disruption itself. A month without a paycheck is its own emergency, and the prepper emergency fund breakdown is the least exciting and most useful page on this site.
Level 5 — Self-Reliance as a Habit (Cost: Time)
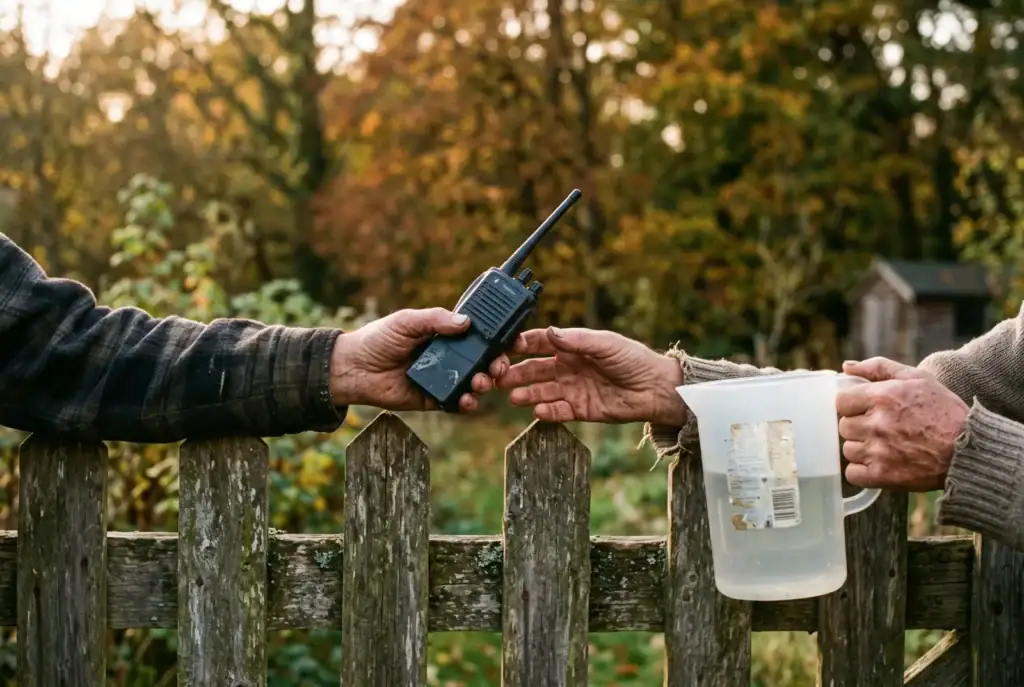
Level 5 isn’t a bigger stockpile. It’s the point where readiness stops being a project and becomes how you live: you garden because you like it, you can fix the small things, you rotate the pantry without thinking, and you know which neighbors have a chainsaw and which ones need a check-in when the power goes out.
Skills are the core of it — fixing, first aid, navigation, growing food — along with community. The households that come through a long disruption best aren’t the ones with the most gear. They’re the ones that aren’t alone.
Key Considerations Before You Climb
Climb in order. It’s tempting to buy the exciting Level 4 gear first, but a generator without stored water, a working shutoff and a plan is just a loud thing in the garage.
Build for your actual house. A renter in a fourth-floor apartment and a family on a well at the end of a gravel road need different things at Level 3. The apartment needs water storage that fits a closet; the rural house needs a plan for the well pump that stops when the power does.
And plan around people, not gear. Count the medications, the infant formula, the dog, the relative with oxygen. Those are what turn an inconvenience into an emergency.
Taking It to the Next Level: Practice One Night
Once you think you’ve reached a level, test it. Pick one evening, flip the main breaker, and run the house on what you’ve stored until bedtime. You’ll learn more in four hours than in four weeks of reading, and every gap you find costs you nothing to fix on a calm Tuesday.
Alternatives to a Levels Framework
Levels aren’t the only way to organize this, and some people think better in other shapes:
- The two-benchmark method. Skip the framework and use the Red Cross numbers directly: a 3-day go supply and a 2-week home supply. Simple, official and enough for most households.
- Threat-by-threat planning. List the three things most likely to hit where you live — for much of Arkansas, that’s ice storms, tornadoes and long outages — and prepare for those specifically.
- The rotating-pantry approach. Buy two of everything you already use, eat the oldest first, and let the buffer grow on its own.
Any of these beats doing nothing. The levels just make it easier to see what to do next.
Frequently Asked Questions About the Levels of Preparedness
What are the levels of preparedness?
They’re a way to sort household readiness by how long you can run on your own: knowing your house, 72 hours, two weeks, a month, and self-reliance as a daily habit. Each level builds on the one below.
How much water do I need for each level?
Plan on one gallon per person per day, per the Red Cross and Ready.gov. That’s 3 gallons per person for Level 2, 14 for Level 3, and about 30 for Level 4 — or a reliable way to treat water from another source.
Is a 72-hour kit enough?
For evacuation, it’s the standard. For sheltering at home, the Red Cross recommends two weeks, and long outages from ice storms regularly outlast three days.
What should I do first if I’m starting from zero?
Find your water main and electrical panel, put a working flashlight in a fixed spot, and check your smoke and CO detectors. It costs almost nothing and solves real problems tonight.
Should I shut off my gas during a power outage?
No. Shut off natural gas only if you smell gas or hear it leaking. Once it’s off, the gas utility has to restore it and relight your pilots.
Do I need to reach Level 5?
No. Most households are well served at Level 3. Level 4 and above make sense if you’re rural, far from help, or caring for someone who can’t handle a long disruption.
Wrapping Up: My Experience Climbing the Levels of Preparedness
I’ve sat through a multi-day power outage and an ice storm here in Arkansas, and my household sits at about Level 3 — two weeks at home without leaving. My first piece of advice still isn’t gear, though. It’s to find the shutoffs before you need them, because a frozen, burst pipe with no idea where the main is will turn a quiet outage into a flooded one fast.
So that’s your homework for these levels of preparedness, and it starts small. This weekend, walk your house with a flashlight. Find the water main and turn it once. Find the main breaker. Put a headlamp somewhere you could reach it blind. Then come back and grab the free trail-ready checklist for Level 2.
Gear on Adventure Wiser is labeled for what it is — Tested, Owned, or Researched. Here’s how that works.