

Picture it: the sky has been dumping on you since noon, your socks are doing an impression of wet sponges, and somewhere in your bag is a lighter that has apparently decided to unionize and stop working. Welcome to the special circus that is starting a fire in wet conditions — nature’s favorite way of humbling anyone who’s ever bragged about their outdoor skills on Instagram.
Here’s the good news: starting a fire in wet conditions isn’t some ancient mystical art reserved for mountain men with suspiciously good beards. It’s a skill, and skills can be learned by regular, easily-frustrated humans like you and me. By the end of this guide, you’ll know exactly how to coax a real, roaring fire out of a soggy forest that seems personally offended by the idea of warmth. Stick around, because your future damp, shivering self will thank you.
What is Starting a Fire in Wet Conditions?
Let’s define our terms before you go charging into the woods with a book of matches and misplaced confidence. Starting a fire in wet conditions means successfully building and sustaining a fire when the deck is stacked against you — rain is falling, the ground is a swamp, and every stick within reach has the moisture content of a wrung-out dishrag. It’s not about finding perfectly dry conditions (those don’t exist in a downpour, genius); it’s about working around the wet with the right materials, technique, and a healthy dose of stubbornness.
This is different from your average backyard bonfire, where you toss a match at some charcoal and call yourself an outdoorsman. Starting a fire in wet conditions requires you to actually understand why fire behaves the way it does, so you can outsmart the weather instead of just yelling at it.
Reasons You Need to Know How to Start a Fire in Wet Conditions
Nobody plans for the storm to roll in exactly when they need heat, light, and the ability to boil water most. That’s precisely the problem — wet weather doesn’t RSVP. If you spend any real time outdoors, mastering starting a fire in wet conditions isn’t optional, it’s survival math with better odds.
Hypothermia doesn’t care about your vacation itinerary. Wet clothes and dropping temperatures are a genuinely dangerous combo, and a fire is often the fastest way to reverse it.
Wet gear needs to dry out eventually, and a campfire is a far better dryer than “hoping real hard.”
Cooking and boiling water become non-negotiable when you’re stuck out longer than planned, and a wet-weather-proof fire is the difference between a hot meal and cold, sad trail mix.
Morale collapses fast in the rain. A fire signals to your brain (and your equally miserable camping buddies) that things are still under control.
Signaling for help in an emergency often requires visible flame or smoke — useless skills if you can only start a fire on a sunny day.
Once you’ve internalized that starting a fire in wet conditions is a real, teachable process rather than a coin flip, the rest becomes a lot less terrifying and a lot more like following a recipe — a slightly damp, slightly stressful recipe.
Step-by-Step Instructions to Start a Fire in Wet Conditions
Here’s the part where we stop complaining about the rain and start doing something about it. This process isn’t flashy, but it works, and it’s the same basic method preferred by people who don’t want to spend the night shivering under a tarp questioning their life choices. Follow these steps in order — skipping ahead is how you end up with a sad pile of smoking sticks instead of an actual fire.
- Scout Like a Fire Detective
- Hunt Down the Driest Tinder in the Forest
- Build Your Fire Fortress (the Structure)
- Bring the Heat (Ignition)
- Baby the Flame Until It Can Fend for Itself
Let’s break each one down, because “just build a fire” is the kind of unhelpful advice that gets people cold, wet, and cranky.
Step 1: Scout Like a Fire Detective
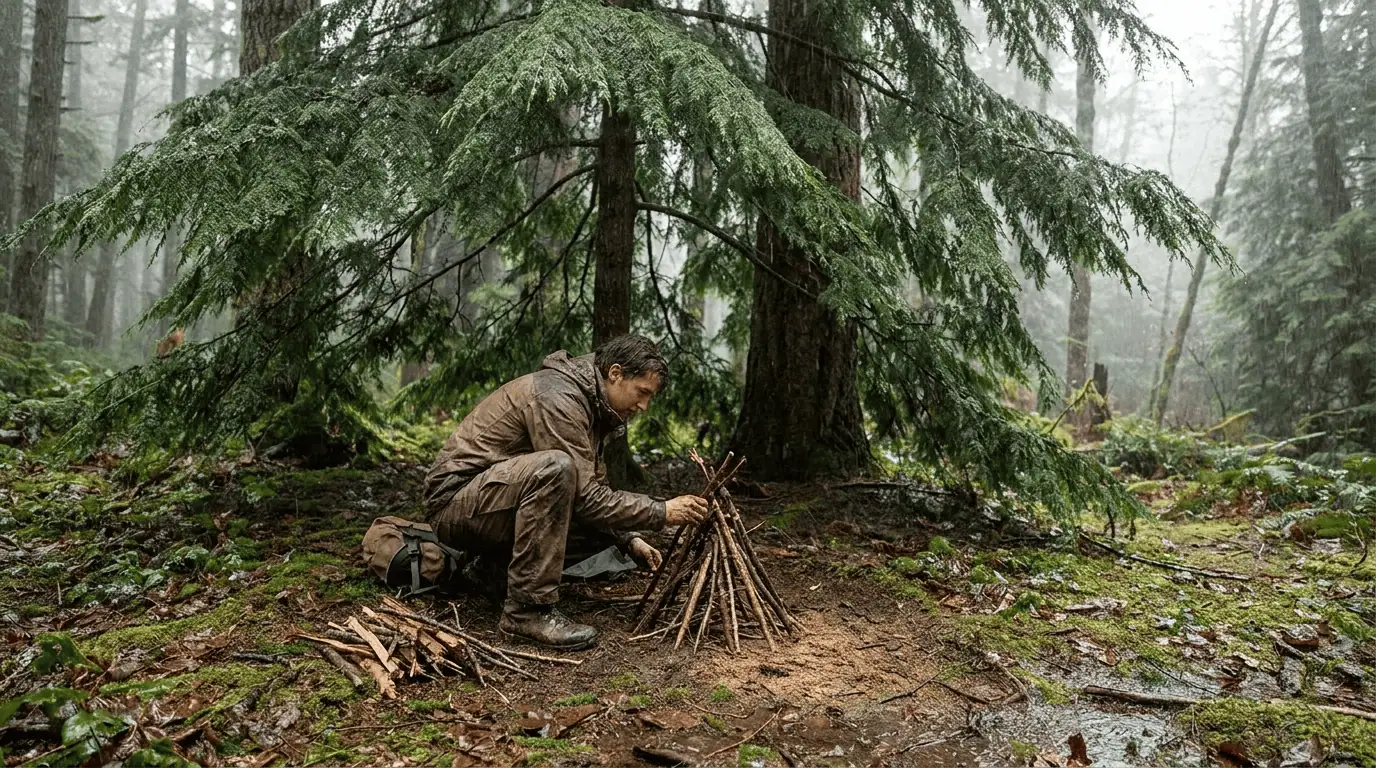
Before you strike a single spark, go full detective mode on your surroundings. The goal of starting a fire in wet conditions always begins with location. Look for a spot with natural overhead cover — think dense evergreen canopy, a rock overhang, or the leeward side of a fallen log — anywhere the worst of the rain isn’t landing directly on your workspace. Clear away surface debris down to bare, ideally elevated ground, since standing water is fire’s mortal enemy. If you’re working with a group, this is also a good moment to check out our guide on choosing a campsite that won’t flood on you before you commit to a spot.
Step 2: Hunt Down the Driest Tinder in the Forest
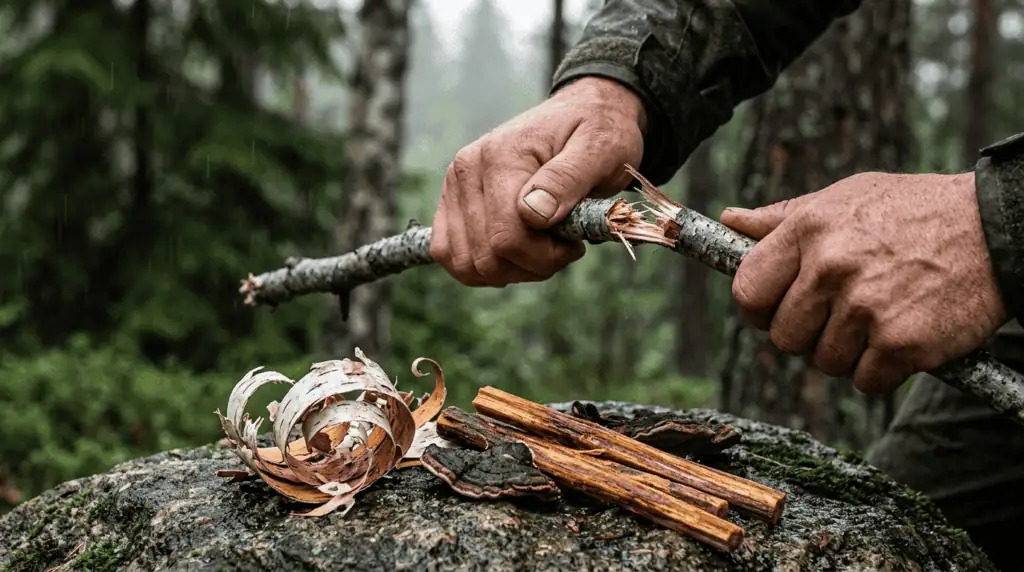
This is the single most important step in starting a fire in wet conditions, so don’t rush it. Dead branches still hanging in trees are almost always drier than anything lying on the ground, since they haven’t been marinating in a puddle. Snap them — a clean snap means dry wood, a bendy limp noodle means keep looking. Birch bark is a champion here because its natural oils let it burn even when wet.
Standing dead pine with sap pockets (commonly called fatwood) is basically nature’s fire starter and will burn like it’s spiteful, according to Montana Knife Company‘s breakdown of wet-weather fire building. Split larger sticks open with a knife or hatchet to expose the dry inner wood — the outside can be soaked, but the inside is usually fine, like a slightly damp burrito.
If nature isn’t cooperating, lean on man-made backup: cotton balls soaked in petroleum jelly, dryer lint, or a Black Beard fire starter. None of this is cheating. Survivalists just call it “preparation,” and we’re inclined to agree.
Step 3: Build Your Fire Fortress (the Structure)
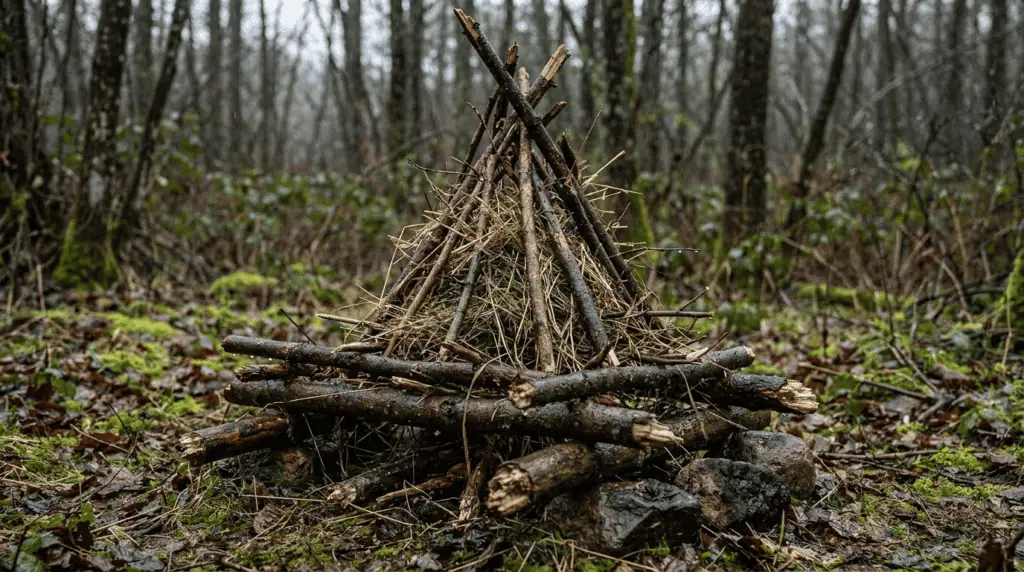
Once you’ve got dry tinder and kindling sorted by size (tinder, then pencil-thin kindling, then finger-thick sticks, then your actual fuel wood), it’s time to build. A teepee structure is the classic choice for starting a fire in wet conditions because it maximizes airflow, which matters enormously when everything around you is trying to smother the flame with moisture. A raised platform of thick sticks laid under your teepee also keeps your fragile new fire off the wet ground, which otherwise sucks heat away like a tiny, malicious vampire.
Step 4: Bring the Heat (Ignition)
Now for the dramatic part. Whatever ignition method you’re using — lighter, waterproof matches, ferro rod, or a bow drill if you’re feeling ambitious and slightly masochistic — apply it directly to your driest tinder bundle, not the big logs. A ferro rod is a particularly good friend when starting a fire in wet conditions, since it throws sparks even when soaked, unlike matches that dissolve into disappointment the second they get damp. If you haven’t already, it’s worth reading up on the fire starter kits we actually trust in the field so you’re not relying on a single soggy book of matches when it counts.
Step 5: Baby the Flame Until It Can Fend for Itself
Your fire is now a newborn, and newborns are needy. Shield it from wind and direct rain with your body or a pack if needed, and feed it small twigs before graduating to bigger fuel. Add wood gradually — dumping a huge damp log on a baby flame is how promising fires die young. Blow gently at the base to feed oxygen without scattering your fragile embers. Within a few minutes of patient tending, you’ll have gone from “cold and regretful” to “warm and smug,” which is really the whole point of starting a fire in wet conditions in the first place.
Key Considerations For Successfully Starting a Fire in Wet Conditions
Technique matters, but so does mindset. Patience is genuinely the deciding factor between success and a pile of soggy, smoking sticks — starting a fire in wet conditions almost always takes longer than you expect, so budget extra time and extra tinder before you start second-guessing your competence.
Material selection makes or breaks the whole operation. Rushing to the nearest pile of wet leaves because you’re cold and annoyed is exactly how people fail at starting a fire in wet conditions — the extra five minutes spent finding genuinely dry material saves you thirty minutes of frustration later.
Finally, always carry backup ignition and backup tinder. Redundancy isn’t paranoia when the alternative is a very cold, very damp night.
Taking it to the Next Level: How to Go Beyond Basic Wet-Weather Fires
Once you’ve got the basics of starting a fire in wet conditions locked down, start experimenting with a rain shelter or lean-to built specifically over your fire pit, so you’re not battling the weather every single time you add fuel. Learning to pre-process and dry small batches of wood near an existing flame (without smothering it) lets you build a reserve for later in the trip. Serious outdoor folks also carry a small folding saw specifically for splitting wet wood faster than a knife allows — worth adding to your kit if this is a recurring problem for you.
Alternatives to Traditional Wet-Weather Fire Building
If starting a fire in wet conditions the traditional way isn’t panning out, a few backups exist. Chemical fire starters (like the wet-fire cubes mentioned earlier) are nearly foolproof and worth their weight in your pack. A portable camp stove sidesteps the wet-wood problem entirely for cooking purposes, though it won’t give you the same ambient warmth as an open flame. And in genuine survival situations, a magnesium fire starter block paired with a knife back can shave metal into an ignitable pile that burns hot enough to fight through damp tinder — a method well documented by outdoor educators like Scouting Magazine.
Wrapping Up and My Experience With Starting a Fire in Wet Conditions
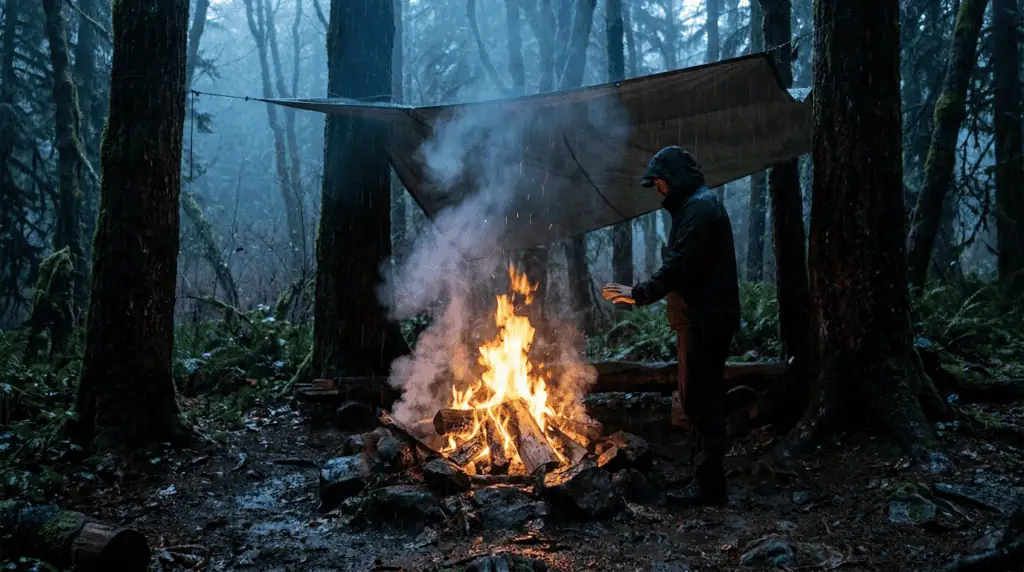
Starting a fire in wet conditions will never feel as easy as flicking a lighter on a bone-dry summer evening, and honestly, it shouldn’t — you’re actively fighting the weather, not just decorating a campsite. But once you’ve internalized the process (scout your spot, hunt for genuinely dry tinder, build for airflow, ignite with patience, and nurse the flame like it owes you money), it stops being a crisis and starts being just another skill in your back pocket.
I’ve been caught in enough surprise downpours with nothing but a soggy lighter and wounded pride to know that the difference between misery and a warm night almost always comes down to preparation and technique, not luck. Master this once, and you’ll never again dread the sight of storm clouds rolling in over your campsite.
FAQ: Starting a Fire in Wet Conditions
Can you actually start a fire with wet wood? Not the outside of it, no — but the inside almost always is. Split or baton a soaked branch open and you’ll usually find dry wood underneath. Combine that with genuinely dry tinder and you’re in business.
What’s the best fire starter for wet weather? A ferro rod, hands down. It throws sparks even when it’s dripping wet, unlike matches, which turn into soggy confetti the second they get damp. Check our [fire starter kits we actually trust in the field](INTERNAL-LINK: fire-starter-kits-we-trust-post) for specifics.
Does a teepee fire work better than other structures in rain? Yes — airflow is everything when you’re fighting moisture, and the teepee shape pulls air up through the structure better than a log cabin or lean-to build. Get it started on a raised platform and you’ve stacked the odds even further in your favor.
How long does it take to start a fire in the rain? Longer than you want, and that’s fine. Budget extra time, extra tinder, and extra patience — rushing is the fastest way to smother a fragile flame before it can stand on its own.
What if I can’t find any dry tinder at all? Lean on backup: cotton balls with petroleum jelly, dryer lint, or a commercial fire starter cube. None of that is cheating — it’s just preparation that pays off exactly when you need it to.
Is it safe to build a fire under tree cover in the rain? Generally yes, as long as you’re clear of dead overhanging branches and not directly under the densest drip line. The goal is reducing direct rain on your workspace, not eliminating airflow — don’t box yourself into a spot with zero ventilation.