
How To Triangulate Your Position Without Getting Lost (Even When GPS Quits)
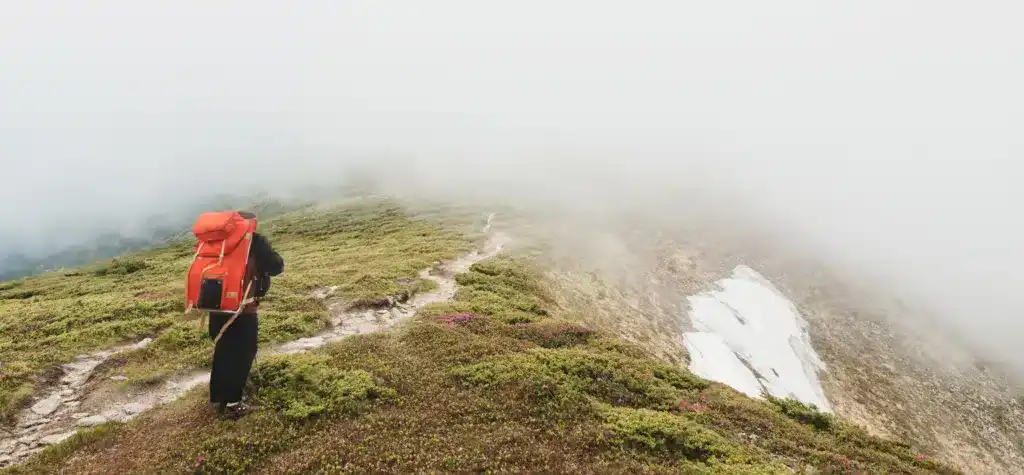
You’re three days into a backcountry trek. The sun is racing the horizon, wind sneaks through the trees, and the trail that looked obvious at noon now feels like a choose-your-own-misery novel. You lift your GPS like Simba on Pride Rock… and it gives up. Batteries belly-up. Screen cracked. Satellites hiding. Your phone doesn’t even pretend—just a smug “No Service.”
This isn’t a freak event. Search and Rescue teams pull people out every season because gadgets failed and skills weren’t there to back them up. The good news? Long before satellites, people navigated with a map, a compass, and a brain. The keystone skill is triangulation—taking bearings to visible landmarks and plotting reverse lines on your map to pinpoint exactly where you are.
Master triangulation and you’ll hike farther with confidence, calm the group when nerves spike, and route-find in fog like it’s a parlor trick. It’s quiet competence: no subscriptions, no firmware, no panic. Just simple geometry that works in the mountains, desert, forest, or city—day or night.
Grab a pencil, your topo map, and a decent compass. This tutorial will teach you precise, field-tested triangulation, give you error-proofing tips, show advanced variations, and outline drills so the skill sticks. Let’s make “No Service” a shrug instead of a crisis.
What Is Triangulation?
Triangulation is the map-and-compass method for determining your exact location by taking compass bearings (azimuths) to two or more known landmarks, converting those into back azimuths, and drawing the lines from the landmarks back toward you on a topographic map. Where those lines intersect (or form a small triangle called a cocked hat) is your position.
If “triangles” flash you back to trigonometry, relax. We’re not doing sines, cosines, or anything that requires aspirin. You sight, you read a number, you draw a couple of straight lines. That’s it. Surveyors used this to map nations, mountaineers still use it to sanity-check routes, and SAR teams teach it because it works when electronics don’t.
Reasons You Need to Know Triangulation
Before we wade into the how, let’s make the case for the why.
Learning this skill:
- Removes gadget fragility from the equation. Cold drains batteries; canyons and canopy block signals; screens crack. Your compass needle doesn’t care.
- Reduces panic. Triangulation converts “uh-oh” into a clear checklist. Action beats anxiety.
- Improves accuracy. With practice, fixes land within 20–50 meters in good terrain; even a sloppy “cocked hat” narrows the search area dramatically.
- Respects the land. Staying found prevents “trail creep,” shortcut erosion, and trampling sensitive terrain.
- Hardens your bug-out plan. EMP, jamming, or grid failures don’t touch paper maps and magnetic needles.
- Builds leadership cred. Calmly saying “Here’s where we are” tends to quiet armchair navigators.
Why this method? Triangulation is fast, repeatable, and verifiable. It pairs perfectly with GPS—use both and they cross-validate each other. When the two disagree, triangulation often reveals where the digital lied.
Step-by-Step Instructions to Triangulate Your Position
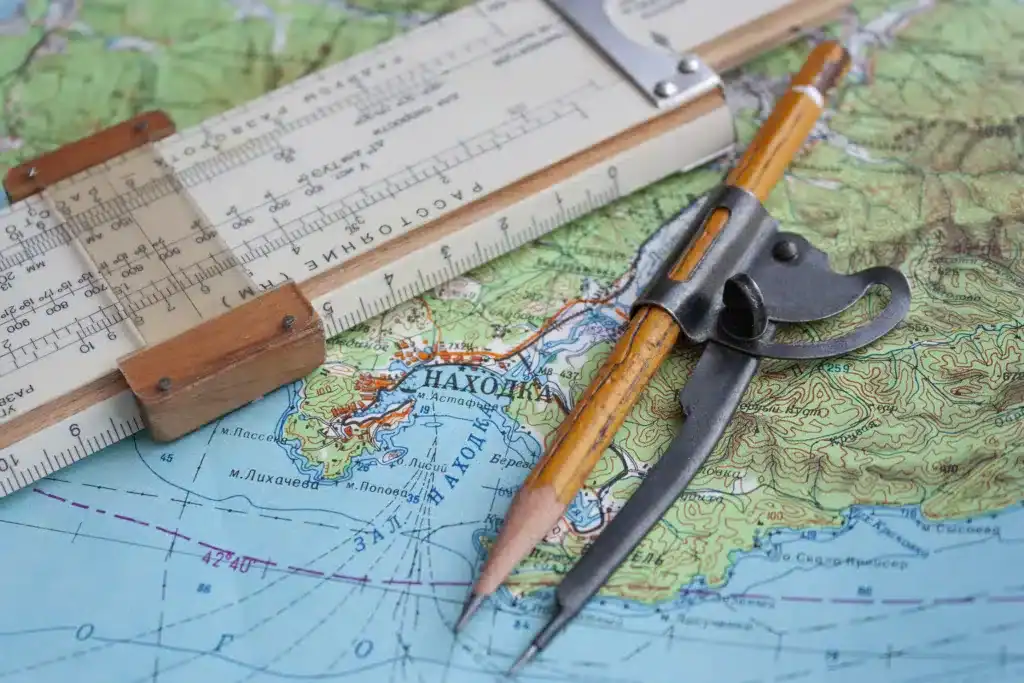
The Adventure Wiser process is simple and scalable. You’ll need a USGS-style topo (1:24,000 is great), a reliable compass (declination adjustment helps), a transparent protractor (or the compass edge), and a pencil.
Overview: Pick landmarks → Take bearings → Apply declination → Compute back azimuths → Plot lines → Read the fix.
- Choose Landmarks (“Pick the Big Boys”)
- Shoot Bearings (“Aim Like You Mean It”)
- Correct for Declination (“True vs. Magnetic, Set It Straight”)
- Plot Back Azimuths (“Reverse the Ray”)
- Intersect & Confirm (“Find the Cocked Hat”)
- Tighten the Fix (“Refine With a Third Point & Reality Checks”)
Let’s unpack each step.
Choose Landmarks (“Pick the Big Boys”)
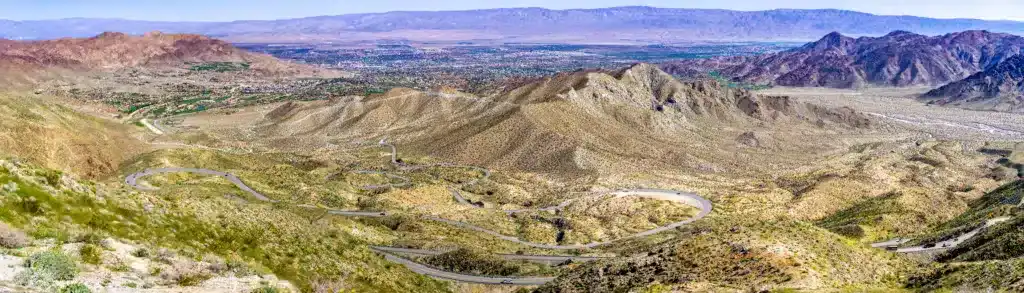
Scan the horizon for distinct, permanent, map-labeled features: sharp peaks, radio/fire towers, lake inlets/outlets, river bends, road intersections, saddle notches, or in cities, tall buildings and bridge pylons. Ideal angular spread between landmarks is 60–120°—far enough apart to make crisp intersections but not so extreme that one is directly behind you.
Avoid: clouds, lone trees, moving vehicles, or “that rock that looks like a schnauzer.” Ambiguous features create ambiguous fixes. When sightlines are limited (dense forest, fog), choose closer features you can positively identify on the map.
Binoculars help confirm you’re looking at Peak A and not its identical twin Peak “Oops.”
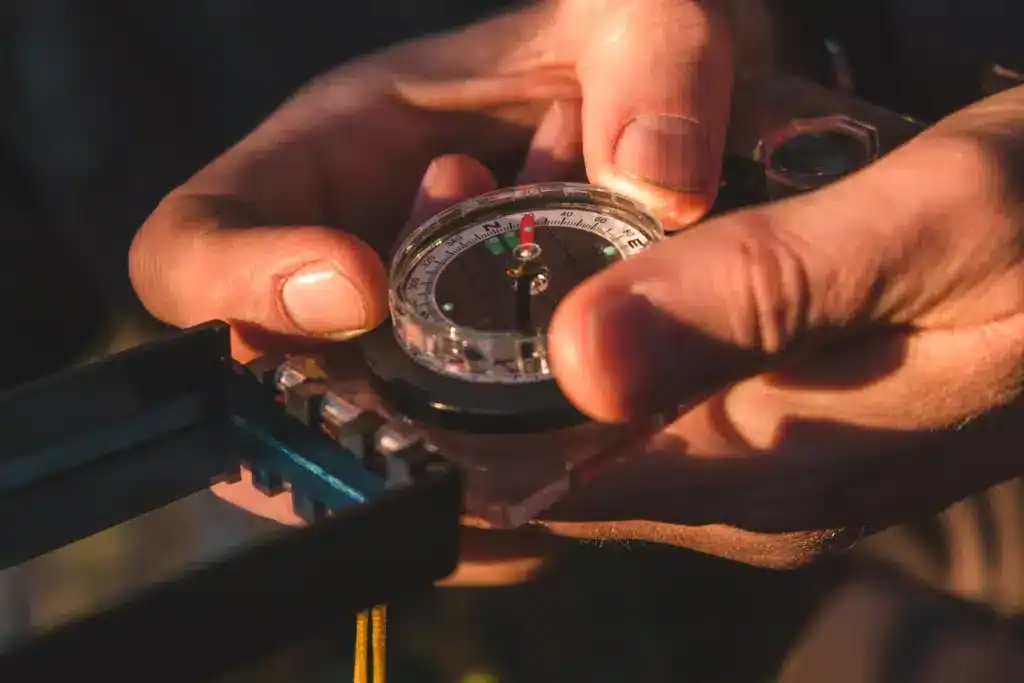
Shoot Bearings (“Aim Like You Mean It”)
- Hold the compass level at eye height and sight the landmark using the index line or sighting notch.
- Rotate the bezel until the north needle nests in the orienting arrow (“red in the shed”).
- Read the azimuth at the index—e.g., 046°.
- Record it immediately in a waterproof notebook. (Memory is a liar when you’re cold or stressed.)
- Repeat and average if the needle wobbles.
Common errors to dodge:
- Standing next to your truck, rifle, bear can, or metal-framed pack—magnetic interference will skew the reading. Step 10–20 meters away.
- Rushing. A 1° error at 5 km is ~87 m off; at 10 km it’s ~175 m.
- Tilting the compass or sighting off-axis. Keep it level, steady, and aligned.
Gear that doesn’t quit (affiliate-friendly): Cammenga Lensatic (MIL-SPEC, tritium glow), Suunto MC-2 (declination adjust, mirror), Silva Ranger (light, reliable).
Correct for Declination (“True vs. Magnetic, Set It Straight”)
Maps use true north; your compass points to magnetic north. The angular difference is magnetic declination, and it varies by location and drifts over time.
- Rule of thumb: West is best (add); East is least (subtract)—when converting a magnetic bearing to a map (true/grid) bearing.
- Example: Magnetic bearing 040° with 10°W declination → 050° true.
- Example: Magnetic bearing 070° with 8°E declination → 062° true.
Check your map’s legend for a local value and verify with a current source before trips. Declination changes by ~0.1–0.5°/year in many regions. In areas with grid north (UTM), convert consistently—pick true or grid for all steps and stick with it.
Plot Back Azimuths (“Reverse the Ray”)
You measured the direction from you to the landmark. On the map, you must draw the line from the landmark toward you. That’s the back azimuth = (bearing ± 180°).
- If your true bearing to the landmark is 046°, the back azimuth is 226°.
- Place the protractor centered on the mapped landmark, align it with grid/true north (whichever you’re using), and draw a line at the back azimuth through the map.
Use a sharp pencil and light pressure; you may adjust the line later.
Intersect & Confirm (“Find the Cocked Hat”)
Repeat with the second landmark. The two lines should intersect. If you add a third landmark, you’ll usually get a small triangle—the cocked hat. Your most likely position is near the centroid (the center of that triangle).
Reality checks: Does the fix match your surroundings? Elevation lines (contours), slope aspect, nearby streams, junctions, and terrain shape should agree with what your eyes see. If you “fix” on top of a lake while standing on a ridge, something went sideways.
Tighten the Fix (“Refine With a Third Point & Reality Checks”)
If the triangle is large, add a third landmark or re-shoot bearings. Slightly rotating one line often collapses a sloppy hat into a tight point. If the lines are nearly parallel and don’t cross, your features may be aligned poorly—choose better-separated landmarks.
Pro move: After plotting, put the compass on the map at your fix and shoot a map-to-ground bearing to a nearby feature. Turn to that bearing in the field. If the feature lines up, your fix is likely solid.
Key Considerations for Successful Triangulation
Declination drift is real. Verify current values before trips, and if your compass has declination adjustment, set it for the region you’re in. Write the value in your notebook.
Magnetic interference hides everywhere. Vehicles, stoves, phones, power lines, even iron-rich bedrock can distort readings. If the needle twitches or sticks, move away and reshoot.
Scale and precision matter. A 1:24,000 map allows more precise plotting than a small-scale overview map. Use a thin, hard lead. Tiny angle errors turn into big ground errors at distance.
Fatigue and weather degrade judgment. Hungry, cold brains rush steps. Slow down, breathe, and run the checklist: landmark → bearing → declination → back azimuth → plot → cross-check terrain.
Taking It to the Next Level: How to Go Beyond the Basics
Hybrid navigation (GPS + Triangulation). Use triangulation first, then peek at GPS. If the fix agrees, confidence soars. If it disagrees, ask why—multipath in canyons and heavy canopy regularly lie to phones and handhelds.
Two-point resection. When you only have two usable landmarks (or limited time), you can still get a serviceable fix. Expect a broader cocked hat—good enough to choose the right drainage or trail junction.
Urban triangulation. In a blackout, treat tall buildings, bridge towers, radio masts, and major intersections like “peaks.” Street-grid maps work as your topo. This is gold for emergency egress planning.
Night and fog techniques. Favor closer, unmistakable features; use a mirror-sighting or lensatic compass with illumination. Accuracy will dip—accept it, tighten with a third point, and move deliberately.
Bug-out applications. Preplan rally points and cache locations with known landmarks. In jamming/EMP scenarios, triangulation keeps your movement disciplined and quiet—no broadcasting pings.
Alternatives to Triangulation
Dead reckoning. From a known point, track direction (bearing) and distance (pace count or time). Errors accumulate, so reset with any trusted feature as soon as you can.
Terrain association. Match contours, ridgelines, valleys, and watercourses to what you see. Handrails (long features you can follow) and backstops (features that stop you) reduce error.
Celestial cues. At night, Polaris gives you north in the Northern Hemisphere; the sun’s arc helps by day. These orient you broadly, not to a precise fix, but they’re excellent sanity checks.
Natural indicators. Crude and conditional—moss, prevailing winds, snow cornices—but sometimes helpful as supporting evidence.
Practice Drills That Make It Stick
Park practice (beginner). Print a local map. Pick a statue, pavilion, and hilltop. Shoot bearings and plot a fix. Walk to the supposed point. Repeat until your cocked hat shrinks below 50 m.
Trail “lost” simulation (intermediate). Step off a familiar trail without looking at your phone. Triangulate back to the junction. Time yourself. Track errors and what caused them.
Night/fog session (advanced). Use glow compasses and closer landmarks. Move slow, double-check declination, and tighten with a third point. Confidence in poor visibility is a superpower.
Group drills. Split into teams, swap notebooks, and verify each other’s plotting. Debrief errors without ego. Everyone gets sharper, fast.
Journal everything. Note weather, terrain, errors, and what fixed them. Your future self will thank you.
Real-World Scenarios (Why This Matters)
- Fog-trapped hiker (Appalachians). Using ridgeline bearings and a river bend, the hiker triangulated a pass and walked out after days socked in. Food ran low; skills didn’t.
- Recon in WWII. Scouts triangulated enemy artillery positions silently, passing coordinates without radio chatter that would give them away.
- My Sierras lesson. First serious storm, GPS froze. I botched declination, got a 300-yard cocked hat, and still navigated cleanly to camp. Now my hats rarely exceed 30 m.
- Urban blackout drill. After a grid failure, a team used building corners and bridge pylons to triangulate an evacuation corridor when cell networks choked.
Stories change the gear you pack and the skills you practice. These are the kinds that stick.
Extended FAQ
Is triangulation the same as resection?
Close. In fieldcraft, resection is the technique of determining your unknown position by sighting known points (what we’re doing). Triangulation is the geometric principle behind it. Most hikers use the words interchangeably.
How accurate is it, really?
In open country with crisp landmarks, 20–50 m is common. In forest or heavy weather, expect 100–200 m. Add a third point to tighten; don’t chase perfection when “good enough” keeps you safe.
Can I do this without a protractor?
Yes—many baseplate compasses have degree scales and straightedges. A transparent map protractor just makes it faster and cleaner.
What about deserts and plains?
Look for towers, tanks, rock outcrops, wellheads, dune crests. Visibility is your limiting factor; carry binoculars.
No landmarks at all?
Shift to dead reckoning and terrain association until features appear. Conserve energy and avoid committing to cliffy or swampy terrain you can’t see.
How often should I practice?
Monthly is great; every change of season is the minimum. Skills are perishable. Make it a game on day hikes and you’ll never lose it.
Can I trust my phone’s compass?
Sometimes. But it’s prone to interference and calibration drift. Treat it as a secondary check, not the primary instrument.
Which map scale should I use?
1:24,000 (7.5-minute quads) balances detail and portability for most hikers. For long traverses, carry both a big-picture map and detailed sections.
Essential Triangulation Kit (Affiliate-Ready, Field-Approved)
- Cammenga Tritium Lensatic Compass — MIL-SPEC tough, self-illuminated for night nav.
- Suunto MC-2 (Global) — Declination adjust, mirror sighting, clinometer—a nav Swiss-army knife.
- Silva Ranger — Lightweight, accurate, and beginner-friendly.
- USGS 1:24,000 Topo Maps — Waterproofed or inside a map case; mark declination on the margin.
- Transparent Map Protractor — Precise plotting without obscuring contour lines.
- Rite in the Rain Notebook + Pencil — Bearings don’t vanish in sleet.
- Tiny binoculars (8×25) — Identify the right peak when horizons get busy.
- Small map card with your declination value, step-by-step checklist, and local emergency numbers.
Build a Nav Pouch that lives at the top of your pack. When electronics sulk, your brain and this kit keep moving.
Wrapping Up and My Experience With Triangulation
Triangulation won’t juice your social feeds, but it will get you home. It’s the antidote to gadget anxiety: a calm, methodical process that works whether you’re crossing alpine passes, wading through foggy timber, or threading city blocks in a blackout.
My first serious use—storm-slapped and cold in the Sierras—produced a sloppy triangle because I flubbed declination. Even then, it was plenty to choose the right ridge and beat nightfall. Since then, regular practice turned “triangle of doom” into a small, satisfying hat—often under 30 meters. The difference isn’t talent; it’s reps and a checklist.
If you learn one non-digital nav trick this year, make it triangulation. It’s geometry with a pulse—and when the satellites take a sick day, you won’t.
Heads-Up, Fellow Preppers:
Some links in this guide are sponsored or affiliate links. If you click and buy, I may earn a small commission—enough to restock my peanut butter and maybe add one more can of chili to the stash. I only recommend gear I trust, use, and would hide in a bug-out bag.