
Cache Building 101: How to Hide Your Gear So Well You Can Actually Find It Again
I’ll never forget the time I spent three hours with a metal detector, frantically searching for a cache I’d buried six months earlier. There I was, sweating through my shirt and swatting away at the hordes of mosquitos aka the Arkansas State bird, digging random holes like some deranged treasure hunter, while my “foolproof” memory failed me spectacularly. The cache? Buried exactly four feet from where I was looking, marked by a rock that looked identical to every other rock in a hundred-yard radius.
That humbling experience taught me the golden rule of cache building: if you can’t find your own gear when you desperately need it, you’ve just donated supplies to some future archaeologist. Today, I’m sharing the hard-learned lessons that’ll help you build caches that are invisible to others but recoverable by you—even when you’re stressed, tired, or operating in less-than-ideal conditions.
Why Cache Building Matters More Than Your Bug-Out Bag
Before we dive into the how-to, let’s talk about why caches are a game-changer for any serious prepper. Your bug-out bag is great for getting you from Point A to Point B, but what happens when Point B is 200 miles away and you’re traveling on foot? Or when your primary stash gets compromised? Or when you need supplies but can’t risk returning home?
Caches solve the weight problem, the distance problem, and the “all eggs in one basket” problem. They’re your insurance policy scattered across the landscape—but only if you do them right.
The cache mindset: Think of caches as supply depots for a journey you hope you’ll never have to take. Each one should serve a specific purpose: resupply, shelter, communication, or specialized equipment for different scenarios.
The Fundamentals: Location, Location, Concealment
Choosing Your Cache Sites
The 3-Mile Rule: Your caches should be positioned no more than 3 miles apart along your planned routes. Why? Because carrying gear for longer than that defeats the purpose, and if you’re injured or moving with family, 3 miles might be a hard day’s travel.
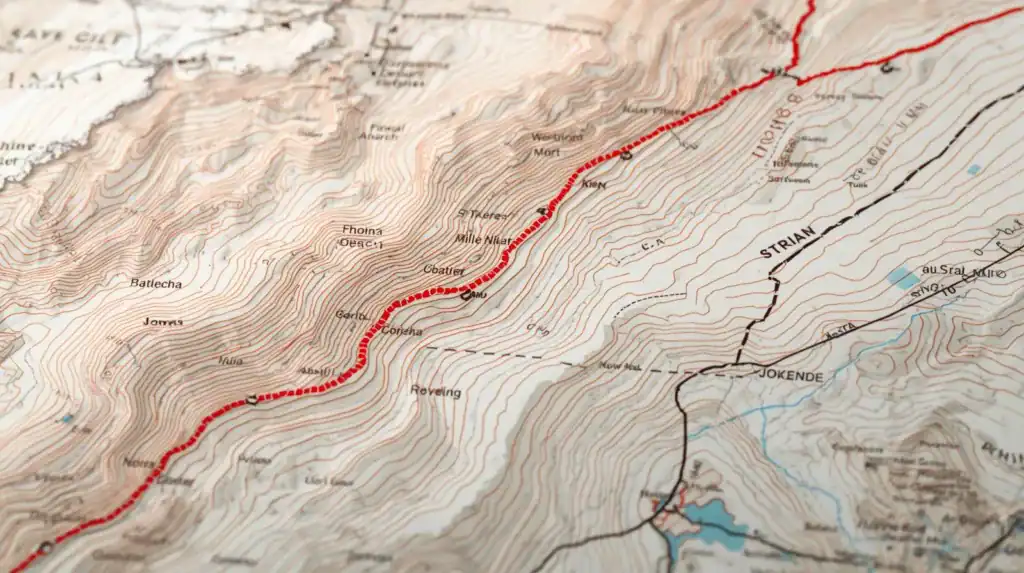
Natural Navigation Points: Choose locations you can find using terrain features, not GPS coordinates. That distinctive rock formation, the bend in the creek, or the lone oak tree on the ridgeline—these are landmarks that don’t need batteries or satellites.
Multiple Access Routes: Each cache should be approachable from at least two different directions. If your primary route gets blocked, compromised, or monitored, you need alternatives.
Avoid the Obvious: Abandoned buildings, obvious caves, and “perfect” hiding spots are perfect for everyone else too. The best cache locations are boring, unremarkable, and would make terrible Instagram photos.
The PACE Method for Site Selection
Use this military acronym to evaluate every potential cache site:
P – Primary: Your ideal location with perfect concealment and easy recovery A – Alternate: Your backup if the primary is compromised or inaccessible
C – Contingency: The “oh crap” option when nothing goes according to plan E – Emergency: The last resort that might not be perfect but will work
Container Selection: Beyond the Ammo Can
The Container Hierarchy
Tier 1: Professional Cache Containers Pelican cases with O-ring seals, military surplus containers, or purpose-built cache tubes. These are expensive but worth it for critical supplies. They’ll survive floods, freezing, and years underground.
Tier 2: Modified Civilian Containers
Heavy-duty storage containers wrapped in contractor-grade trash bags, sealed with quality duct tape. Add desiccant packs and you’ve got 80% of the performance at 30% of the cost.
Tier 3: Improvised Solutions PVC pipe with threaded caps, food-grade buckets with gamma lids, or even large mason jars for small items. These work for temporary or less critical caches.
What NOT to use: Ammo cans (they rust), regular cardboard, thin plastic bags, or anything that wasn’t designed to keep moisture out for extended periods.
Container Prep: The Details That Matter
Waterproofing Protocol:
- Primary container (your cache tube or case)
- Secondary barrier (contractor bags or vacuum-sealed pouches)
- Individual item protection (ziplock bags or silica gel packs)
- Moisture management (desiccant packets rated for your container size)
Organization Inside: Use clear containers or bags so you can quickly identify contents. Label everything with permanent marker. In a stress situation, you don’t want to be playing guessing games with unmarked packages.
What to Cache: Strategic Supply Placement
The Three-Tier Cache Strategy
Tier 1 – Survival Essentials: Water purification, fire starting, basic medical, emergency food, cash, ammunition Tier 2 – Comfort & Capability: Better shelter, improved tools, communication equipment, additional clothing Tier 3 – Specialized Gear: Seasonal equipment, specialized tools, backup weapons, extensive medical supplies
Cache Contents by Purpose
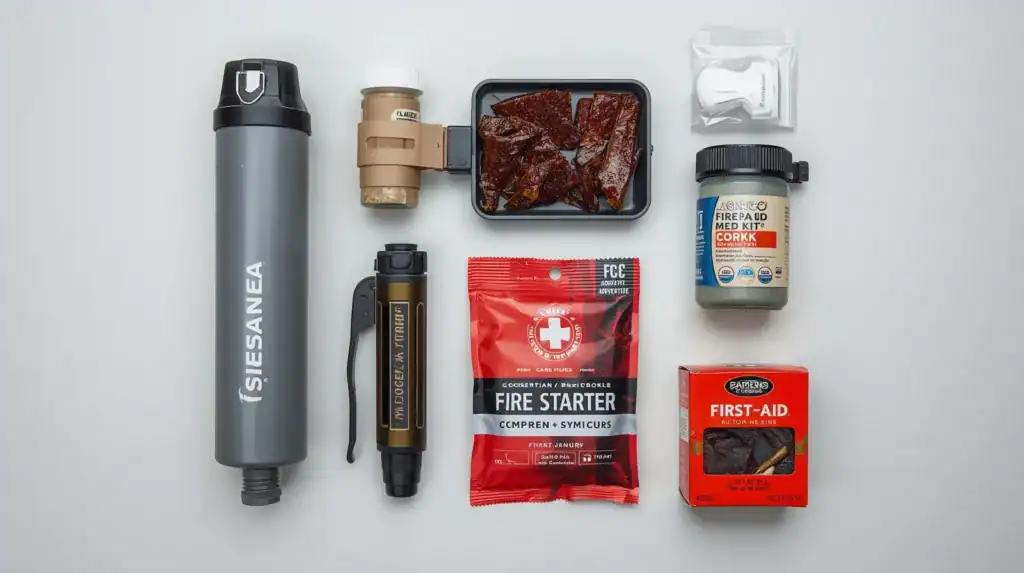
Resupply Caches:
- High-calorie, long-lasting food (energy bars, freeze-dried meals, jerky)
- Water purification tablets or small filters
- Basic medical supplies
- Fire starting materials (Blackbeard Fire Starters)
- Cash in small bills
- Ammunition (if applicable)
Shelter Caches:
- Quality tarp or emergency shelter
- Sleeping system (compact bag and pad)
- Seasonal clothing appropriate for the area
- Enhanced tools (better knife, saw, rope)
Communication Caches:
- HAM radio equipment
- Batteries and charging solutions
- Antenna components
- Written communication protocols
The 72-Hour Rule: Each cache should contain enough supplies to sustain you for 72 hours minimum. This gives you time to reassess, replan, and move to your next cache or destination.
Concealment Techniques That Actually Work
Above-Ground Concealment
Natural Hide Points:
- Hollow logs (check for residents first)
- Rock crevices with removable stone covers
- Dense brush piles that look natural
- Root systems of large trees
Constructed Hides:
- Rock cairns that blend with the landscape
- Brush piles you build to look natural
- Fake stumps or logs (advanced technique)
Urban Options:
- Cemetery plot markers (controversial but effective)
- Storm drain systems (research local flooding patterns)
- Abandoned structures (high risk of discovery)
Below-Ground Caching
The Proper Burial:
- Dig your hole 18-24 inches deep (below frost line, above water table)
- Line with gravel for drainage if needed
- Place container with additional waterproof barriers
- Backfill carefully, matching soil layers
- Restore natural ground appearance exactly
- Mark location using natural reference points
Soil Considerations:
- Clay soil: Good for waterproofing, terrible for digging later
- Sandy soil: Easy to dig, harder to keep dry
- Rocky soil: Difficult initial burial, excellent long-term protection
- Wetland areas: Avoid completely unless using specialized techniques
Cache Building 101: Navigation and Recovery: The Art of Finding Your Own Stuff
The Documentation Dilemma
You need to record cache locations precisely enough to find them again, but vaguely enough that the information is useless to anyone else. Here’s how:
The Offset Method: Record a location that’s precisely 100 feet (or whatever distance you choose) from your actual cache. Include compass bearing from the recorded point to the real location. Anyone finding your notes gets close, but not close enough.
Triangulation Technique: Use three permanent landmarks to triangulate your cache location. Record distances and bearings from each. Natural landmarks work best—rock formations, large trees, or terrain features that won’t change.
The False Bottom: Bury a decoy container 12 inches above your real cache. Make it obvious enough that a casual searcher finds it and assumes they’ve discovered your secret. Your real supplies sit safely below.
Memory Techniques for Cache Recovery
The Story Method: Create a memorable story about each cache location. “This is where I watched the sunrise after hiking all night” is easier to remember than GPS coordinates.
Physical Conditioning: Visit your cache sites regularly during different seasons. This keeps the routes fresh in your memory and lets you check for site changes or security issues.
Backup Navigation: Always have multiple ways to find each cache—compass bearings, pace counts, and natural landmarks. If one method fails, you’ve got backups.
Security and OPSEC: Keeping Your Caches Secret

The Gray Man Approach to Caching
Site Visits: Look like you belong. If you’re caching in rural areas, dress like a farmer or hunter. Urban areas? Look like a jogger or dog walker. The goal is to be forgettable.
Traffic Pattern Awareness: Don’t visit cache sites on predictable schedules. Vary your routes, timing, and approach methods. Random patterns are much harder to detect than regular ones.
Digital Security: Never store cache coordinates on phones, GPS units, or any electronic device that can be compromised. Physical notes only, and those should be coded or encrypted.
Counter-Surveillance Basics
The Three-Look Rule: Before approaching any cache, observe the area from three different positions over time. Look for signs of disturbance, surveillance, or other people showing unusual interest in the area.
Approach Protocols:
- Distant observation (binoculars from cover)
- Medium-range reconnaissance (casual walk-by)
- Close approach only after confirming area is clear
Abort Criteria: Have clear triggers that make you walk away without approaching your cache. Too many people in the area, signs of disturbance, or just a “bad feeling” are all valid reasons to scrub the mission.
Maintenance and Long-Term Cache Management
The Quarterly Check System
Seasonal Inspections: Visit caches at least four times per year, ideally with the seasons. This lets you spot problems early and adapt to changing conditions.
What to Check:
- Container integrity and waterproofing
- Site security and concealment
- Access routes and landmarks
- Contents condition and expiration dates
- Overall site changes or new development
The 20% Rule: Replace 20% of your cache contents each visit. This keeps supplies fresh, gives you hands-on familiarity with your gear, and prevents the “set it and forget it” mentality that leads to failed caches.
Cache building Evolution and Improvement
Learn from Failures: When something goes wrong (and it will), document what happened and why. Failed caches are expensive education—make sure you learn from the tuition you paid.
Upgrade Strategy: Start with basic caches and improve them over time. Better containers, improved concealment, or enhanced contents based on experience and changing needs.
Network Effects: As your cache network grows, each cache becomes more valuable. They support each other, provide options, and give you flexibility that single supply points can’t match.
Advanced Techniques for the Cache Master
Decoy and Misdirection Tactics
The Triple Cache: Bury three containers at one site—one obvious decoy, one slightly hidden backup, and one well-concealed primary cache. Most searchers stop after finding the first one.
False Scarcity: Include deliberately damaged or expired items in decoy caches. This creates the impression of an abandoned or compromised cache while your real supplies remain untouched.
Environmental Considerations
Seasonal Accessibility: Plan for how weather affects your cache sites. That creek crossing might be impassable during spring floods. The mountain cache might be snowed in for months.
Wildlife Interactions: Research local wildlife and plan accordingly. Bears investigate interesting smells, rodents chew through containers, and some animals are attracted to certain materials.
Legal Considerations: Understand local laws about burying items on public land. Some areas prohibit it entirely, others require permits. Private property requires permission from landowners.
Common Cache Building Mistakes (And How to Avoid Them)
The Top 5 Cache Failures
1. The “Perfect” Location: If it looks perfect to you, it looks perfect to everyone else. The most successful caches are in boring, unremarkable spots that no one would think to search.
2. Inadequate Waterproofing: “Water resistant” isn’t “waterproof.” If you’re not certain your container could survive being thrown in a swimming pool, upgrade your waterproofing.
3. Over-Complicated Recovery Methods: GPS coordinates, complex measurements, and elaborate codes might seem clever, but they become useless when you’re tired, stressed, or operating in poor conditions. Keep it simple.
4. Single Point of Failure: One cache, one route, one reference point. When any single element fails, the entire cache becomes useless. Build redundancy into every aspect.
5. Insufficient Testing: Burying supplies and hoping for the best isn’t a strategy. Test your methods with practice caches using expendable supplies before committing critical gear.
Recovery Day Reality Check
The day you need your cache, nothing will go according to plan. You’ll be stressed, possibly injured, maybe traveling with others who slow you down. The weather will be terrible, your memory won’t be perfect, and you’ll wish you’d made everything simpler and more straightforward.
Plan for that day, not for perfect conditions. Your cache system should work when you’re at your worst, not when you’re at your best.
Building Your Cache Network: Start Small, Think Big
The Beginner’s Progression
Phase 1: Build one practice cache with expendable supplies. Focus on learning the techniques without risking critical gear.
Phase 2: Create your primary route cache network—three to five caches along your main bug-out route.
Phase 3: Add alternate route caches and specialized supply points.
Phase 4: Develop advanced techniques like decoy caches, urban hides, and seasonal supply rotation.
The Cache Master’s Final Wisdom
Good cache building is part art, part science, and part paranoid overthinking—but mostly it’s about attention to detail and realistic planning. Your caches should be invisible to others but obvious to you, secure enough to survive years but accessible when you need them.
Remember: the best cache is the one you’ll never need, but if you do need it, you’ll be damn glad it’s there, exactly where you left it, exactly when you need it most.
Start simple, build slowly, and always remember that guy frantically searching for his own cache with a metal detector. Don’t be that guy. Be the person who walks confidently to the unremarkable spot and retrieves exactly what they need, when they need it.
Because when everyone else is scrambling for supplies, you’ll already have what you need, right where you put it. And that’s what being Adventure Wiser is all about.
What’s your cache building experience? Share your success stories (and epic failures) in the comments below. We’ve all got that “one cache I’ll never find again” story—let’s learn from each other’s expensive mistakes.
Affiliate Note
Heads-Up, Fellow Preppers: Some links in this post are sponsored or affiliate links. If you click and buy, I may earn a small commission—enough to keep my peanut butter stash stocked and maybe sneak in an extra can of chili for the bunker.