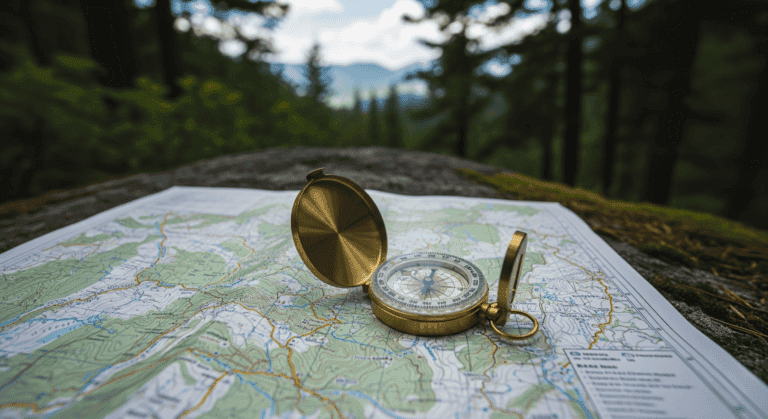
Compass Skills for Beginners: Navigate 2025 Without Getting Eaten (or Lost)
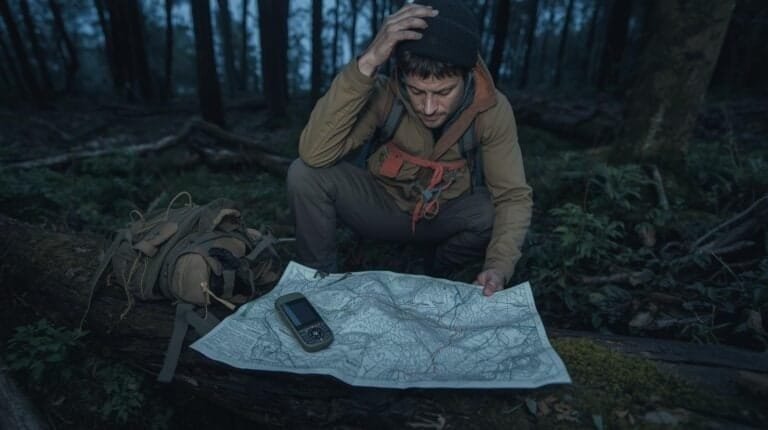
Imagine this: your phone’s dead, the trail you swore was “right here” has vanished, and every tree looks like it’s mocking you. The sun’s dipping low, your water’s running lower, and that fancy GPS app you relied on is now just a blank screen. Panic? Not today. You’ve got a tool that’s been saving adventurers since before smartphones were a twinkle in Steve Jobs’ eye—a compass.
This isn’t just a relic your weird uncle raves about at Thanksgiving. A compass is a lightweight, battery-free, signal-independent marvel that can guide you out of the wild when technology fails. Whether you’re hiking, prepping, or just trying not to become a cautionary tale on the evening news, mastering a compass is your ticket to confidence in the backcountry.
In this detailed guide, I’ll walk you through everything you need to know to use a compass like a pro—even if your only prior experience is spinning one in a middle school science class. From understanding its parts to navigating like a seasoned explorer, here’s how to make a compass your best friend in the wild (sorry, duct tape).
Why a Compass? The Case for Analog Navigation in 2025
Before we dive into the how-to, let’s address the elephant in the room: why bother with a compass when you’ve got a smartphone? Simple—technology fails. Batteries die, screens crack, signals vanish, and apps freeze at the worst possible moment. A compass? It doesn’t care about Wi-Fi, Mercury retrograde, or your dwindling battery percentage. Pair it with a topographic map, and you’ve got a navigation system that’s as reliable as gravity.
Here’s why compass skills matter:
- Tech Independence: No bars, no battery, no problem. A compass works in the middle of nowhere, from dense forests to remote deserts.
- Backcountry Confidence: Knowing where you are and where you’re going without relying on a device feels like a superpower.
- Survival Cred: Your hiking buddies might forget their snacks, but they’ll never forget the time you navigated them out of a jam.
- Search and Rescue Avoidance: Nobody wants to be the subject of a SAR team’s next training video.
Whether you’re trekking the Appalachian Trail, bugging out during a crisis, or just trying to find the trailhead after a poorly timed bathroom break, a compass is your fail-safe. Let’s get to know this trusty tool and how to wield it like a navigation ninja.
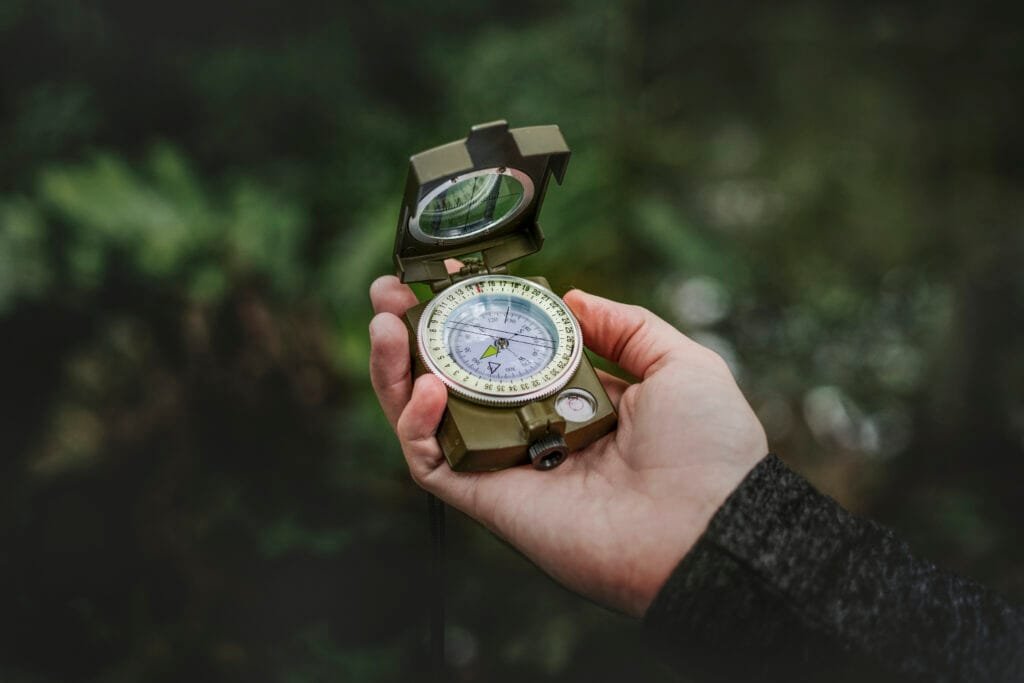
Anatomy of a Compass: Know Your Tool
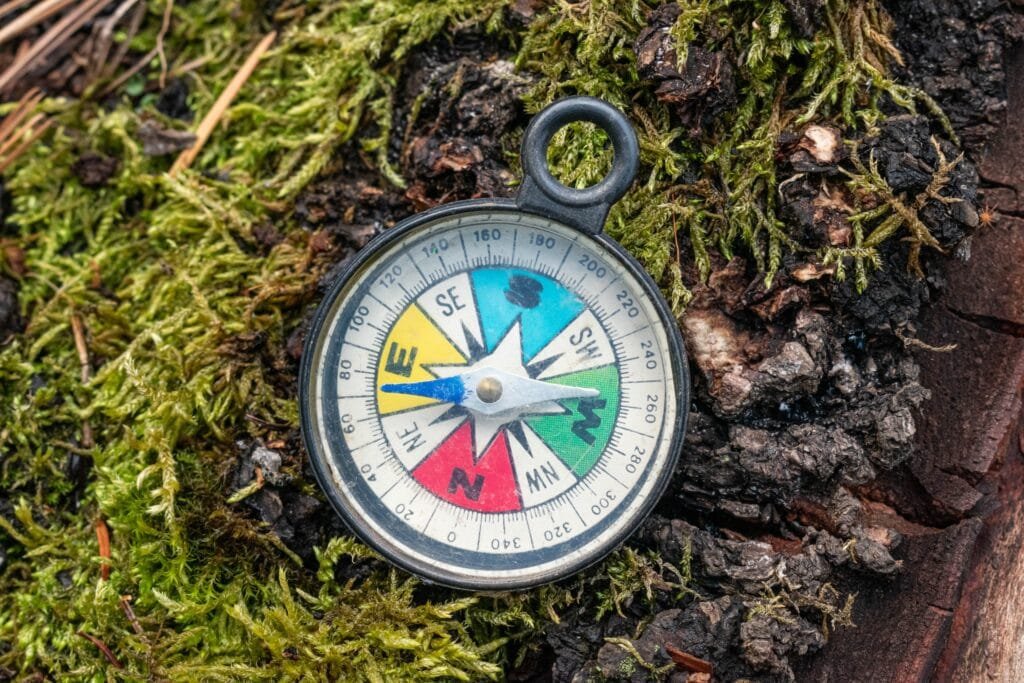
A compass might look like a plastic toy with a spinning needle, but it’s a precision instrument designed to keep you on track. Most orienteering compasses (the kind you want for hiking) have similar components. Here’s a breakdown of the key parts so you can speak “compass” fluently:
- Baseplate: The clear, flat plastic foundation of the compass. It’s your multitool—use it as a ruler, a straight edge, or (in a pinch) a makeshift peanut butter scraper. The baseplate keeps everything stable and makes map work a breeze.
- Ruler/Map Scale: Etched along the baseplate’s edge, this lets you measure distances on a map. Want to know how far it is to that lake? Line up the ruler and do some quick math (don’t worry, it’s easier than it sounds).
- Direction-of-Travel Arrow: The bold arrow on the baseplate that points where you want to go. Think of it as your compass’s “this way, dummy” indicator. Ignore your cousin’s guess about north—this arrow is your guide.
- Rotating Bezel (Azimuth Ring): The spinning dial marked with degrees (0° to 360°). This is where you set your bearing—the direction you’ll follow to reach your destination.
- Orienting Arrow & Lines: Inside the bezel, these lines and arrow help align the compass with a map’s north. You’ll use them to “box the needle” (more on that soon).
- Magnetic Needle: The heart of the compass. The red end always points toward magnetic north, unless you’re standing near a magnet, a power line, or your uncle’s conspiracy podcast gear (seriously, keep it away from metal).
- Declination Scale (Optional): Found on some compasses, this adjusts for the difference between magnetic north and true north. It’s like calibrating your compass for maximum accuracy—crucial for long hikes or precise navigation.
- Sighting Mirror (Optional): On advanced models, this lets you take precise bearings by aligning objects in the distance. It’s also handy for checking if you’ve got trail mix stuck in your teeth.
- Luminescent Indicators: Glow-in-the-dark markers for low-light navigation. Because getting lost in the dark is not the vibe.
Now that you’re on a first-name basis with your compass, let’s put it to work. No PhD in cartography required—just a little patience and a willingness to look cooler than the guy fumbling with his phone.
Step-by-Step: How to Use a Compass Like a Pro
Navigating with a compass is like learning to ride a bike—once you get the hang of it, it’s second nature. Follow these steps to take a bearing, follow it, and backtrack if needed. No Latin required, and you’ll look less like a lost tourist and more like a backcountry boss.
Step 1: Take a Bearing (Your Compass’s “Point Me Somewhere” Mode)
A bearing is the direction you want to go, measured in degrees (0° to 360°). Here’s how to find it:
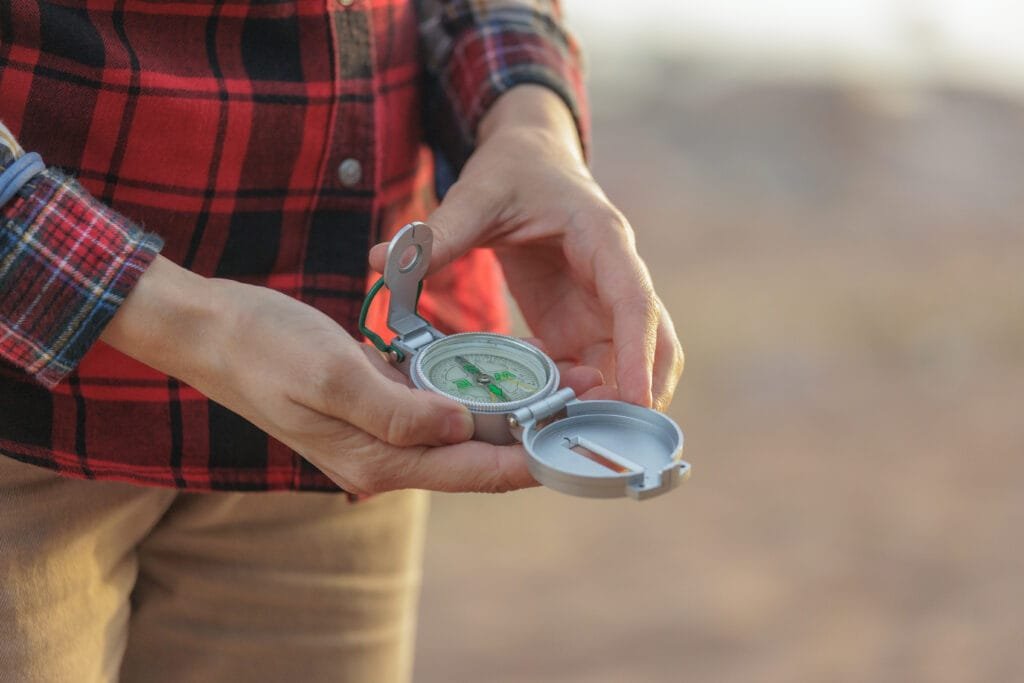
- Hold the Compass Correctly:
- Grip the compass flat and level at chest height, like you’re presenting a sacred artifact to the navigation gods. If it’s tilted, the needle might stick, and you’ll end up chasing your tail.
- Keep it away from metal objects (belt buckles, car keys, your phone) to avoid magnetic interference.
- Point the Direction-of-Travel Arrow:
- Face your destination—a mountain peak, a trail junction, or that glorious diner you saw on the map.
- Point the direction-of-travel arrow (on the baseplate) directly at your target. Don’t worry about the needle yet—just aim the arrow.
- Align the Needle (“Red in the Shed”):
- Rotate the bezel until the orienting arrow (inside the housing) lines up with the red end of the magnetic needle. This is called “boxing the needle” or putting “Red in the Shed.”
- The number at the top of the bezel (where the direction-of-travel arrow meets the degree markings) is your bearing. For example, if it’s 90°, you’re heading due east.
- Lock It In:
- Memorize or jot down that bearing. This is your roadmap to glory—or at least to not getting lost.
Pro Tip: If you’re using a map, align the compass with the map’s north lines first (more on that later). For now, this method works for visible landmarks.
Step 2: Follow Your Bearing (Without Falling Into a Ravine)
Now that you have a bearing, it’s time to move. Here’s how to stay on course:
- Keep the Compass Steady:
- Hold the compass flat in your hand, like you’re balancing a tray of coffee for cranky forest rangers. Tilting it throws off the needle.
- Maintain “Red in the Shed”:
- Turn your body until the red needle aligns with the orienting arrow again. The direction-of-travel arrow now points exactly where you need to go.
- Pick a Landmark:
- Look up and find a distinct object in the distance that aligns with your direction-of-travel arrow—a gnarly tree, a big rock, or even that squirrel who’s still side-eyeing you.
- Walk toward that landmark. Don’t stare at the compass the whole time—you’ll trip over a root and eat dirt.
- Repeat the Process:
- When you reach your landmark, stop, realign the compass (red needle in the orienting arrow), and pick a new landmark ahead.
- Keep leapfrogging from landmark to landmark until you reach your destination or achieve enlightenment.
Pro Tip: If visibility is low (fog, dense forest, or a surprise blizzard), take smaller steps and check your compass more frequently to stay on track.
Step 3: Backtrack Like a Pro (Because Retreat Is Sometimes Victory)
Made a wrong turn? Spotted a bear? Realized you left your snacks at the last campsite? No shame in backtracking—here’s how to do it like a navigation ninja:
- Calculate the Backtrack Bearing:
- Take your original bearing and add 180° if it’s less than 180°, or subtract 180° if it’s more than 180°. For example:
- Original bearing: 60° → Backtrack bearing: 60° + 180° = 240°
- Original bearing: 270° → Backtrack bearing: 270° – 180° = 90°
- This flips your direction 180° to send you back where you came from.
- Take your original bearing and add 180° if it’s less than 180°, or subtract 180° if it’s more than 180°. For example:
- Set the New Bearing:
- Rotate the bezel until your new backtrack bearing is at the top (aligned with the direction-of-travel arrow).
- Align and Move:
- Turn your body until “Red in the Shed” (needle aligned with orienting arrow).
- The direction-of-travel arrow now points back to safety. Pick a landmark and start walking.
Pro Tip: Mark your starting point (a cairn, a stick, or a note in your journal) before heading out. It makes backtracking easier if things go south.
Using a Compass with a Map: Leveling Up Your Navigation Game

A compass alone is great, but pair it with a topographic map, and you’re basically a human GPS. Here’s how to combine the two for maximum navigation swagger.
Step 1: Orient Your Map
- Lay the Map Flat:
- Find a flat surface (a rock, your pack, or your buddy’s back). Spread the map out.
- Align the Compass with the Map:
- Place the compass on the map with the direction-of-travel arrow pointing toward the top of the map (true north).
- Rotate the bezel until the orienting arrow points to the top of the map (ignore the magnetic needle for now).
- Rotate the Map and Compass Together:
- Holding the compass and map together, turn them as a unit until the red needle aligns with the orienting arrow (“Red in the Shed”).
- Your map is now oriented to match the real world. North on the map equals north in reality.
Step 2: Take a Map Bearing
- Identify Your Start and End Points:
- On the map, mark where you are (Point A) and where you want to go (Point B).
- Line Up the Compass:
- Place the compass on the map so the edge of the baseplate connects Point A to Point B, with the direction-of-travel arrow pointing toward Point B.
- Set the Bearing:
- Rotate the bezel until the orienting lines inside the housing are parallel to the map’s north-south grid lines (or meridians), with the orienting arrow pointing to the map’s north.
- Check the bearing at the top of the bezel. That’s your direction to Point B.
- Adjust for Declination (If Needed):
- Magnetic north and true north aren’t always the same, thanks to the Earth’s magnetic field. The difference is called declination, and it varies by location.
- Check your map’s legend for the declination value (e.g., “15° East”). Adjust your bearing:
- East Declination: Subtract the declination from your bearing.
- West Declination: Add the declination to your bearing.
- Example: Bearing is 100°, declination is 15° East → Adjusted bearing: 100° – 15° = 85°.
- Some compasses have a declination scale to make this easier—just follow the instructions.
- Follow the Bearing:
- Lift the compass, align “Red in the Shed,” and follow the direction-of-travel arrow as described in Step 2 above.
Pro Tip: Practice this at home with a local map before hitting the trail. It’s like learning to parallel park—awkward at first, but you’ll be a pro in no time.
Declination: The Nerdy Detail That Saves You
Declination is the angle between magnetic north (where your compass points) and true north (the North Pole). It varies by location and can throw off your navigation if ignored. Here’s how to handle it:
- Find Your Declination: Check your topographic map’s legend or use an online tool like NOAA’s declination calculator (enter your coordinates).
- Adjust Your Compass:
- If your compass has a declination adjustment screw, set it to the correct value for your area.
- If not, manually adjust your bearings as described above.
- When It Matters: For short hikes, you can often skip declination. For long treks or precise navigation (e.g., in featureless terrain like deserts), it’s critical.
Example: In Seattle, declination is about 15° East. If your map bearing is 90°, subtract 15° to get a compass bearing of 75°. Ignore this at your peril—you could end up miles off course.
Troubleshooting: Common Compass Mistakes and How to Avoid Them
Even pros mess up sometimes. Here’s how to avoid the most common compass blunders:
- Tilting the Compass: Always hold it flat. A tilted compass leads to a stuck needle and a very confused hiker.
- Magnetic Interference: Keep your compass away from metal objects, electronics, or power lines. Yes, your smartwatch counts.
- Ignoring Declination: For short trips, it’s fine to skip. For longer journeys, adjust for declination to avoid missing your target.
- Not Double-Checking: Always pick a landmark and recheck your bearing after reaching it. Blindly following a compass without landmarks is a recipe for wandering.
- Using a Faulty Compass: If the needle sticks or wobbles erratically, toss it. A bad compass is worse than no compass.
Real-World Compass Navigation: My Arkansas Wake-Up Call

Let me share a story that turned me from a compass skeptic to a believer. A few years back, I was hiking in Arkansas’s Ouachita Mountains, chasing a “scenic loop” I’d read about online. The plan was simple: follow a side trail, snap some photos, and loop back before sunset. Famous last words.
Halfway through, my phone died (classic), the trail faded into a tangle of brush, and the sun dipped behind a wall of pines. No signal, no downloaded map, just me and a growing sense of “well, this is awkward.” Luckily, I had a Suunto A-10 compass and a printed topo map in my pack—because I’m paranoid like that.
I took a bearing to the main trail, adjusted for declination (thank you, map legend), and started leapfrogging from tree to rock to stump. It wasn’t glamorous—I muttered some choice words and swatted approximately 47 bugs—but I hit the main trail before full dark. That compass didn’t just save me from a night with the raccoons; it taught me that analog navigation is a skill worth mastering.
Since then, my compass has helped me:
- Skirt around flooded creeks in the Ozarks.
- Navigate sketchy “shortcuts” that looked good on paper but not in reality.
- Prove to my GPS-obsessed friends that old-school tools still rule.
Advanced Tips: Taking Your Compass Skills to the Next Level
Ready to go from beginner to backcountry legend? Try these advanced techniques:
- Triangulation: If you’re lost but can see two landmarks (e.g., peaks) on your map, take bearings to each, plot them on the map, and find where they intersect. That’s your location.
- Pacing: Count your steps to estimate distance traveled. On flat terrain, the average person takes about 60-70 double steps per 100 meters. Practice to know your pace.
- Night Navigation: Use a compass with luminescent markers and a headlamp. Take shorter steps and check bearings more often in low visibility.
- UTM Coordinates: Some maps use the Universal Transverse Mercator grid. A map tool protractor (paired with your compass) makes plotting coordinates a breeze.
Recommended Gear: Build Your Navigation Kit
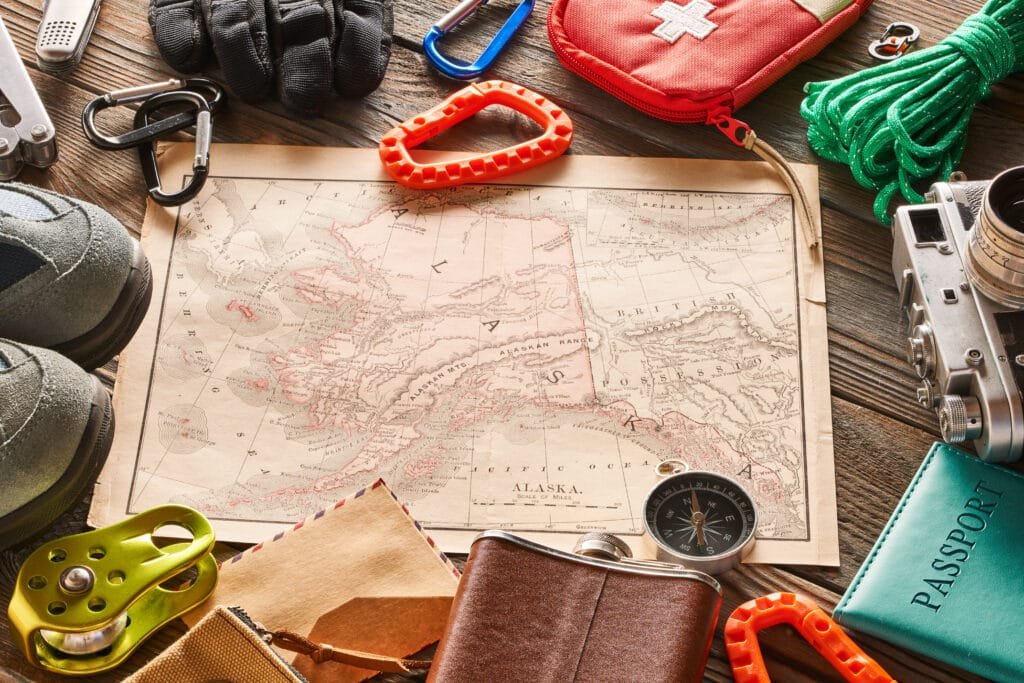
Here’s the gear I trust to keep me on track:
- Suunto A-10 Compass ($25): Affordable, durable, and beginner-friendly. Perfect for most hikers.
- Silva Ranger 2.0 ($50): For advanced users, with a sighting mirror and declination adjustment.
- Map Tool Protractor ($10): Makes plotting bearings and UTM coordinates a snap.
- Topographic Map: Get one specific to your area (USGS or National Geographic maps are gold). Print it or buy a waterproof version.
- Gaia GPS App (Free/Premium): Download maps for offline use as a backup, but don’t rely on it over your compass.
Check retailers like REI or Amazon for these, or visit my Adventure Wiser gear page for links (coming soon).
Final Thoughts: Your Compass Is Your Superpower
In a world obsessed with apps and algorithms, a compass is a reminder that sometimes the simplest tools are the most powerful. It’s not just a piece of gear—it’s a ticket to independence, confidence, and the kind of stories that make your hiking buddies jealous.
So next time you hit the trail, pack a compass and a map. Practice the basics, embrace the learning curve, and know that when the woods stop playing nice (and they will), you’ve got the skills to find your way home.
🧭 Your challenge: Try a short hike using only a compass and map. No phone, no GPS. Share your story in the comments—I’d love to hear how it goes.
Happy navigating, and may your bearings always lead you to adventure (and snacks).
FAQs: Your Burning Compass Questions Answered
Q: Can I use a compass without a map?
A: Yes, for basic direction-finding (e.g., heading toward a visible landmark). But for true navigation, a map unlocks the compass’s full potential.
Q: What’s declination, and do I need to worry about it?
A: Declination is the angle between magnetic and true north. For short hikes, you can often ignore it. For longer treks or precise navigation, adjust for it to stay accurate.
Q: My compass needle sticks—what’s wrong?
A: It’s likely faulty or near magnetic interference (metal, electronics). Test it away from gear. If it still sticks, replace it.
Q: Can I use my phone’s compass instead?
A: Phone compasses are better than nothing, but they rely on battery life and can be less accurate. A physical compass is more reliable in the wild.
Q: How do I practice without getting lost?
A: Start in your backyard or a local park. Practice taking bearings to trees or landmarks, then try orienting a map. Build confidence before hitting the wilderness.
Heads-Up, Fellow Preppers:
Some links in this post are sponsored or affiliate links. If you click and buy, I may earn a small commission—enough to restock my peanut butter and maybe add one more can of chili to the stash. I only recommend gear I trust, use, and would hide in a bug-out bag.