
10 Rookie Bug-Out Bag Mistakes (and How to Avoid Them)
Why Rookie Bug-Out Bag Mistakes Can Cost You
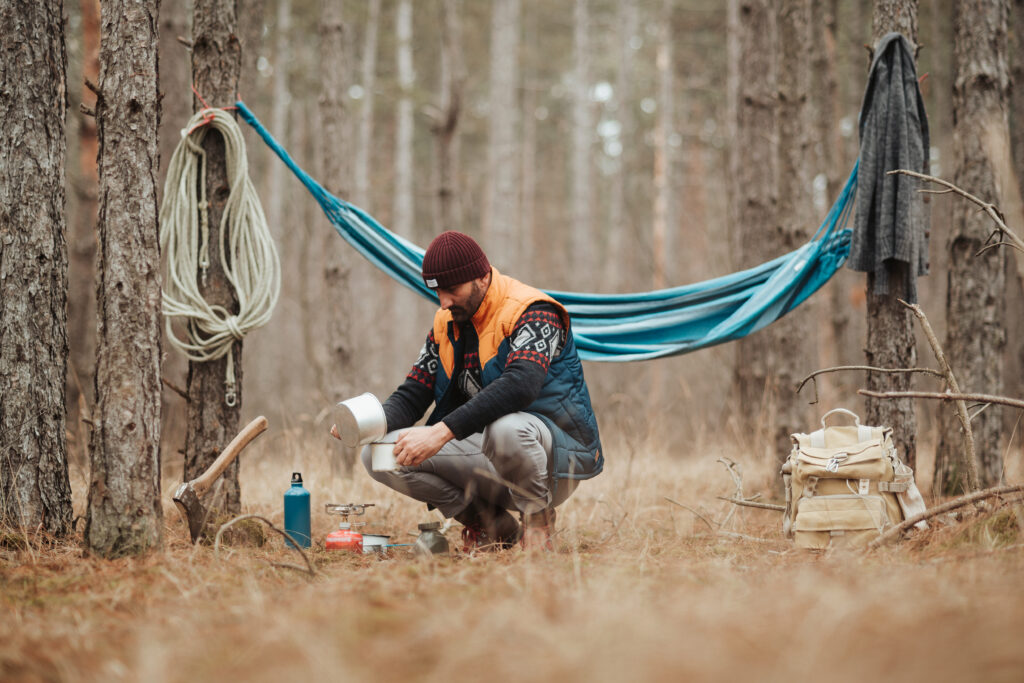
A bug-out bag is your lifeline when life flips upside down—whether it’s a power outage, a freak storm, or a “we’re going camping but forgot everything but marshmallows” moment. The problem? Most people either overthink it or, worse, underprepare. A bad bug-out bag can be as useful as a chocolate teapot when disaster strikes.
Avoiding these mistakes isn’t just about survival—it’s about confidence. If your bag is ready, you’re ready. And as a follow-up to our Bug-Out Bag Essentials Guide, this post breaks down 10 common mistakes, real-world scenarios, and expert fixes.
What Are the Top 10 Rookie Bug-Out Bag Mistakes?
Packing a bug-out bag isn’t just about cramming gear into a backpack—it’s about choosing the right gear that could actually save your life. Yet, most people make common errors that turn their rookie bug-out bag into a glorified junk drawer with straps. What are the top 10 mistakes? They range from overpacking like you’re moving cross-country to forgetting basic survival items like fire starters or a water filter.
If you aren’t careful, a heavy and disorganized rookie bug-out bag will become a liability rather than an asset when you need to move quickly. In this guide, we’ll break down the most frequent errors, show you how to fix them, and help you refine your rookie bug-out bag into a system that works when the world—or just your weekend trip—goes sideways.
1. Overpacking Like You’re Moving to Mars
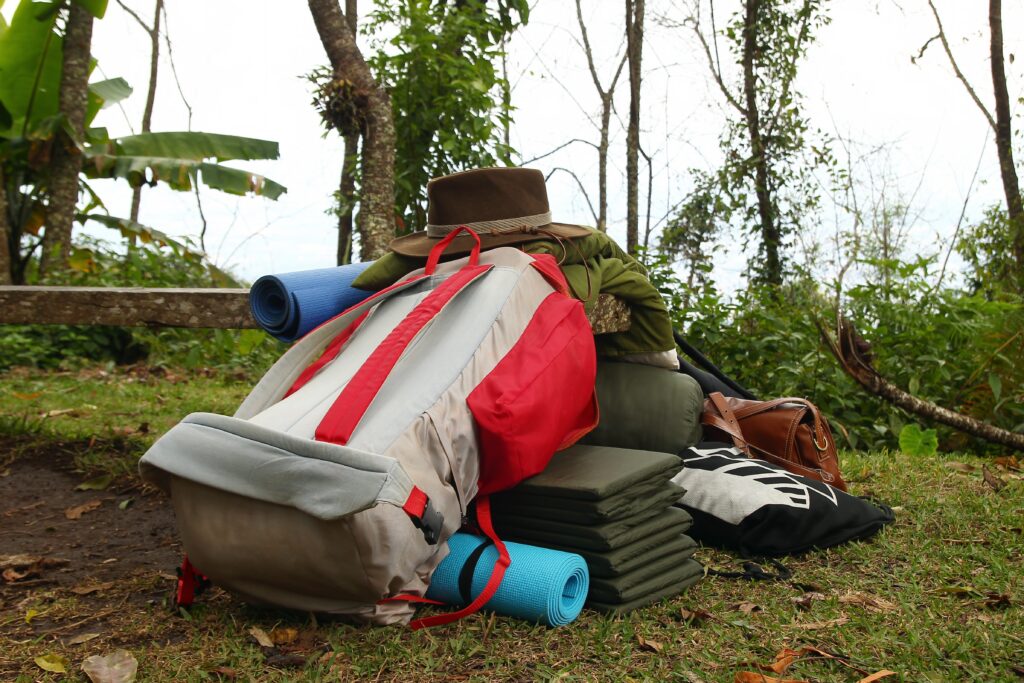
The Mistake: Stuffing your bag like you’re prepping for a five-year mission to Mars.
The Problem: Bug-out bags are designed for mobility, not as mobile storage lockers. When your pack is overloaded, not only will your shoulders hate you, but you’ll also end up slower and less efficient—exactly the opposite of what you want in an emergency. Heavy bags can cause fatigue, back pain, or even injury. Plus, when you overpack, things get buried, and digging through gear becomes a nightmare when time matters most.
The Fix: Stick to the 20–25% of body weight rule. Prioritize multi-use gear, like a bandana that works as sun protection, a towel, and even a pre-filter for water. Use compression sacks for clothing to reduce space. Ditch heavy, low-calorie foods—freeze-dried meals pack a better punch for less weight.
Pro Tip: Load your bag and do a 1–2 mile hike with it. If you feel like you’re auditioning for a world’s strongest man competition halfway through, you’re overpacking.
2. Cheap Gear That Fails at the Worst Time
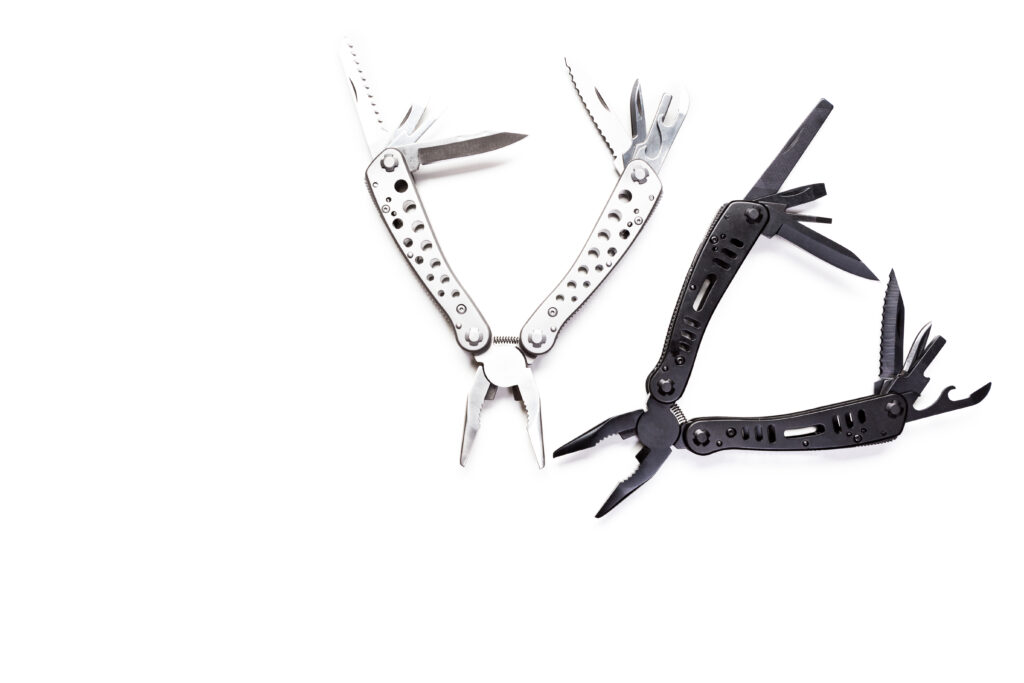
The Mistake: Trusting discount-store gear that’s more “toy” than tool.
The Problem: A failing zipper or a flashlight that dies after an hour is not just annoying—it’s dangerous. Low-quality gear often isn’t designed for rugged conditions, which means it’s most likely to fail when you need it most.
The Fix: Invest in reliability. Think of your gear as long-term insurance for your safety. Brands like Leatherman, Petzl, and Sawyer have proven track records. Buy a quality multi-tool, a durable headlamp, and a water filter you can trust.
Pro Tip: Test your equipment at home. Light a fire, filter water, or test that headlamp’s battery life. Better to find flaws in your backyard than during a thunderstorm in the wild.
3. Forgetting the Basics (Yes, People Do This)
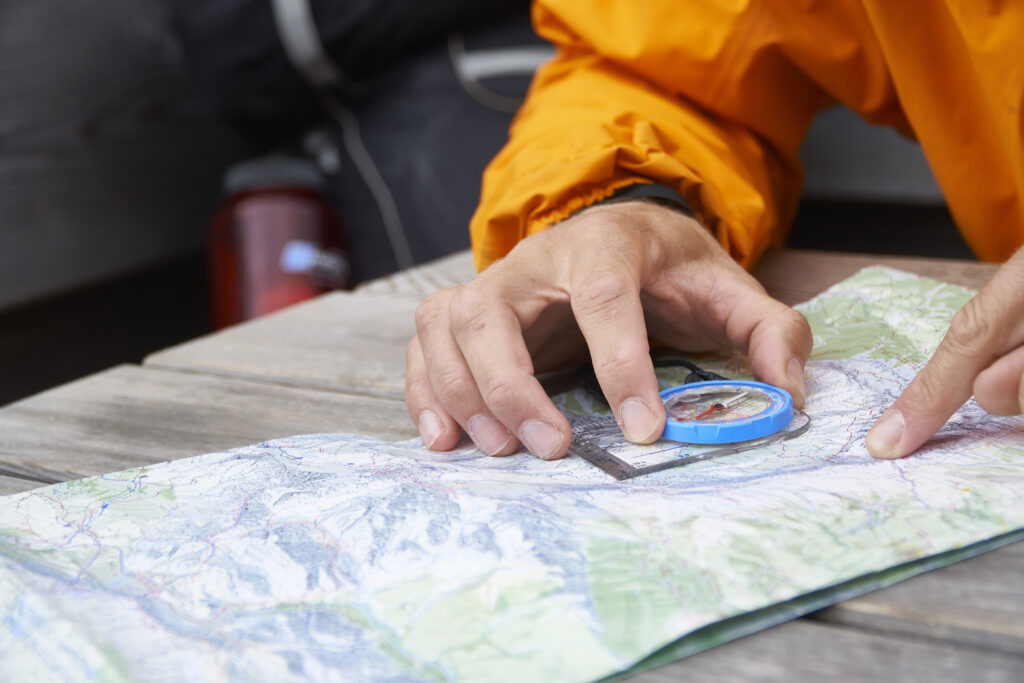
The Mistake: Relying entirely on a smartphone for navigation.
The Problem: Batteries die. Phones break. GPS signals can be spotty in remote areas. When this happens, your survival game drops from “confident adventurer” to “lost tourist.”
The Fix: Always pack redundant navigation tools:
- A paper topo map of your area.
- A compass (Silva Explorer 2.0 is rock solid).
- A rugged, offline GPS device like the Garmin eTrex 32x.
Pro Tip: Learn basic navigation skills. A map and compass are useless if you don’t know how to use them. Practice finding bearings and plotting routes.
4. Skipping Fire-Starters

The Mistake: Packing only a single lighter because “I’ll be fine.”
The Problem: Fire is critical for cooking, warmth, water purification, and morale. If that one lighter fails, you’re left shivering and eating cold food.
The Fix: Always pack 2–3 fire-starting options:
- Bic lighters (because they always work).
- A ferro rod, which works even when wet.
- Waterproof matches for backup.
Pro Tip: Cotton balls soaked in petroleum jelly make great DIY fire starters. Store them in a film canister or Ziploc bag.
5. Packing Food That’s Useless
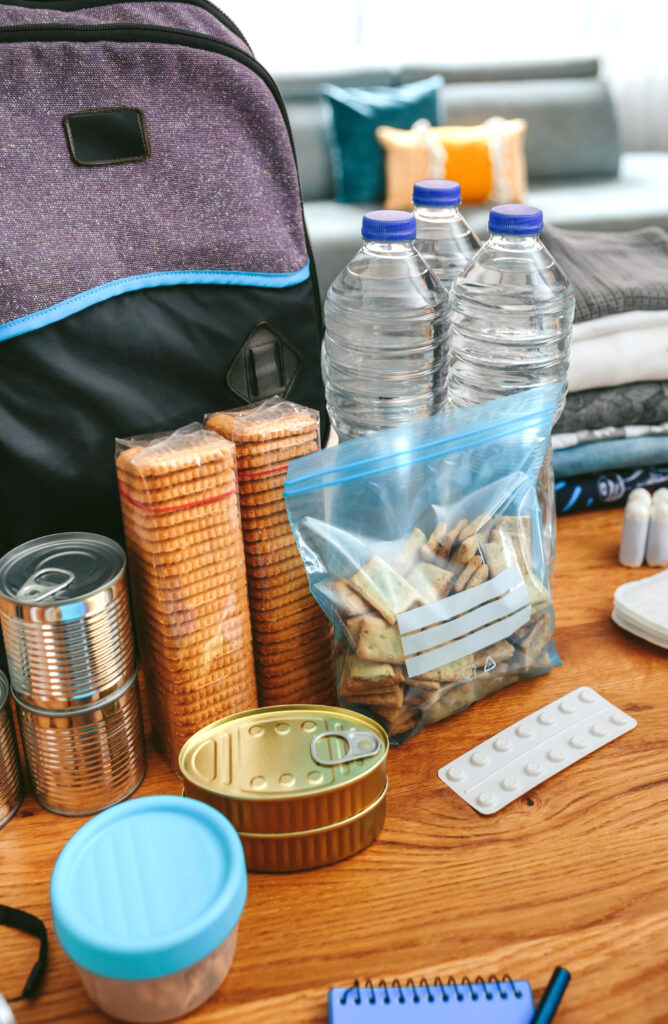
The Mistake: Tossing in canned soup, family-size peanut butter jars, or random snacks from your pantry.
The Problem: Canned goods are heavy, take up space, and are often calorie-inefficient. In survival, you need high-energy, lightweight foods that can be prepared fast.
The Fix: Go for calorie-dense, lightweight foods:
- Freeze-dried meals like Mountain House or Backpacker’s Pantry.
- Trail mix, nut butters, and energy bars (Clif or RXBARs).
- Instant oatmeal and coffee packets for morale.
Pro Tip: Try every food item before you pack it. Discovering that you hate chili mac when it’s the only thing on the menu isn’t ideal.
6. Ignoring Hydration
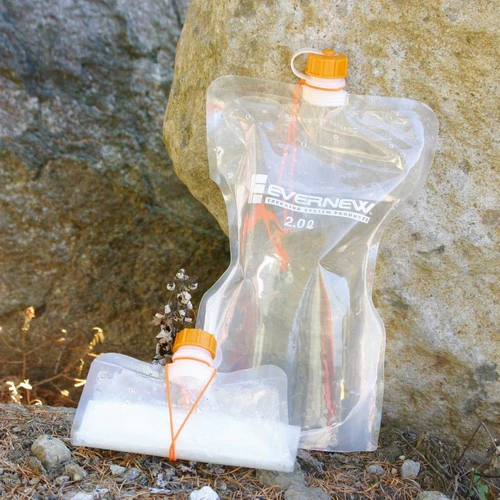
The Mistake: Bringing a single 16oz water bottle “just in case.”
The Problem: Water is life. You can last weeks without food but only a couple of days without water—much less in hot or dry environments.
The Fix: Pack at least 2 liters of water and backup water purification like a Sawyer Mini or LifeStraw. A collapsible water bladder is great for saving space when empty.
Pro Tip: Know your terrain. Use a map or GPS to mark nearby water sources. Don’t wait until you’re parched to start looking for water.
7. Forgetting Weather Gear
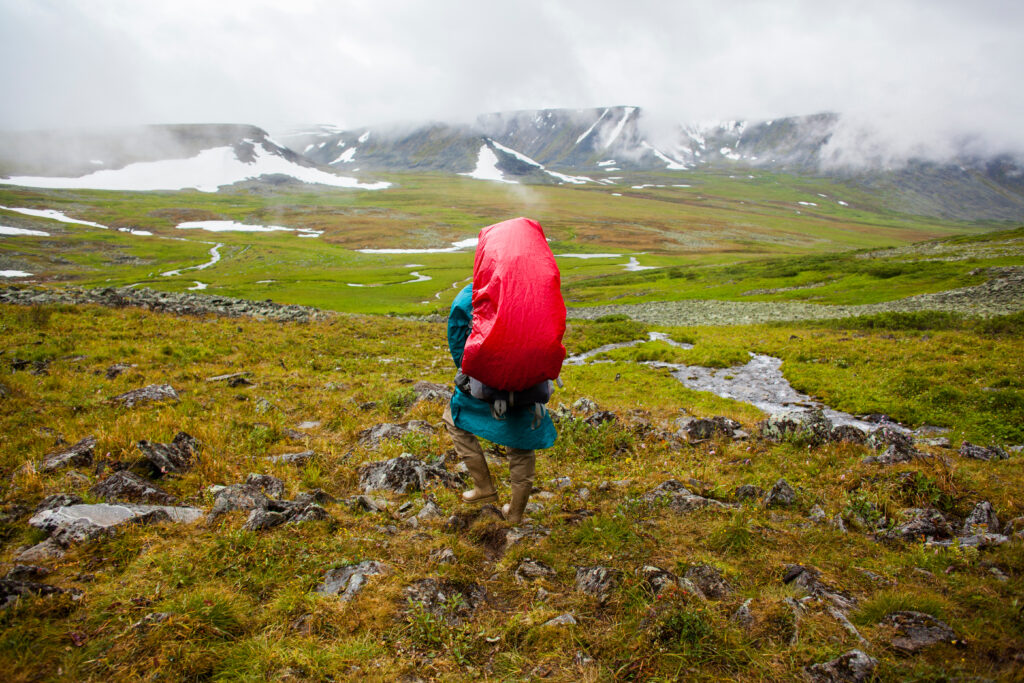
The Mistake: Trusting the weather app and assuming you’ll be fine.
The Problem: Weather can turn on a dime. Hypothermia can set in even in mild conditions if you’re wet and exposed.
The Fix: Always pack a lightweight rain shell, a thermal mid-layer, and an emergency bivvy or mylar blanket. Layers are your armor against unpredictable weather.
Pro Tip: Think modular. A rain jacket can also block wind, while a fleece layer can double as a pillow.
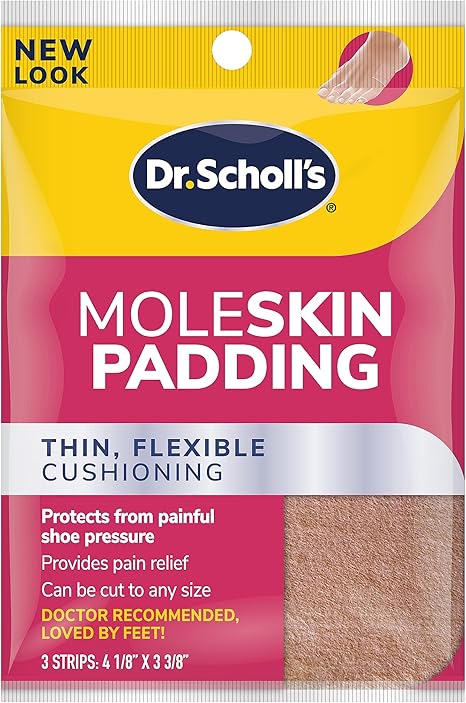
8. No First Aid Kit (Or One That’s Missing Basics)
The Mistake: Packing a “first aid kit” that’s basically just a couple of Band-Aids.
The Problem: Even minor cuts or blisters can become serious problems if untreated.
The Fix: Invest in a real first aid kit like Adventure Medical Kits Ultralight/Watertight. Add:
- Pain relievers (Ibuprofen/Acetaminophen).
- Antiseptic wipes and gauze.
- Blister pads or moleskin.
Pro Tip: Know how to use what you pack. Watch a quick YouTube tutorial on applying bandages, splints, and tourniquets.
9. Not Testing Your Gear
The Mistake: Throwing brand-new gear into the bag and forgetting about it.
The Problem: If you’ve never set up your tarp, tested your firestarter, or filtered water, you’ll be scrambling when it counts.
The Fix: Test your gear in real conditions. Set up a backyard survival night or a weekend camping trip to see what works and what doesn’t.
Pro Tip: Run quarterly gear checks. Batteries die, and equipment wears out.
10. No Personalization
The Mistake: Copying someone else’s bug-out list.
The Problem: A cookie-cutter bag won’t match your location, health needs, or skill level.
The Fix: Customize your bag to fit your climate and environment. Urban kits might prioritize multi-tools and cash, while wilderness kits focus on shelter and fire. Don’t forget personal medications, glasses, or contacts.
Pro Tip: Review your bag every 6 months. Seasons change, and so do your needs.
Bonus Rookie Bug-Out Bag Mistakes: No Plan at All
Your bug-out bag could be packed with the best survival gear money can buy, but it’s as useful as a chocolate teapot if you don’t know where you’re going or how to use it. Having a well-packed rookie bug-out bag is just step one—strategy is everything. Without a plan, you’re basically a heavily burdened hiker wandering in circles.
True readiness is a balance of high-quality hardware and a veteran’s tactical mindset. If you haven’t mapped out your primary and secondary extraction routes, your rookie bug-out bag is simply a heavy weight on your shoulders that will slow you down during a crisis. You need to account for more than just “getting out”; you need to anticipate road closures, communications failures, and the physical toll of carrying your gear over uneven terrain.
In a real-world scenario, your fancy water filters and fire starters won’t save you if you’re paralyzed by indecision. A solid plan includes pre-determined rally points and a clear understanding of your environment—whether you’re navigating the backcountry of the Ouachitas or an urban landscape. Refining your rookie bug-out bag into a mission-ready kit requires you to move beyond the “buying phase” and into the “rehearsal phase.” Every piece of gear in that bag should have a corresponding skill that you’ve practiced until it becomes muscle memory. Without that discipline, even the most expensive rookie bug-out bag is just a collection of missed opportunities.
The Problem
Most people assume they’ll “figure it out” when things go wrong. Spoiler alert: panic, bad decisions, and fatigue don’t mix well with improvisation. This lack of foresight is exactly why a rookie bug-out bag often fails under real-world pressure. You need to know:
- Where you’re heading: Do you have a pre-selected bug-out location?
- How to get there: Do you have multiple exit routes in case roads are blocked or unsafe?
- Who you’re meeting: Does your family know the plan, or will they be scattered and confused?
- How long you can last: Is your gear built for a 24-hour emergency, or could you survive 3–5 days if necessary?
The Fix
- Create an Action Plan: Map out at least two primary routes to your bug-out location, with alternates in case of detours.
- Choose a Rally Point: Pick a safe meeting location for family or group members. Share this plan and practice it at least once a year.
- Know Your Gear: A map and compass are useless if you’ve never navigated with them. A water filter isn’t much help if you don’t know how to use it properly.
- Rehearse Real Scenarios: Walk through your “grab-and-go” plan with your bag. Time how long it takes to leave, and test how quickly you can set up shelter or boil water. Testing these skills transforms a basic rookie bug-out bag into a professional survival system.
Pro Tip: Think of your bug-out plan like a fire drill for grown-ups. If you freeze when it’s time to act, all that fancy gear is just dead weight. A great bag + no plan = rookie move.
Bug-Out Plan Mini-Checklist
A great bug-out bag is only as good as the plan behind it. Use this quick checklist to ensure you’re not just carrying gear—you’re ready to use it.
1. Know Your Destination
- Identify two or more safe locations (e.g., a friend’s cabin, a campground, or a rural retreat).
- Mark each location on a physical map and keep that map in your bag.
- Confirm that the locations have water access and safe shelter options.
2. Map Your Exit Routes
- Plan at least two primary routes and one alternate route to each location.
- Avoid major highways if possible—backroads and secondary routes are less likely to be jammed.
- Keep a printed state or regional map in case GPS or phones fail.
3. Set Rally Points
- Choose two family or group meeting locations:
- One near home (within walking distance).
- One further away (outside your city or town).
- Make sure everyone in your group knows these locations.
4. Communication Plan
- Keep a written contact list in case your phone dies.
- Pack a whistle for signaling and consider a small 2-way radio or HAM radio if you’re serious about prepping.
- Designate a check-in time with family or group members (e.g., “If we lose contact, check this location in 12 hours.”)
5. Practice Your Plan
- Run a drill once or twice a year—grab your bag and time how fast you can leave.
- Do a trial hike with your pack to your first rally point (you’ll learn quickly if it’s too heavy or uncomfortable).
- Simulate setting up camp, filtering water, and starting a fire with just the gear in your bag.
Pro Tip:
A practiced plan is a powerful plan. If you’ve rehearsed these steps before an emergency, you’ll move faster and smarter when it counts.
Quick Checklist to Avoid Rookie Mistakes
- ✅ Keep weight manageable (test it!).
- ✅ Invest in quality gear.
- ✅ Pack fire, water, food, and shelter redundancies.
- ✅ Test your setup at least twice a year.
- ✅ Update your bag every 6–12 months.
Witty Takeaway
A well-prepped bug-out bag is like having a personal survival assistant—minus the sarcastic comments. Avoid these rookie mistakes, and your bag will be the sidekick you can count on when the world (or just your camping trip) throws chaos your way.
Final Word: A Bag Is Only as Good as the Plan Behind It
Avoiding these 10 rookie bug-out bag mistakes isn’t about being paranoid—it’s about being prepared and confident when life throws a curveball. A bug-out bag should feel like your survival sidekick, not a disorganized weight on your back. Combine the right gear with a solid plan, and you’ll be miles ahead of those who think grabbing a flashlight and a few granola bars is “good enough.”
If you’re serious about building a bag that actually works, check out our Bug-Out Bag Essentials: The Ten Must-Have Items That Could Save Your Life post. It’s the ultimate guide to creating a bag that’s light, efficient, and ready for anything.
👉 Download our FREE Ultimate Bug-Out Bag Checklist PDF to get a ready-to-pack list with expert gear recommendations and pro tips.
Rookie Bug-Out Bag Mistakes – FAQ
1. What should you not put in a bug-out bag?
Avoid heavy, non-essential items like canned food, full-size cookware, or tools you won’t realistically use. Anything that adds weight without offering survival value—like extra clothes or sentimental items—doesn’t belong. Focus on lightweight, multi-purpose gear.
2. What is the biggest mistake preppers make with bug-out bags?
The biggest mistake is overpacking. Many people try to carry too much, making the bag heavy and unmanageable. A bug-out bag should be functional and under 20–25% of your body weight for optimal mobility.
3. How often should you update your bug-out bag?
Check and refresh your bug-out bag every 6 months. Rotate out expired food, old batteries, or outdated gear. Seasonal changes (e.g., winter vs. summer) may also require swapping out certain items like clothing or emergency blankets.
4. What’s the ideal weight for a bug-out bag?
A bug-out bag should weigh between 15–30 pounds depending on your size, strength, and the gear you need. Keep it light enough to carry for several miles without strain, but complete enough to cover at least 72 hours of survival.
5. Do I really need multiple fire-starting tools?
Yes. Fire is one of the most critical survival elements, and relying on a single lighter is risky. Pack at least two or three fire-starting tools—like a Bic lighter, ferro rod, and waterproof matches—for redundancy.